

Local WP allows you to create and manage a WordPress site on your machine. You can also deploy your site to remote servers such as Flywheel and WP Engine. In our case, there is a way to deploy via git on Hostinger servers to keep the workflow robust and efficient. It is a great tool for running a local server so you can test your code as you develop it locally.
You are probably wondering how to control the changes made to the code used on your site? What if you need to merge different changes made to the same file by different developers?
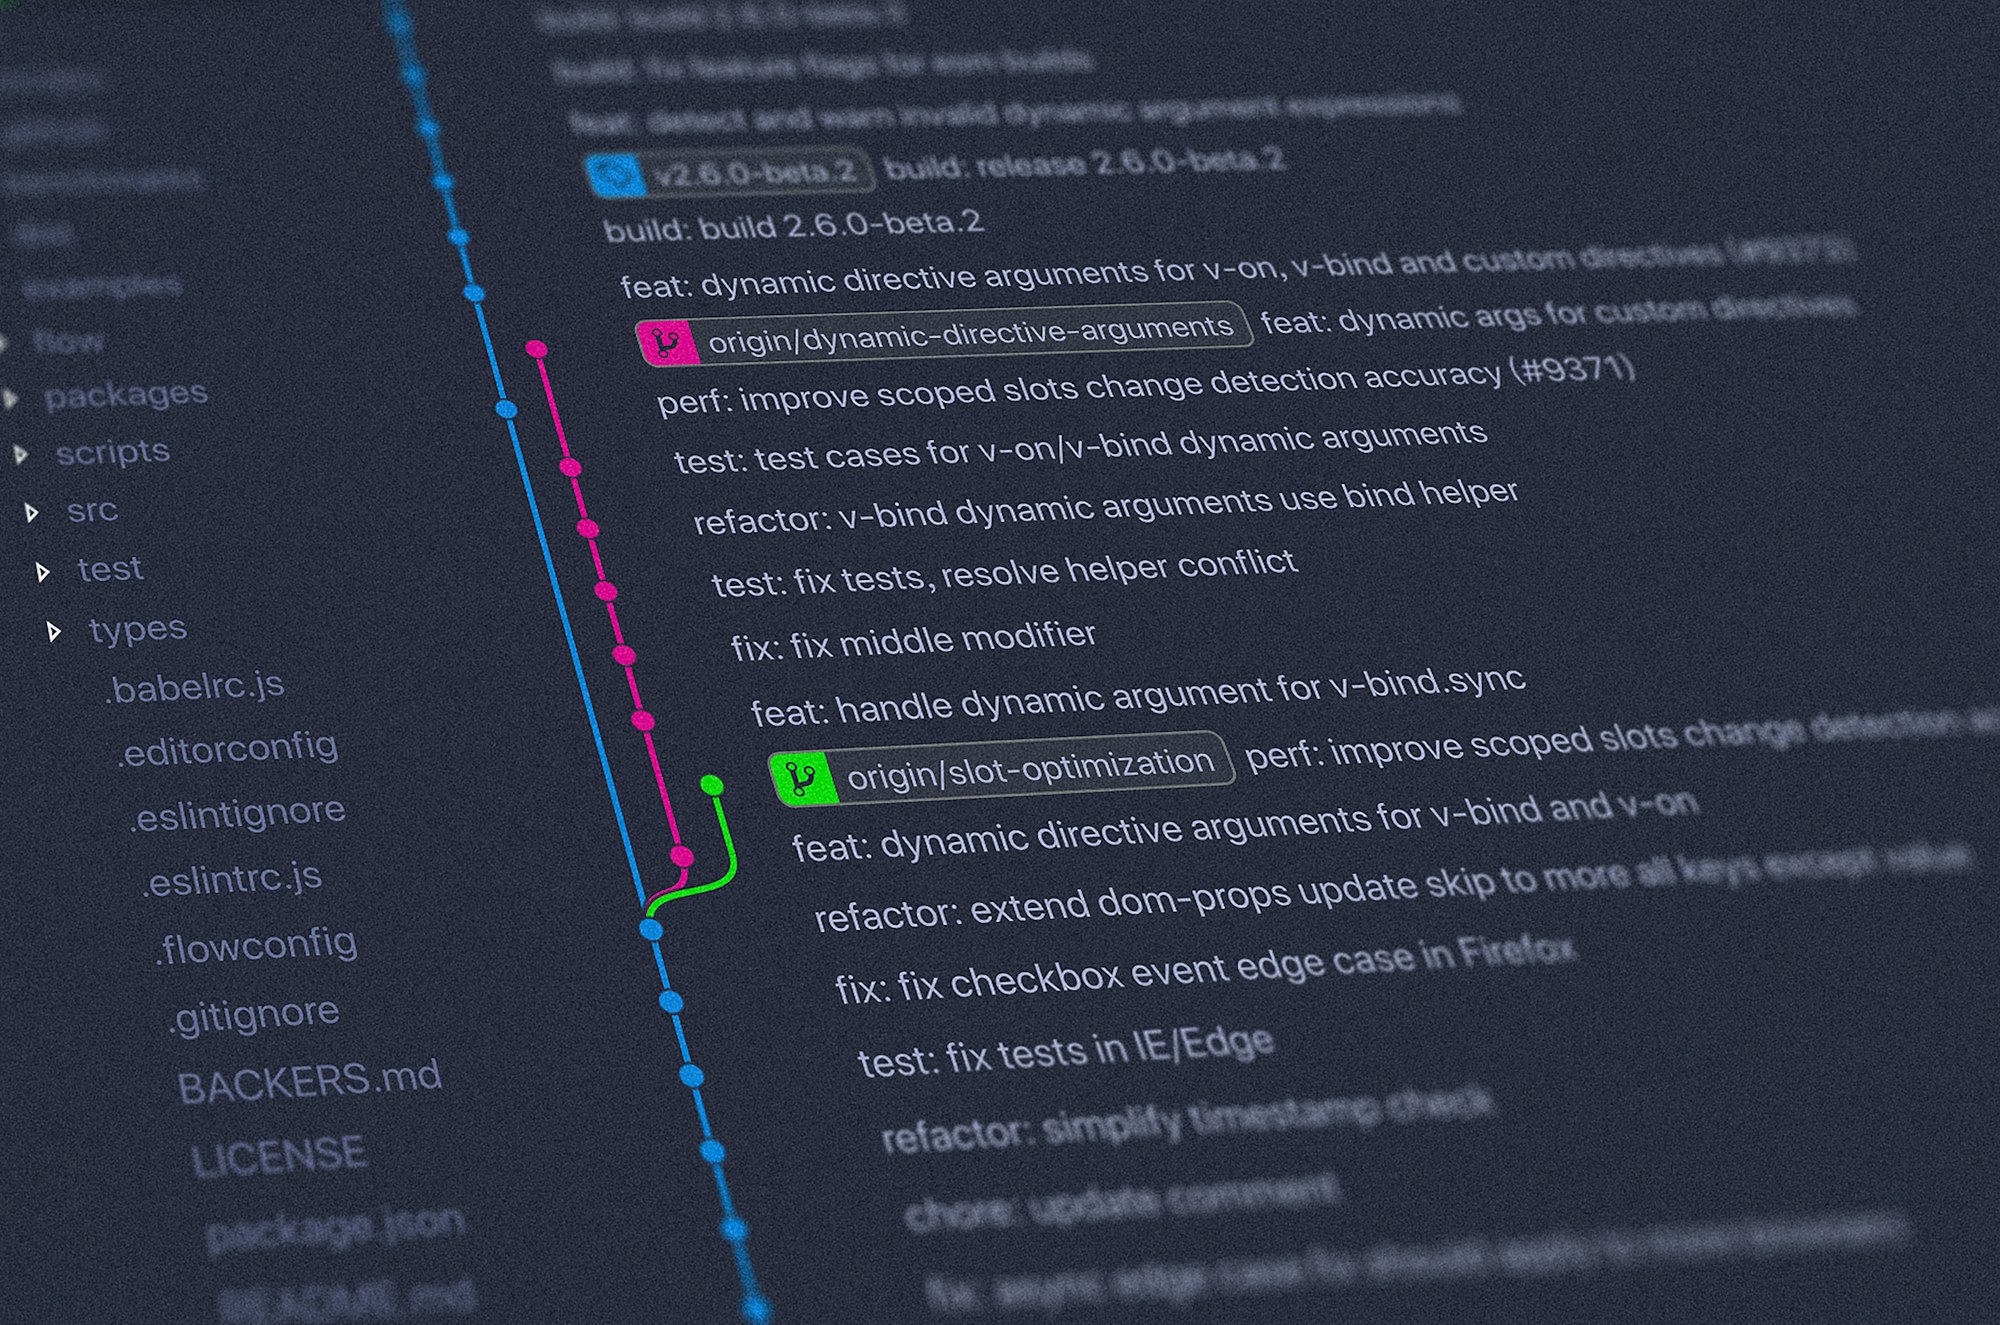
This is where code version control and Git come in! This is a good way to keep a quality code and a better supervision of what is going on. These tools allow you to keep an eye on changes and collaborate with other developers when you are all working together on the same project.
A world with Git
To put it simply, git is a code version control system like GitHub, GitLab and many others. To make it even cooler, know that Git is not the only solution to control the different versions of your code. There are others, but we'll settle for this one because it's the most responsive.
We may upset some people but GitHub is one of the most used software when it comes to hosting Git repo. That's why we decided to create this little tutorial to show you how to use it with Local WP.
GitHub Desktop is a good way to start using this service by giving you access to a graphical interface. So you won't need your terminal (booooouuuuhhhhh) to manage your code! If you prefer to use the command line for your Git workflow, you can use it instead.
If this is your first time using GitHub and you haven't registered yet, you'll need to create an account on GitHub first. You'll also need to install Git on your local machine so you can run Git commands locally.

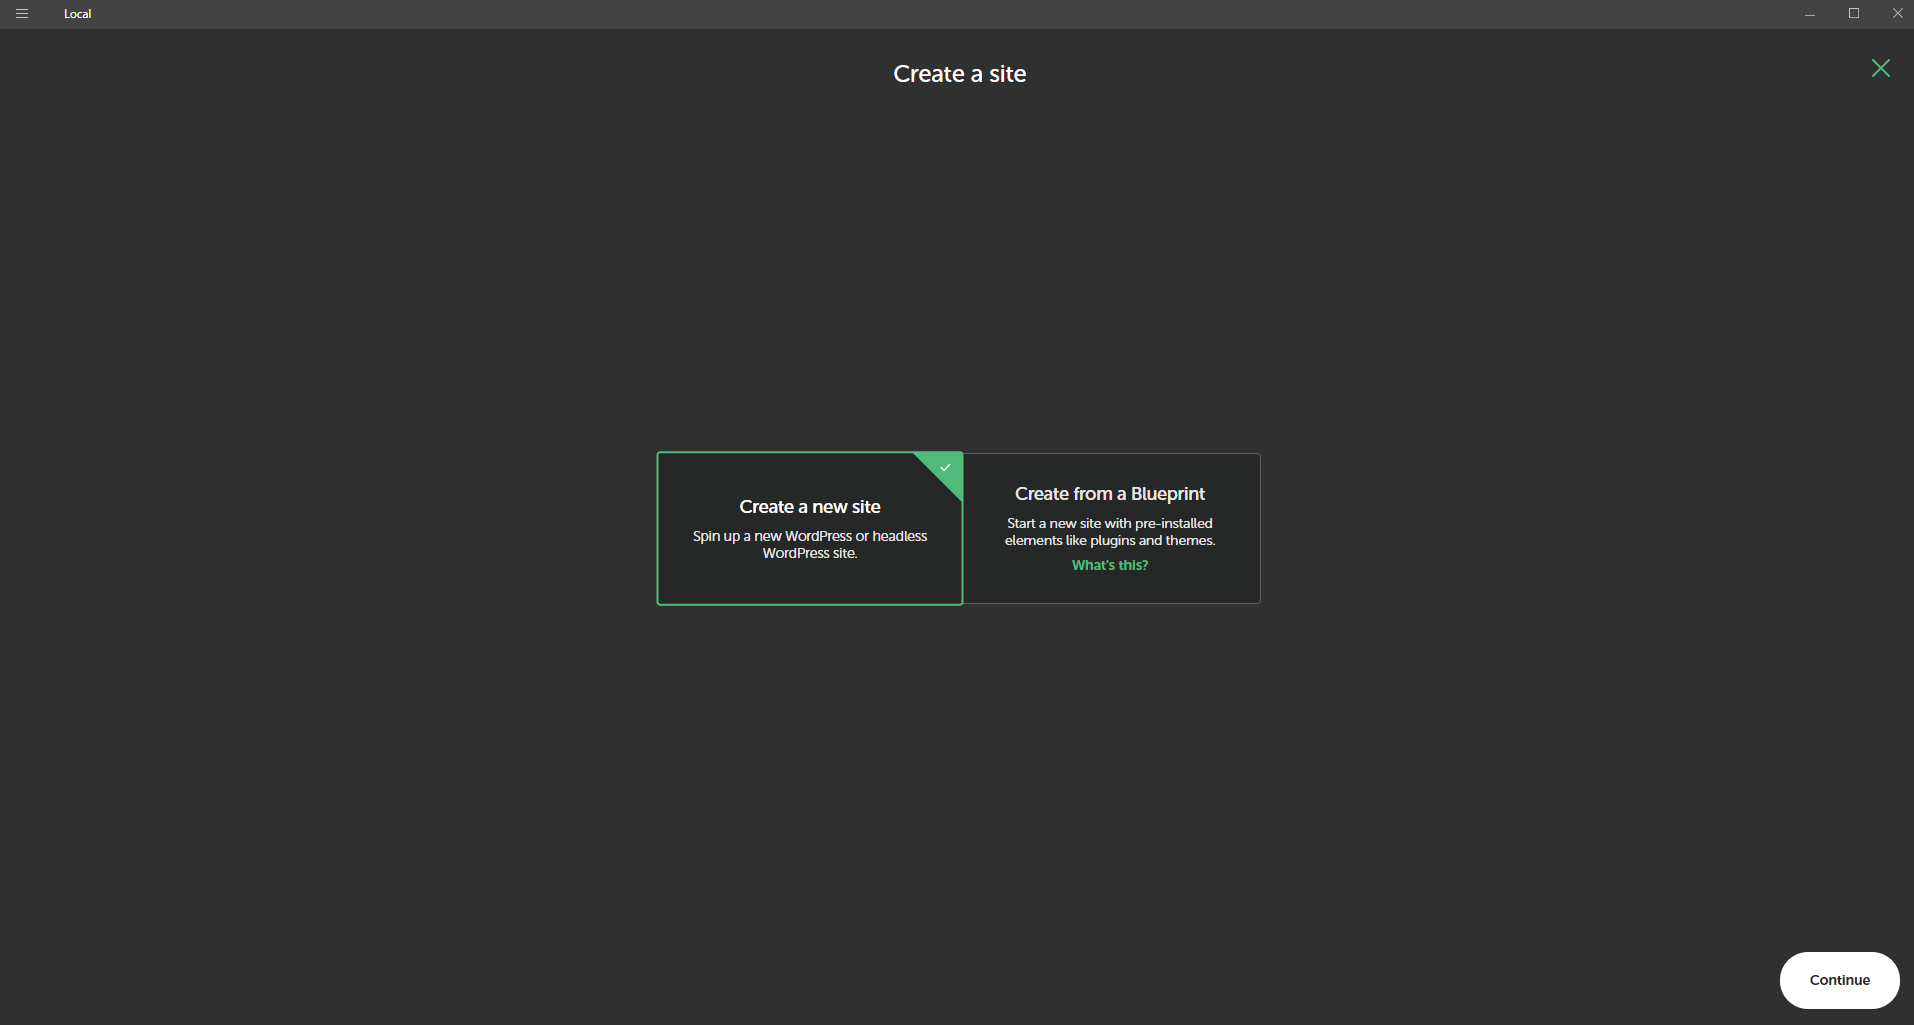
Create a new Website
Open Local, click on the plus sign (+) in the bottom left corner and fill in your site details to create your new site.
Create a new repo
- In Local, right-click on your site and select "Open Site Shell" from the menu that appears.
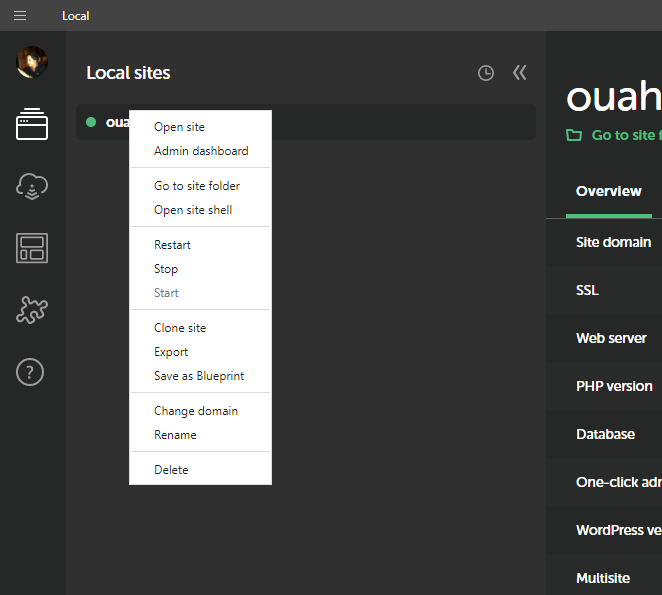
2. Type cd wp-content to access the wp-content directory of your site. If you only want to manage a theme or a plugin in your repository, access the directory of this theme or plugin (cd plugin/plugin-directory-name or cd themes/theme-directory-name).
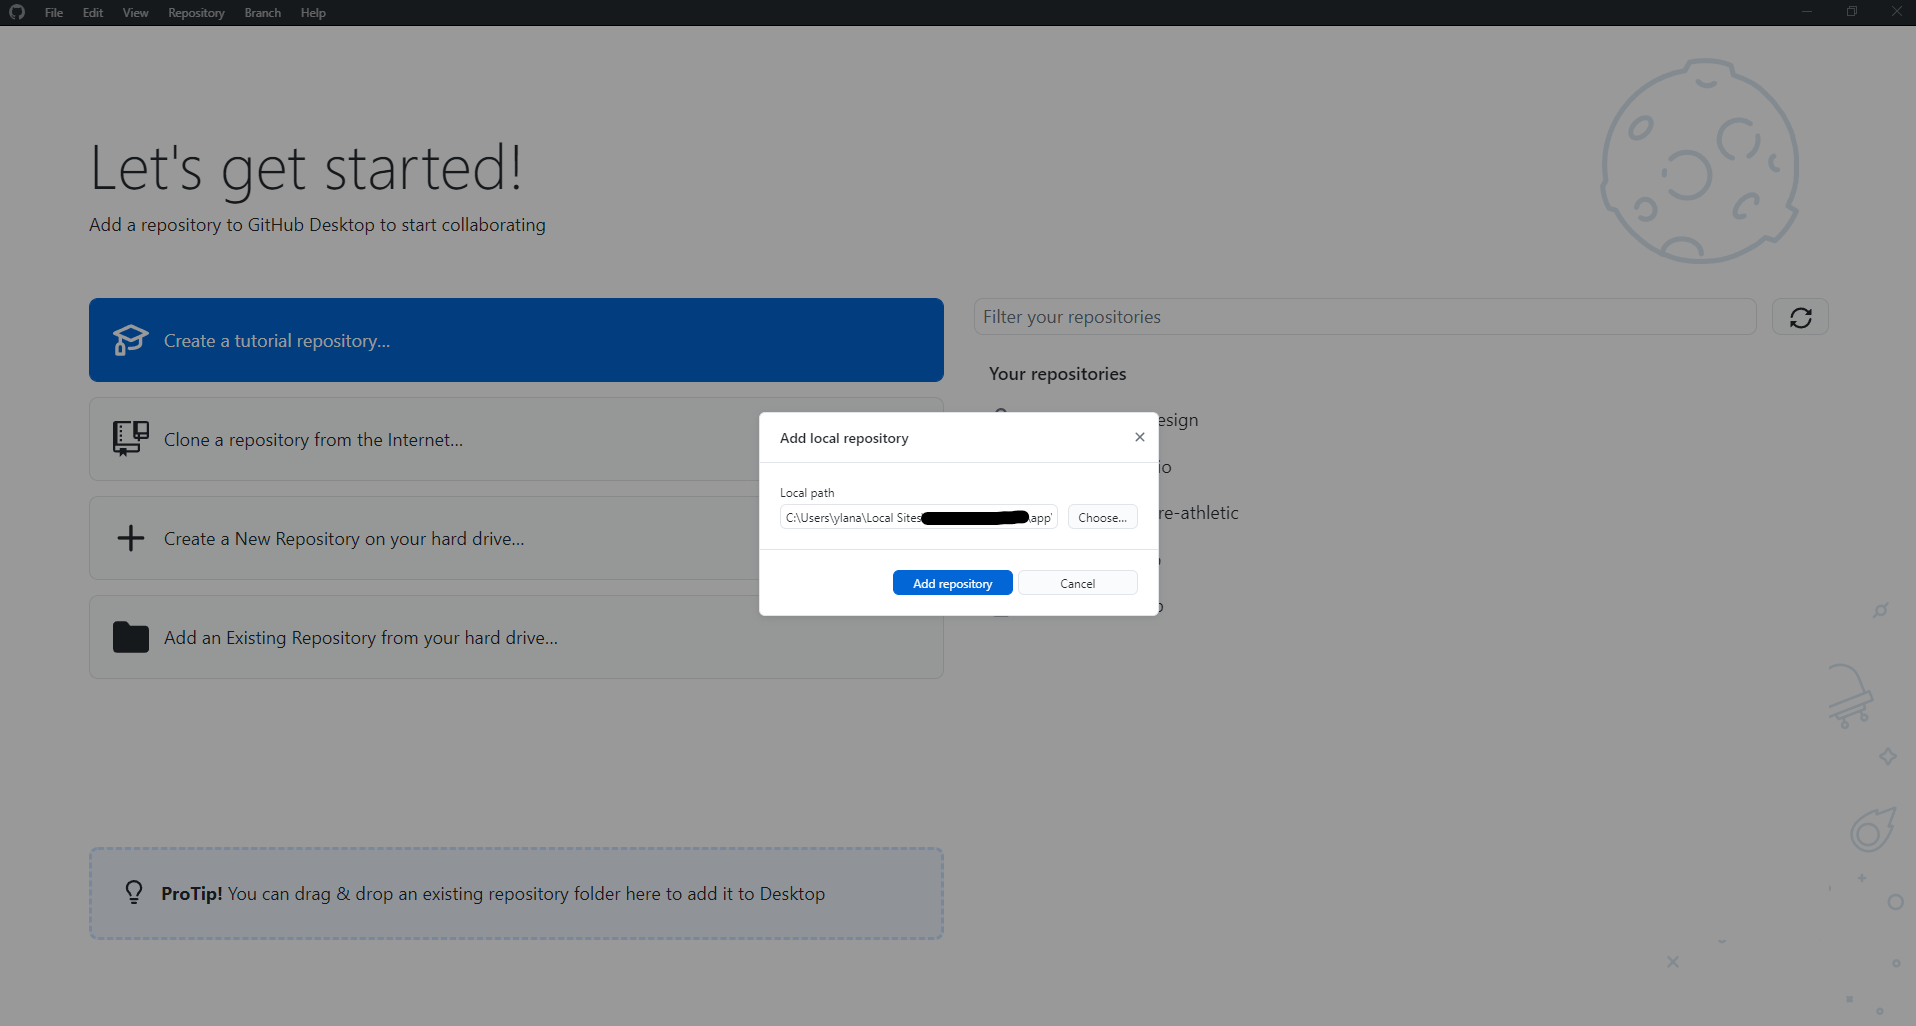
Add the repo to GitHub Desktop
In order to manage your repository in GitHub Desktop, you must first add it there and you will be able to complete this task.
1. Open GitHub Desktop and go to File > Add Local Repository.
2. In the Add Local Repository dialog box that opens, click "Choose" and navigate to the directory where you initialized your Git repository.
3. In the left sidebar, you should now see a list of modified files showing all files in the wp-content directory (or the directory of your theme or plugin).

git branch -m newname in the command line.Time to publish your repository
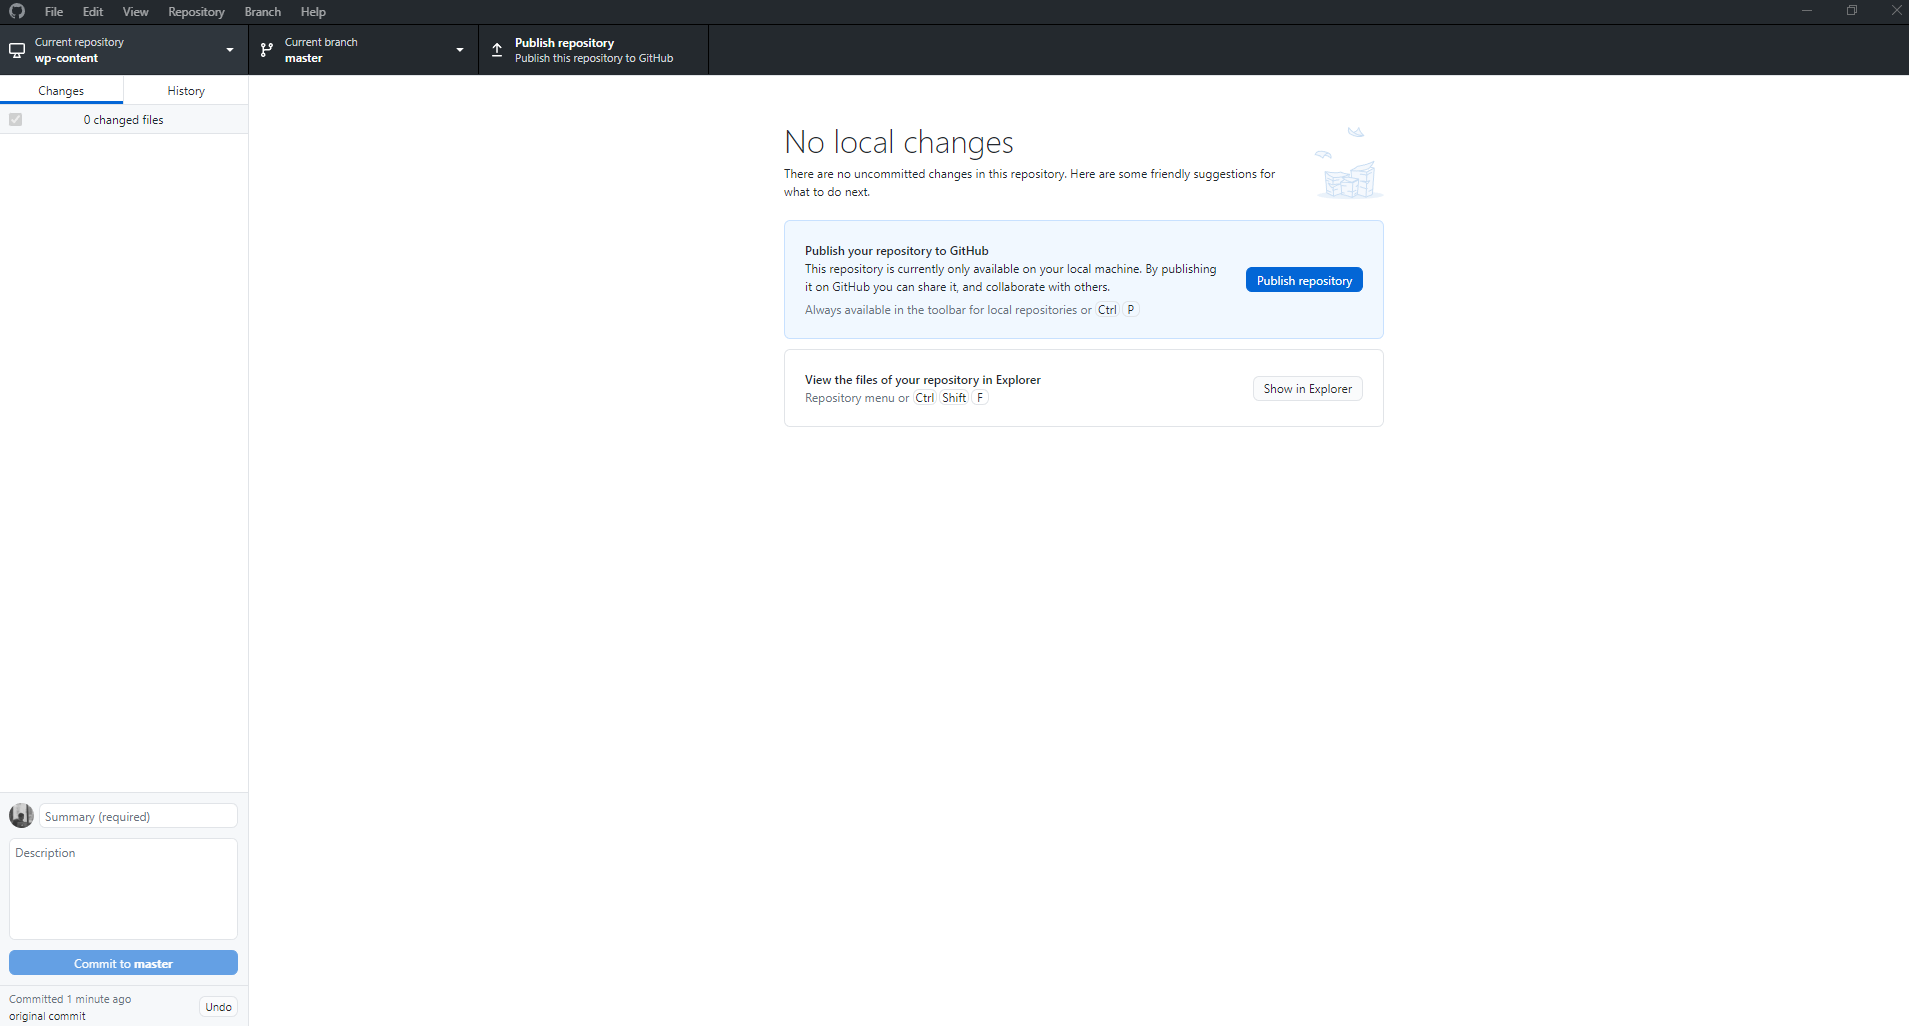
Since you have validated your changes in your local repository, you are ready to publish/transfer them to your GitHub repository.
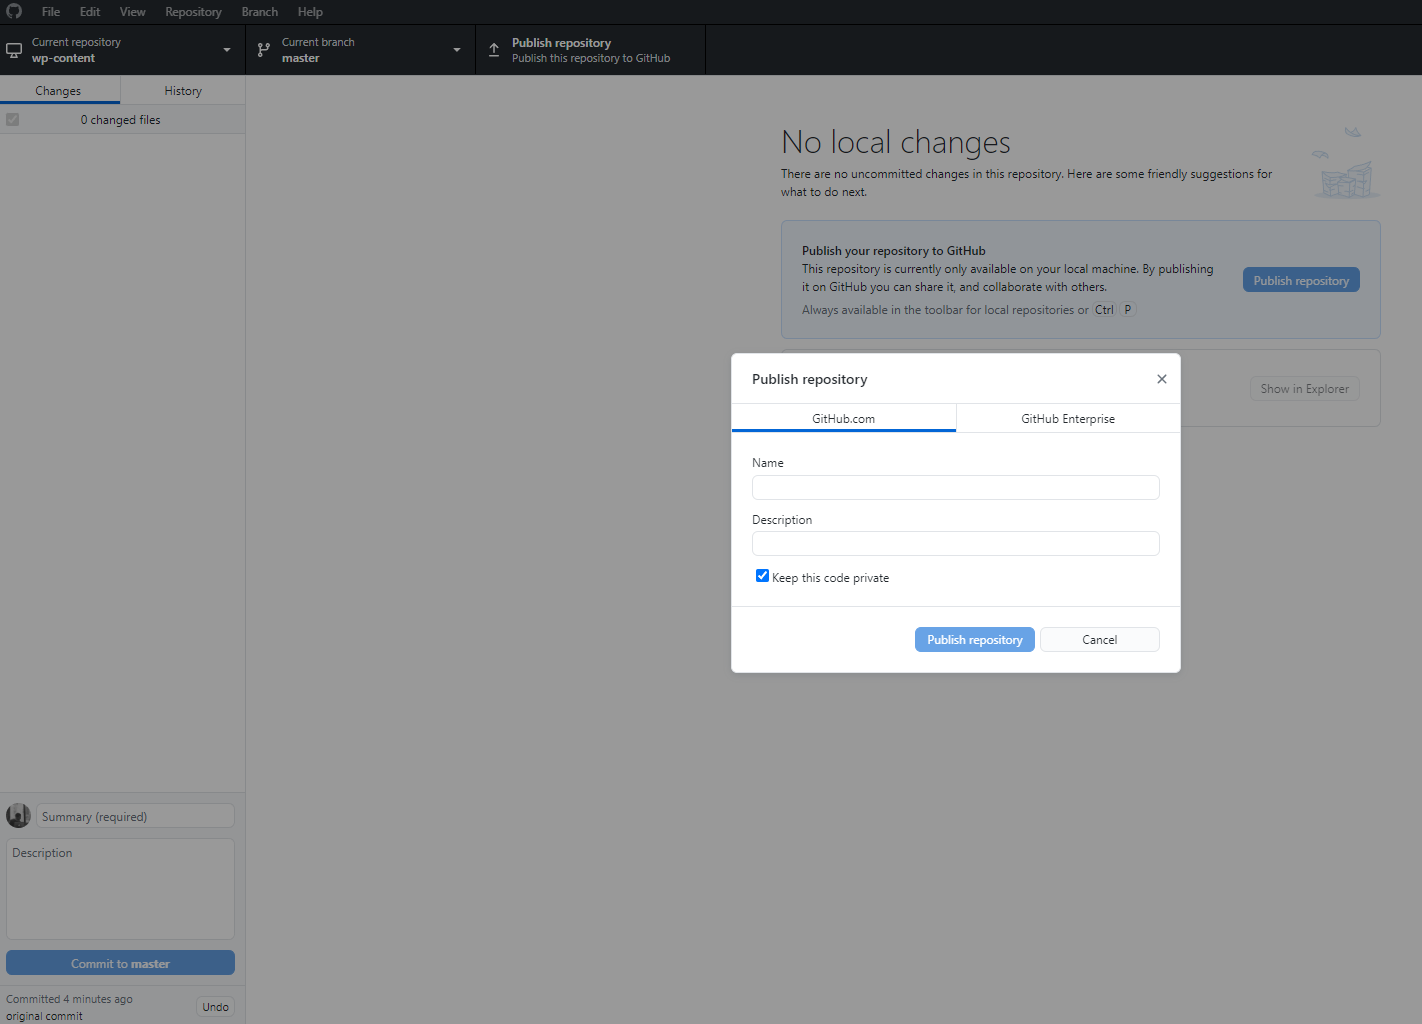
1. Click on "Publish Repository" to bring up the "Publish Repository" dialog box.
2. Update the name field with your correct repository name and click "Publish Repository".
Now that your Git repository is configured locally and on GitHub, what's the next step? To get the most out of your new version control setup, we recommend defining your workflow, based on best practices and your team's needs.