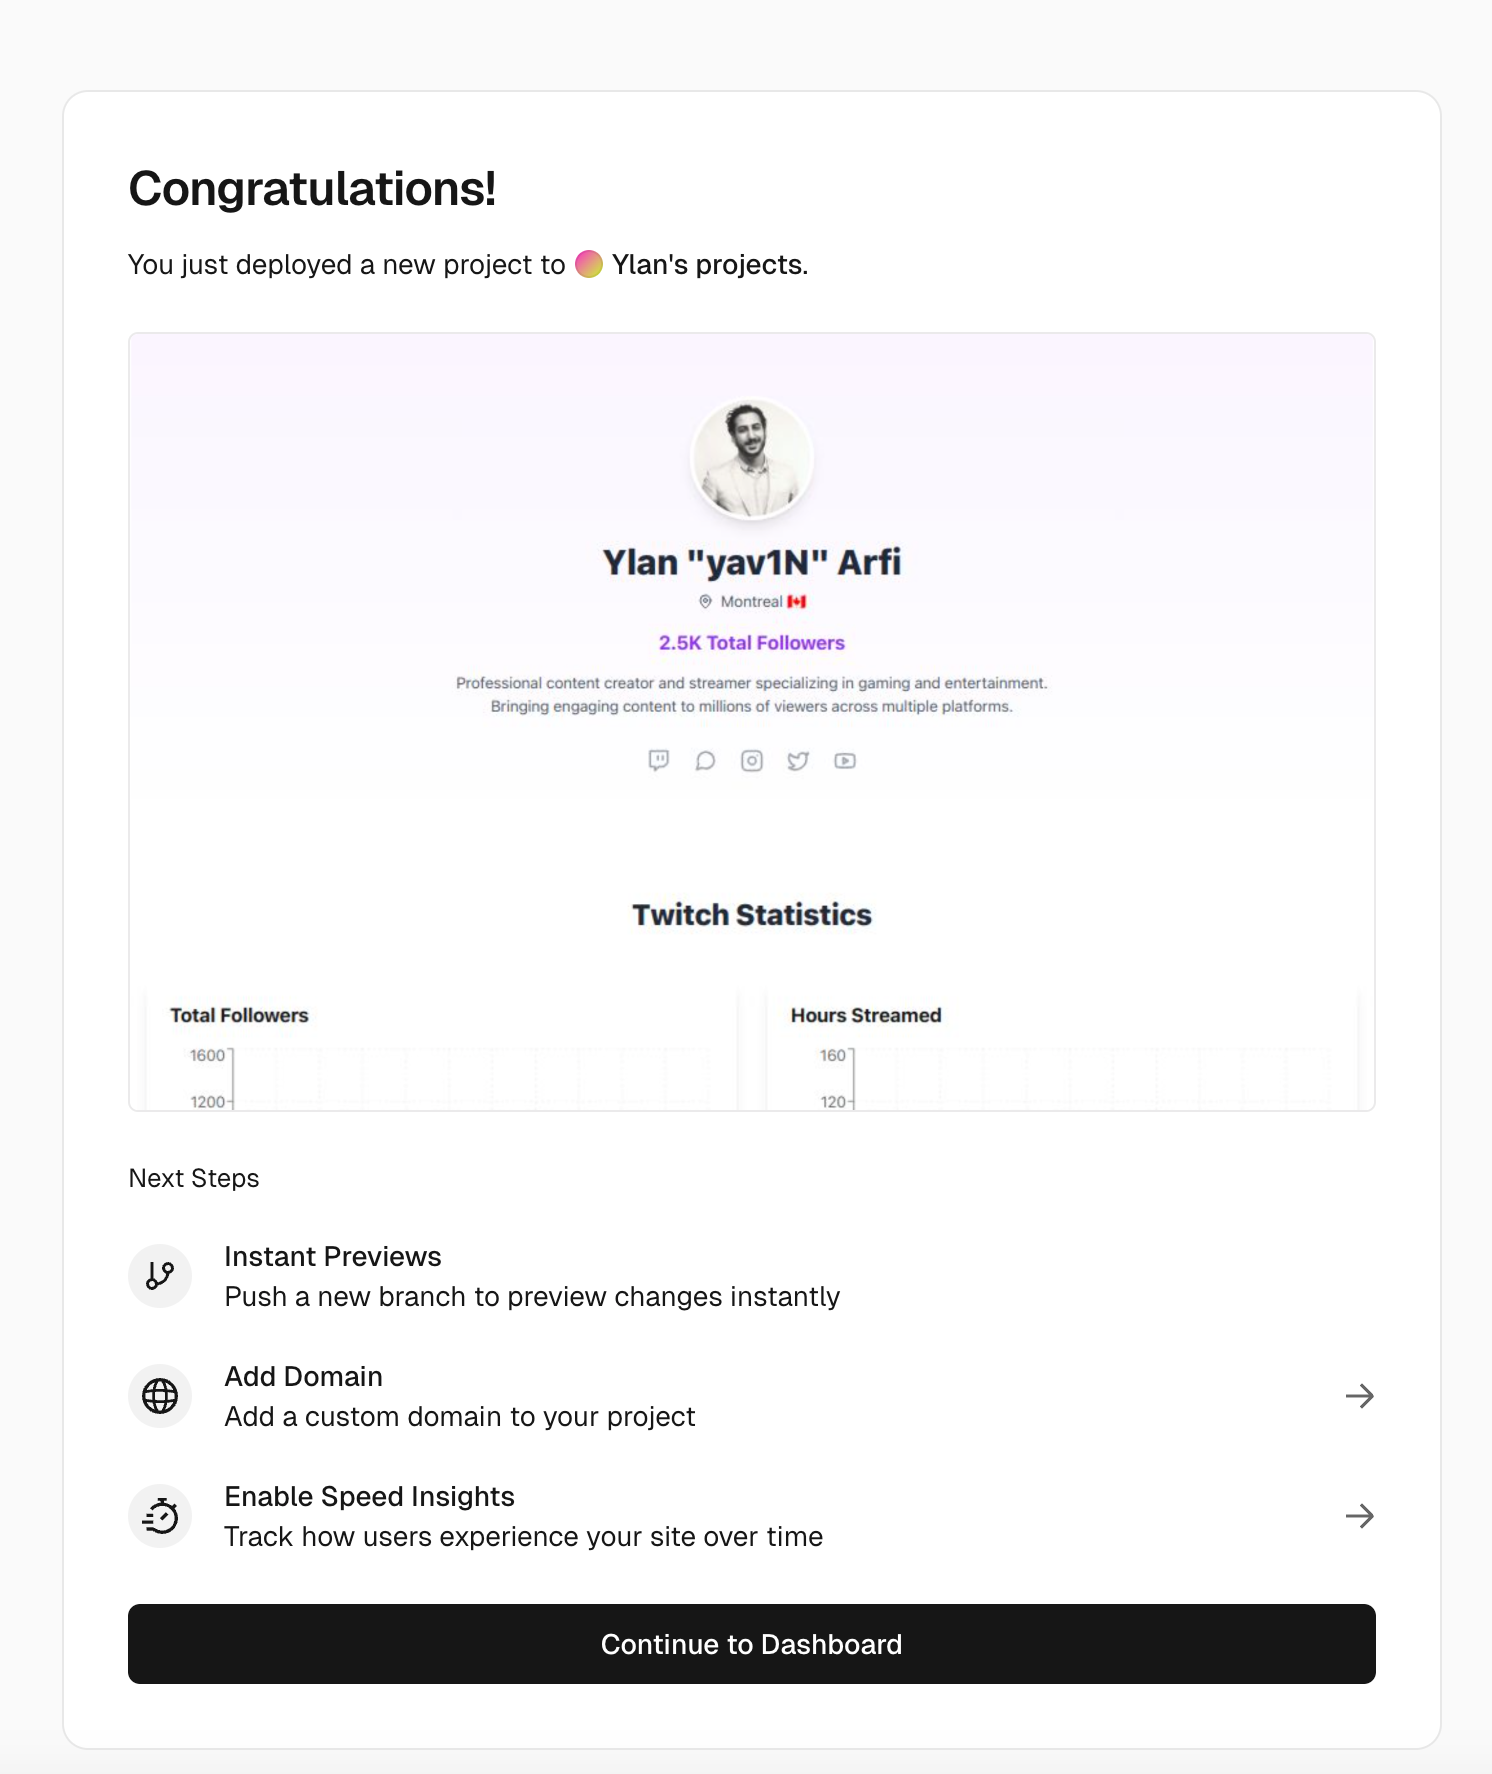
We recently wrote an article about setting up a React application locally on macOS as a side project. To complete the process, we’ll create a GitHub repository and deploy the project to a cloud hosting platform like Vercel. Let’s dive into the basics of version control and deploying to production!
This isn’t the first time we’ve covered Git on Tabloid, but we wanted to take it a step further by exploring how to deploy a project to production using Vercel.
Part 1: Push to GitHub
- First, create a new repository on GitHub:
- Go to github.com (create an account if you don't have one)
- Click the "+" icon in the top right corner
- Select "New repository"
- Name it "mediakit"
- Leave it public
- Don't initialize with any files
- Click "Create repository"
Initialize Git in your local project (in your terminal):
# Make sure you're in your project directory
cd yourprojectdirectory

# Initialize git
git init

# Add all files to git
git add .

# Create your first commit
git commit -m "Initial commit: Media Kit MVP"

# Add the GitHub repository as remote (replace YOUR_USERNAME with your GitHub username)
git remote add origin https://github.com/YOUR_USERNAME/mediakit.git

# Push your code to GitHub
git branch -M main
git push -u origin main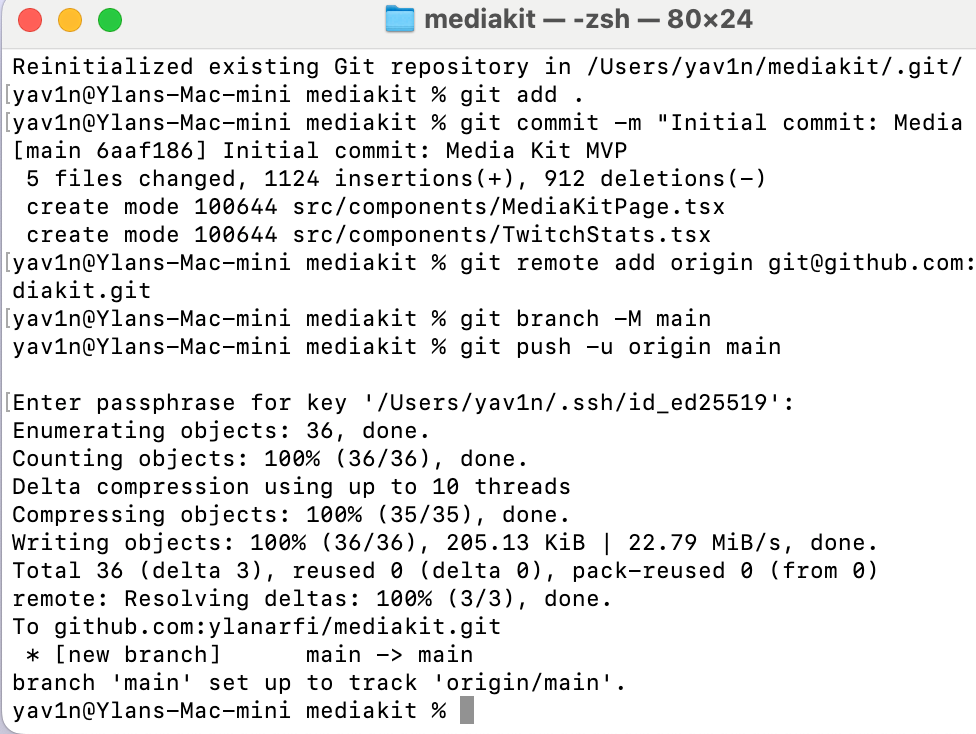
Part 2: Deploy on Vercel
- Go to vercel.com
- Sign up/Login with your GitHub account
- Once logged in:
- Click "Add New..."
- Select "Project"
- You should see your "mediakit" repository listed
- Select it
- Click "Import"
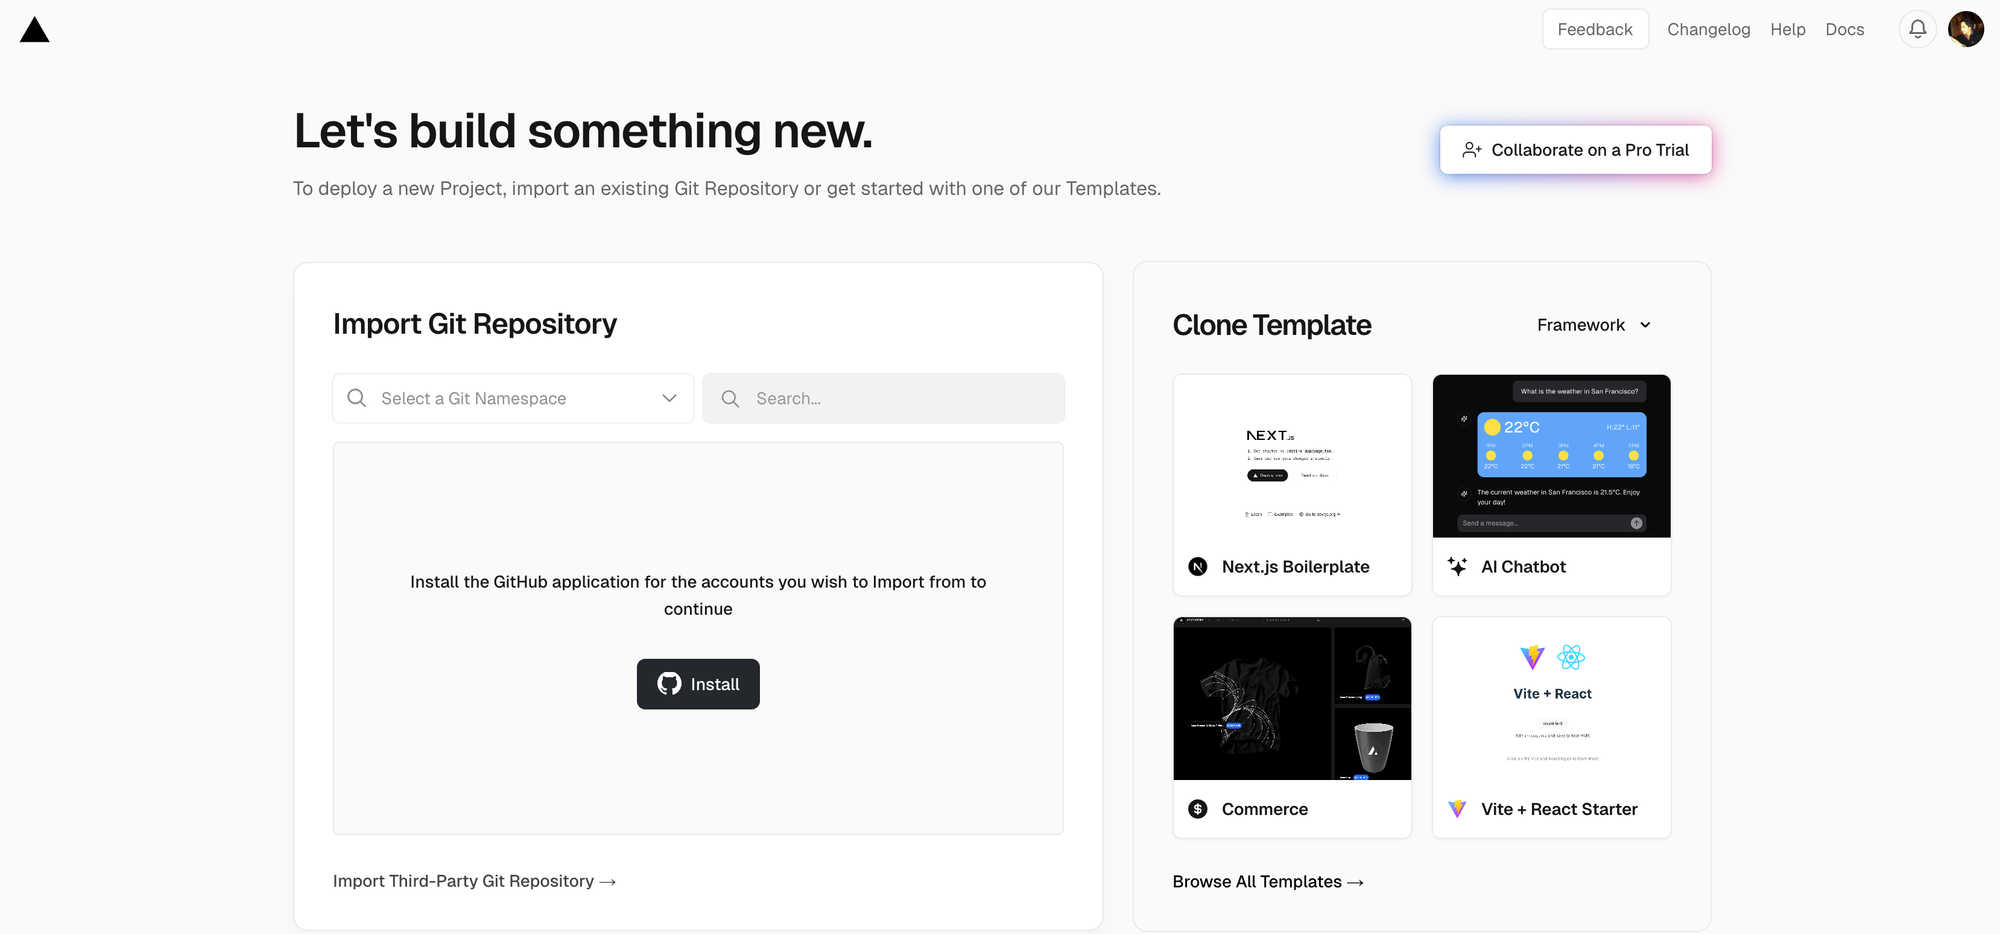
- 4. In the configuration screen:The defaults should work fine as Vercel automatically detects Next.jsProject Name: Keep it as is or customizeFramework Preset: Should be automatically set to Next.jsRoot Directory: Keep as is (should be ./)Click "Deploy"
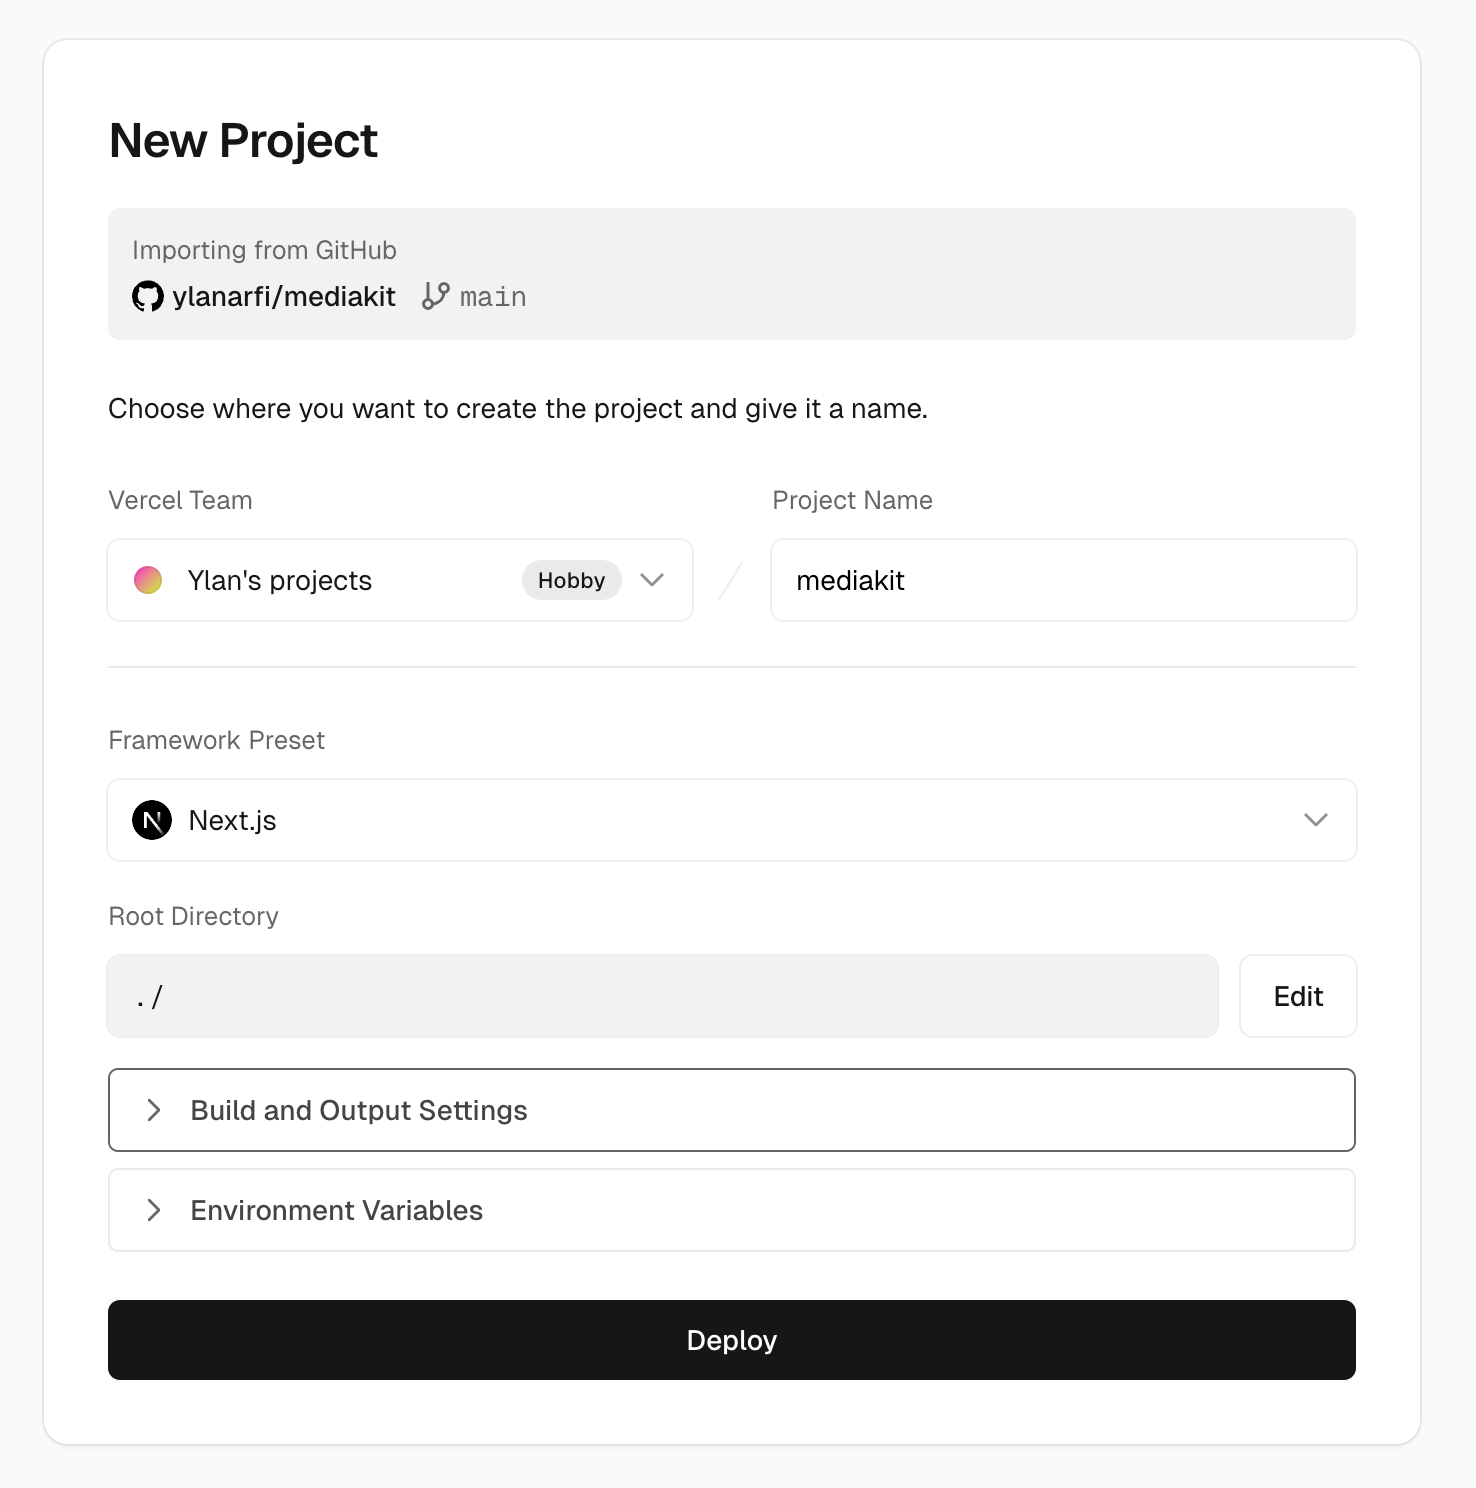
- 5. Vercel will now build and deploy your site. Once complete, you'll get a URL like:
https://mediakit-yourusername.vercel.appYou can also add a custom domain later if desired
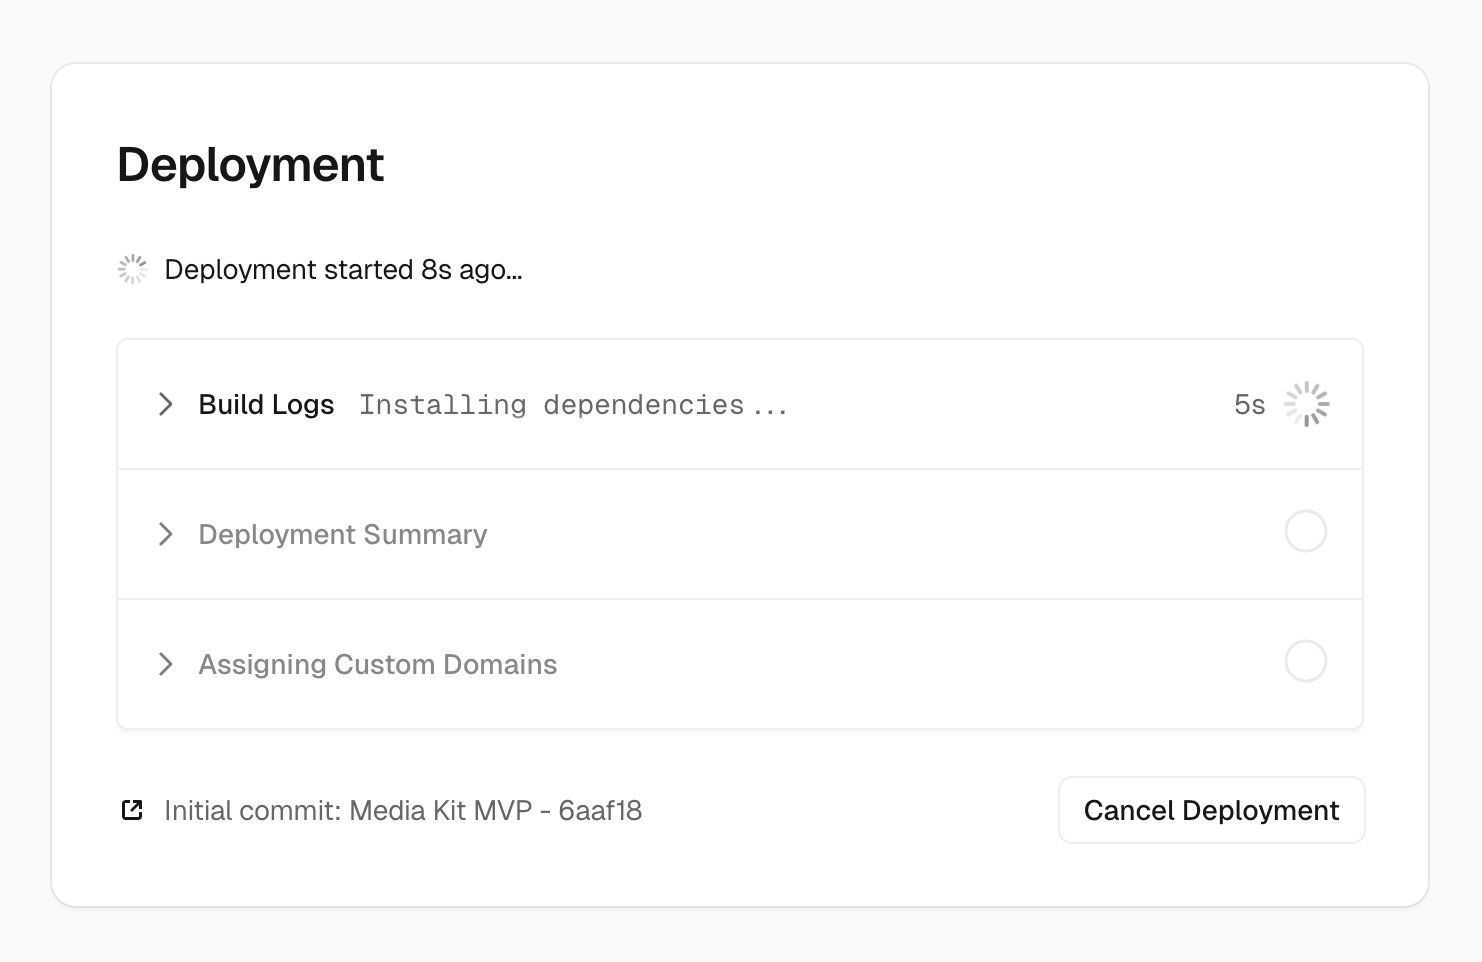
During the deployment process, you might experience issues but don't worry, it is part of the process to deploy from local to production. Especially when it comes to configuration files, they are always different and some requirements might apply.
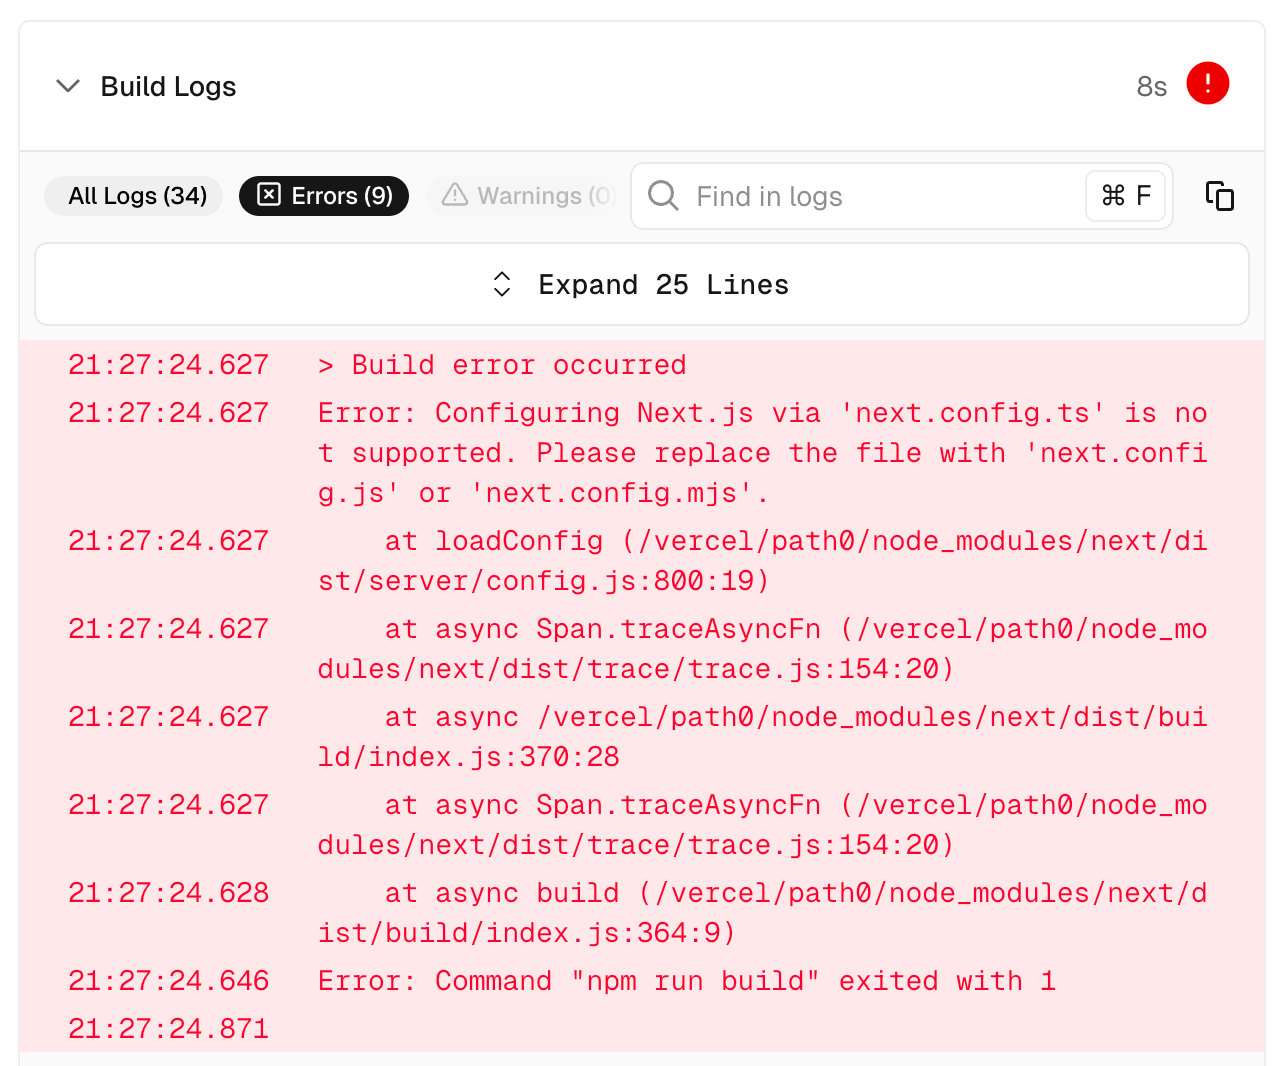
The error indicates that Next.js doesn't support configuration via next.config.ts. Let's fix this by converting it to next.config.js. Here's what to do:
- In our project directory, we check if we have a
next.config.tsfile:
- If you have
next.config.ts, remove it and createnext.config.js:
# Remove the TypeScript version if it exists
rm next.config.ts

# Create next.config.js
touch next.config.js- Add this content to
next.config.js:
/** @type {import('next').NextConfig} */
const nextConfig = {
  reactStrictMode: true,
  images: {
    domains: [
      'media.licdn.com',
      'images-wixmp-ed30a86b8c4ca887773594c2.wixmp.com',
      'yt3.googleusercontent.com',
      'pbs.twimg.com'
    ],
  },
}

module.exports = nextConfig- Commit and push these changes:
git commit -m "Fix: Replace next.config.ts with next.config.js"
git push
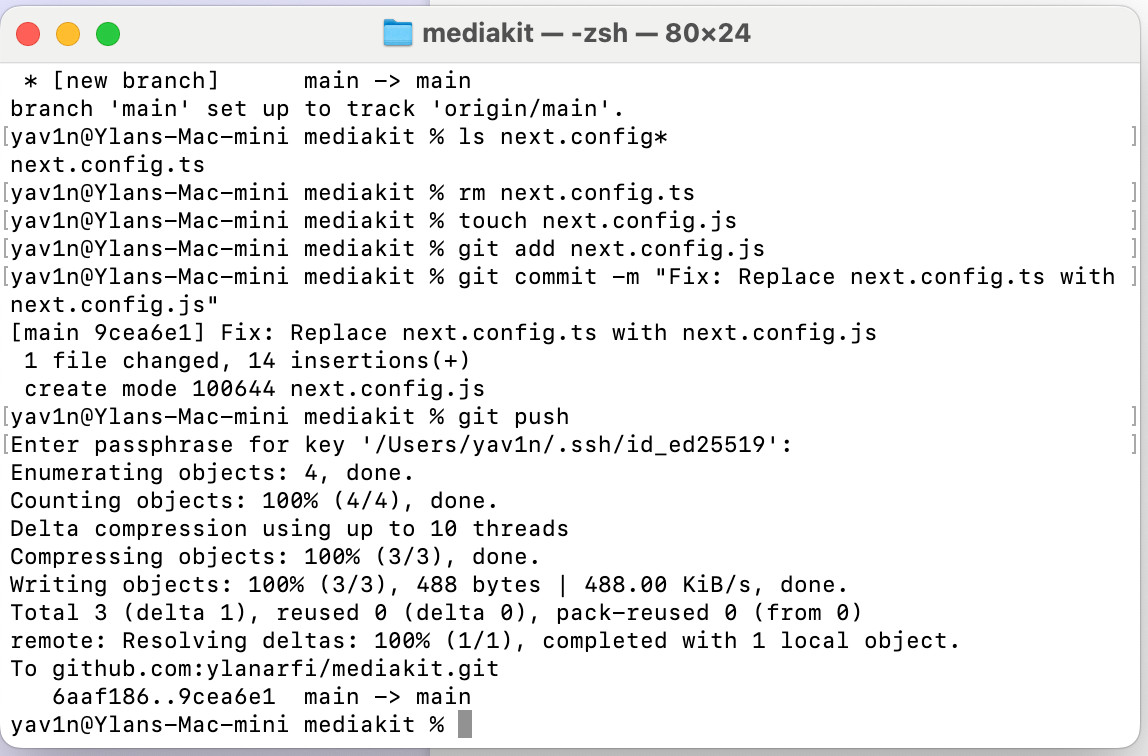
The images configuration is necessary to allow Next.js to load your external images. Vercel should automatically start a new deployment when you push these changes.
