

A QNAP NAS is essentially your own personal or small business cloud, giving you a centralized space to store everything from important files and backups to media libraries. It’s designed to make file sharing, media streaming, and remote access incredibly easy. Whether you're backing up important documents, streaming movies, or collaborating on projects, a QNAP NAS provides a secure, scalable, and user-friendly solution for managing your data from anywhere. Plus, with robust security features and seamless integration with other devices, you can ensure your data is safe and always accessible.
Prerequisite: Qfinder Pro
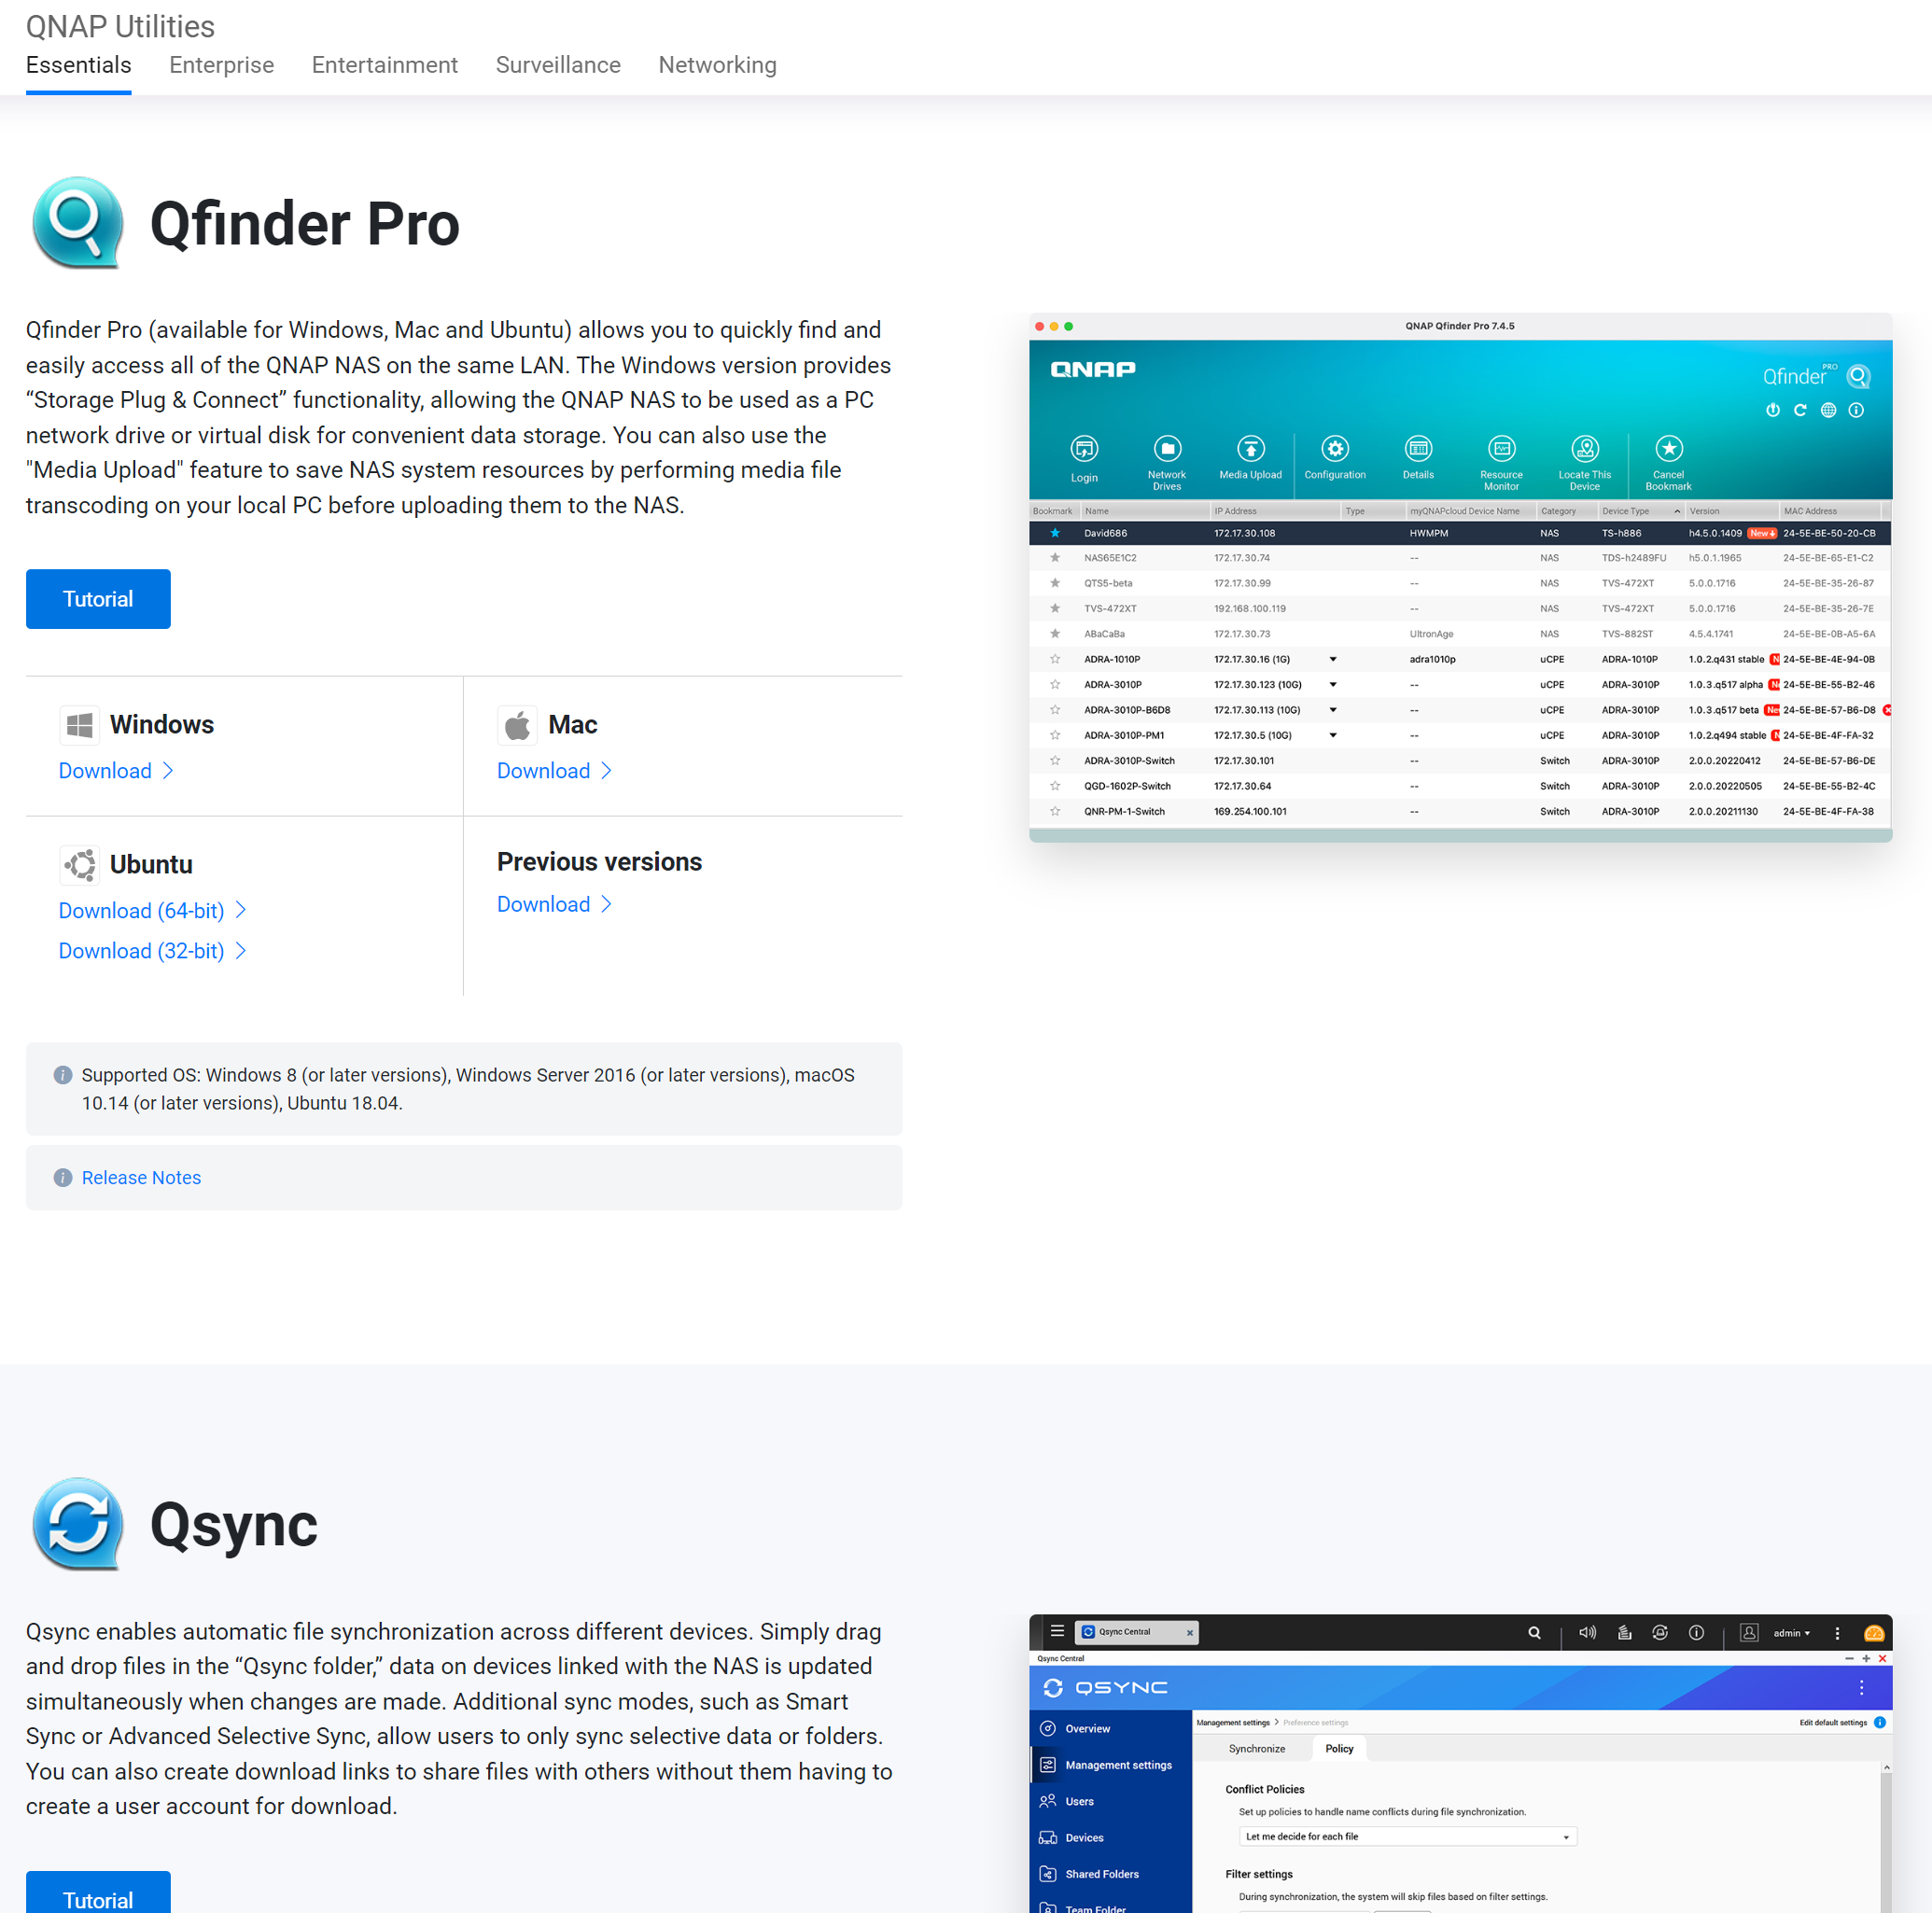
To begin, you will need the Qfinder Pro software, which you can find directly on the official QNAP website: https://www.qnap.com/en-us/utilities/essentials#utliity_5
Download the version corresponding to your operating system. In our case, it's Windows.
Make sure your NAS is connected to the network to allow Qfinder to identify it with all the necessary information.

Initialization: User and IP (DHCP)
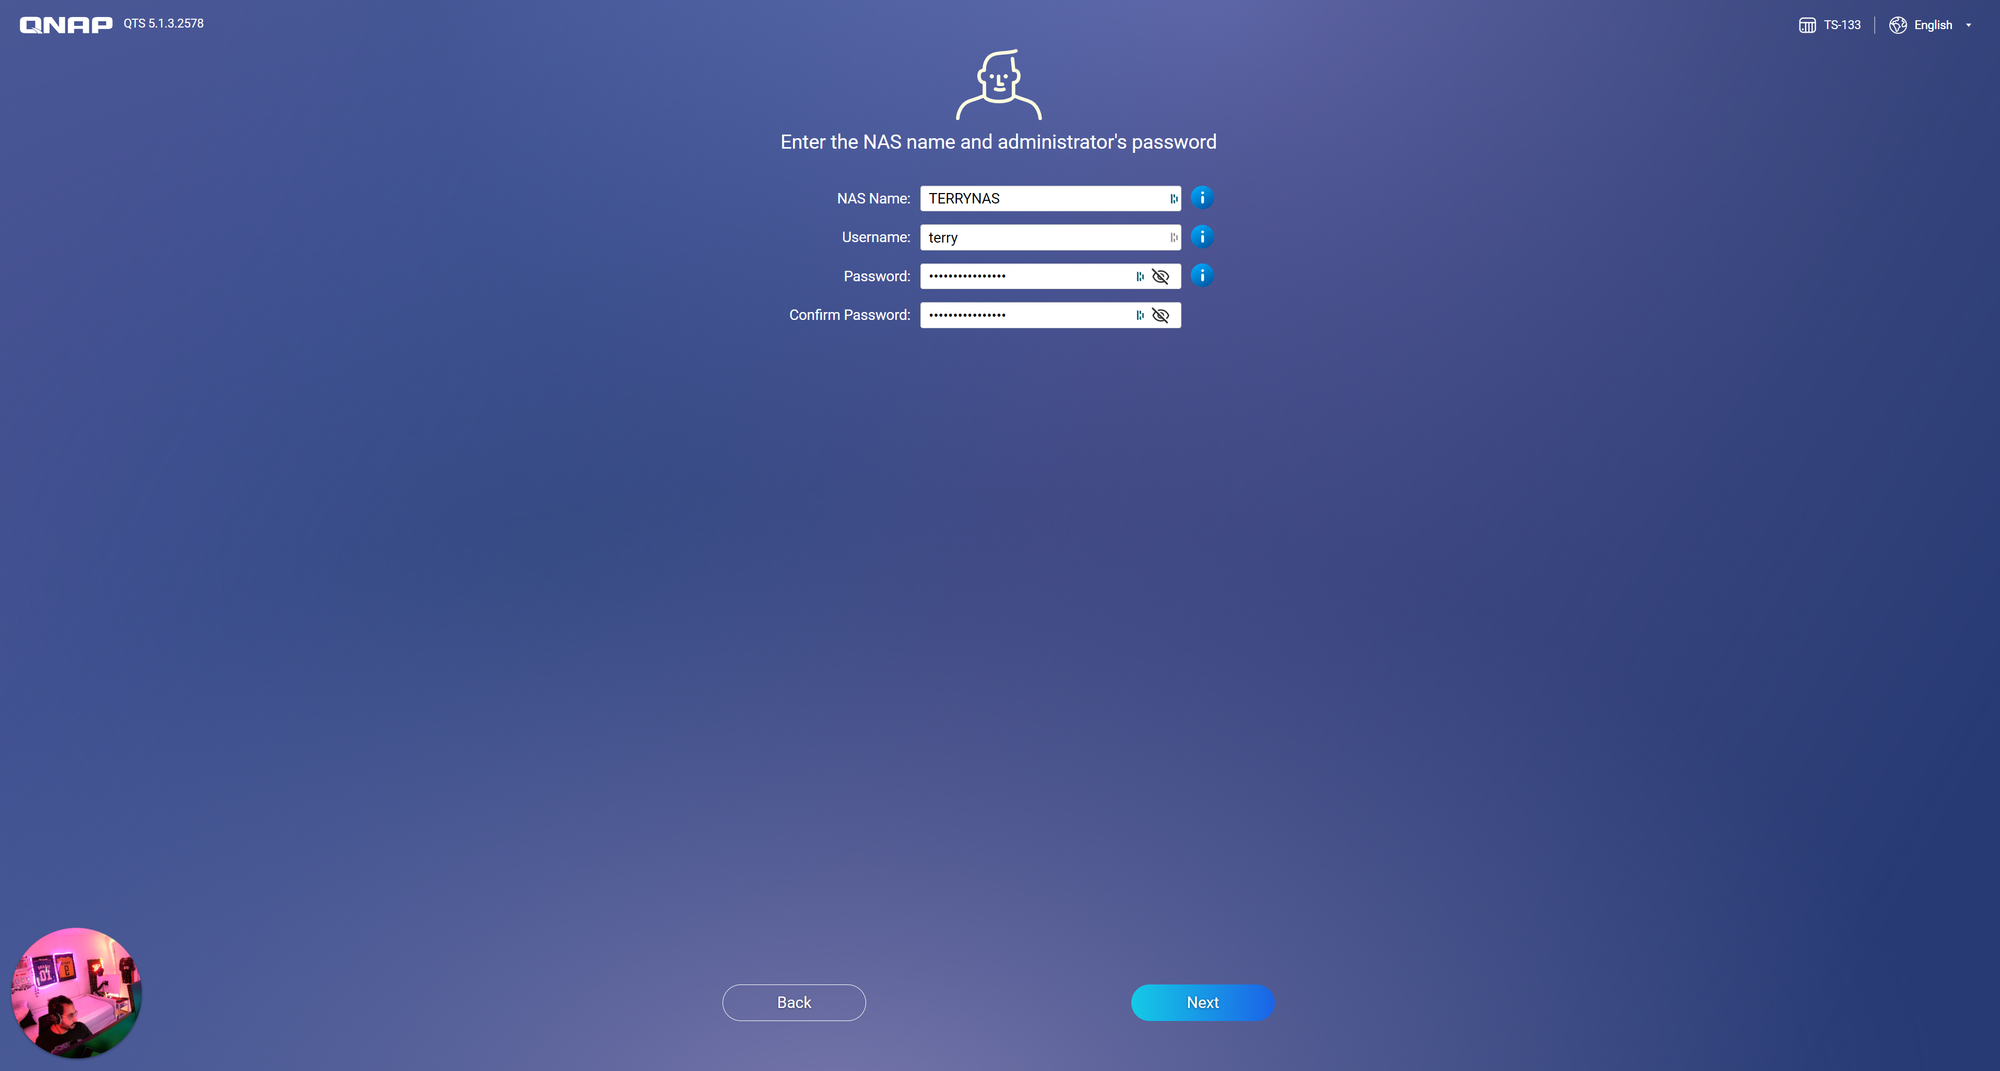
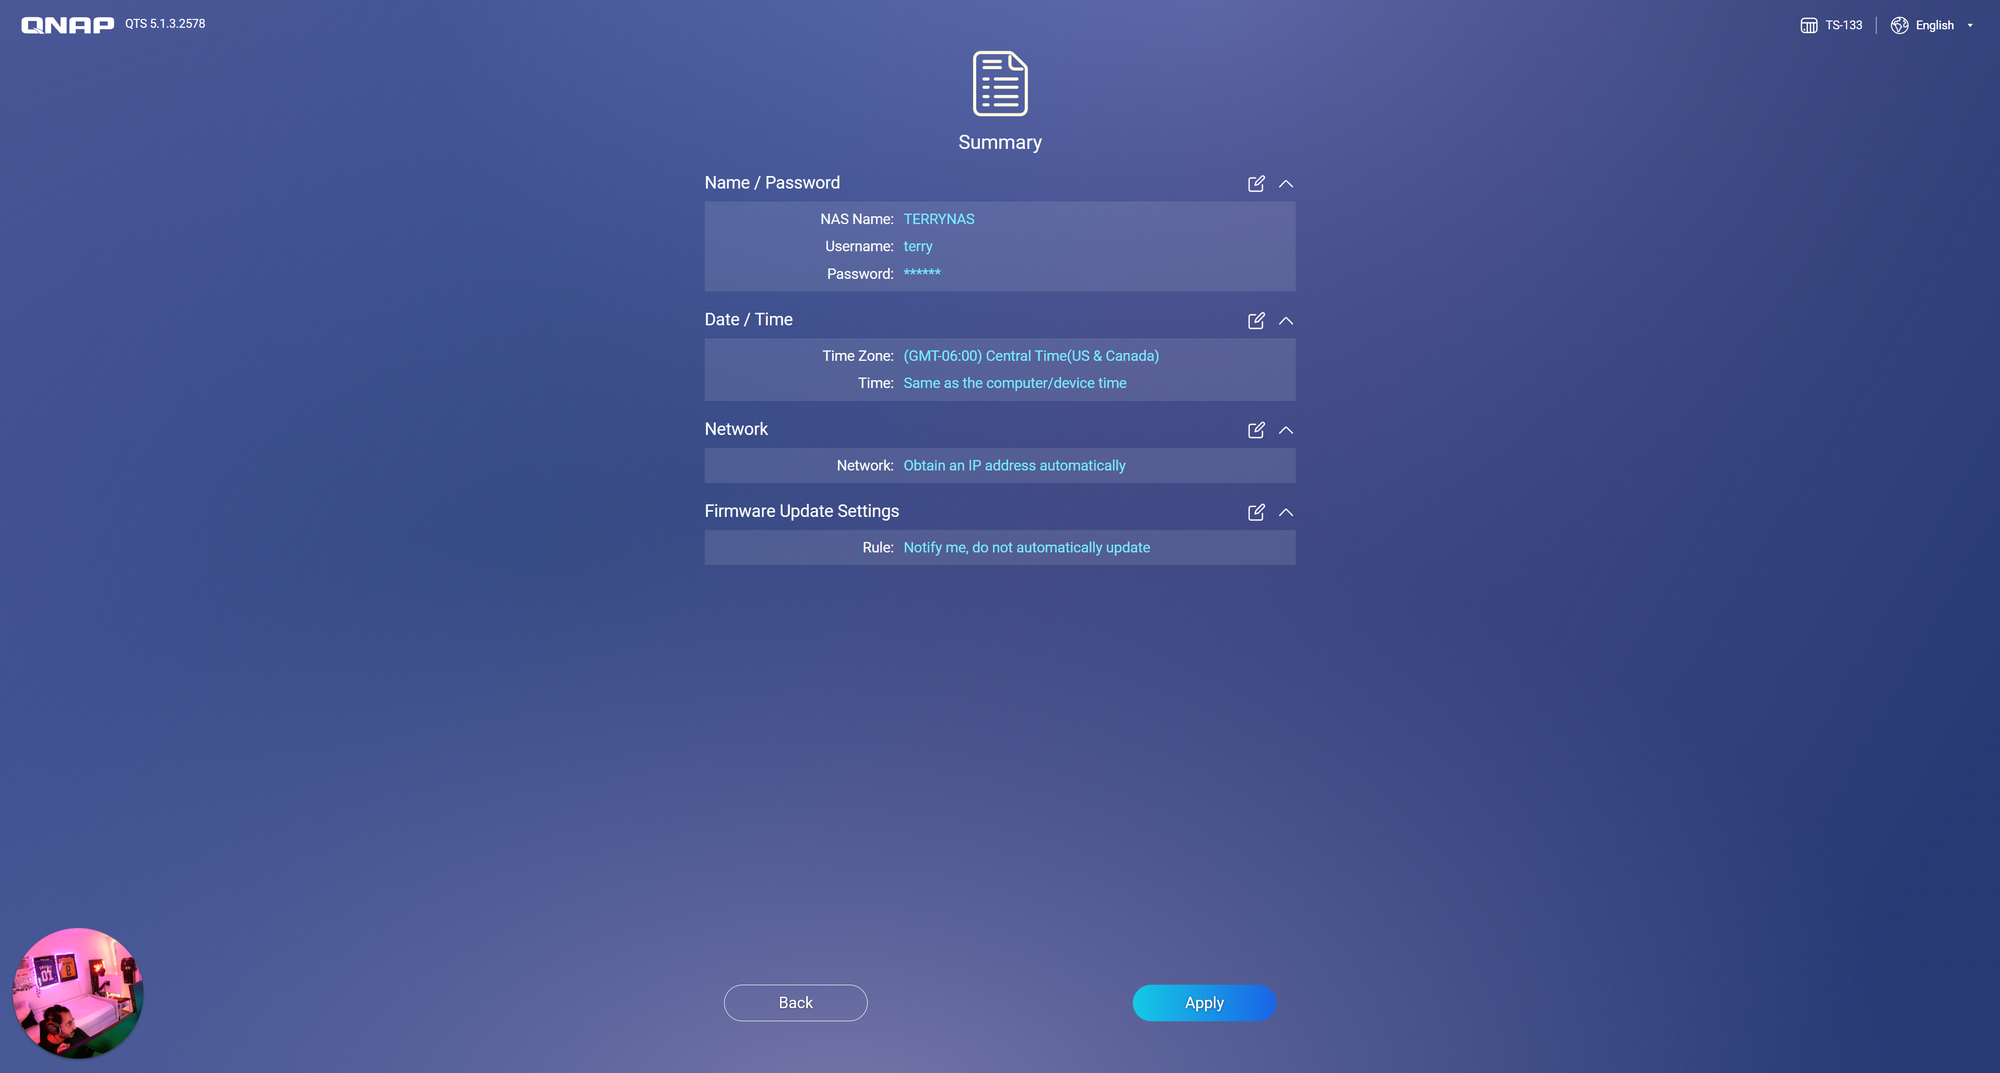
It's time to configure the credentials for your NAS, as well as the name and IP address you will assign to it. In our case, we are leaving the network's dynamic allocation (DHCP) enabled so it can find an available IP address.
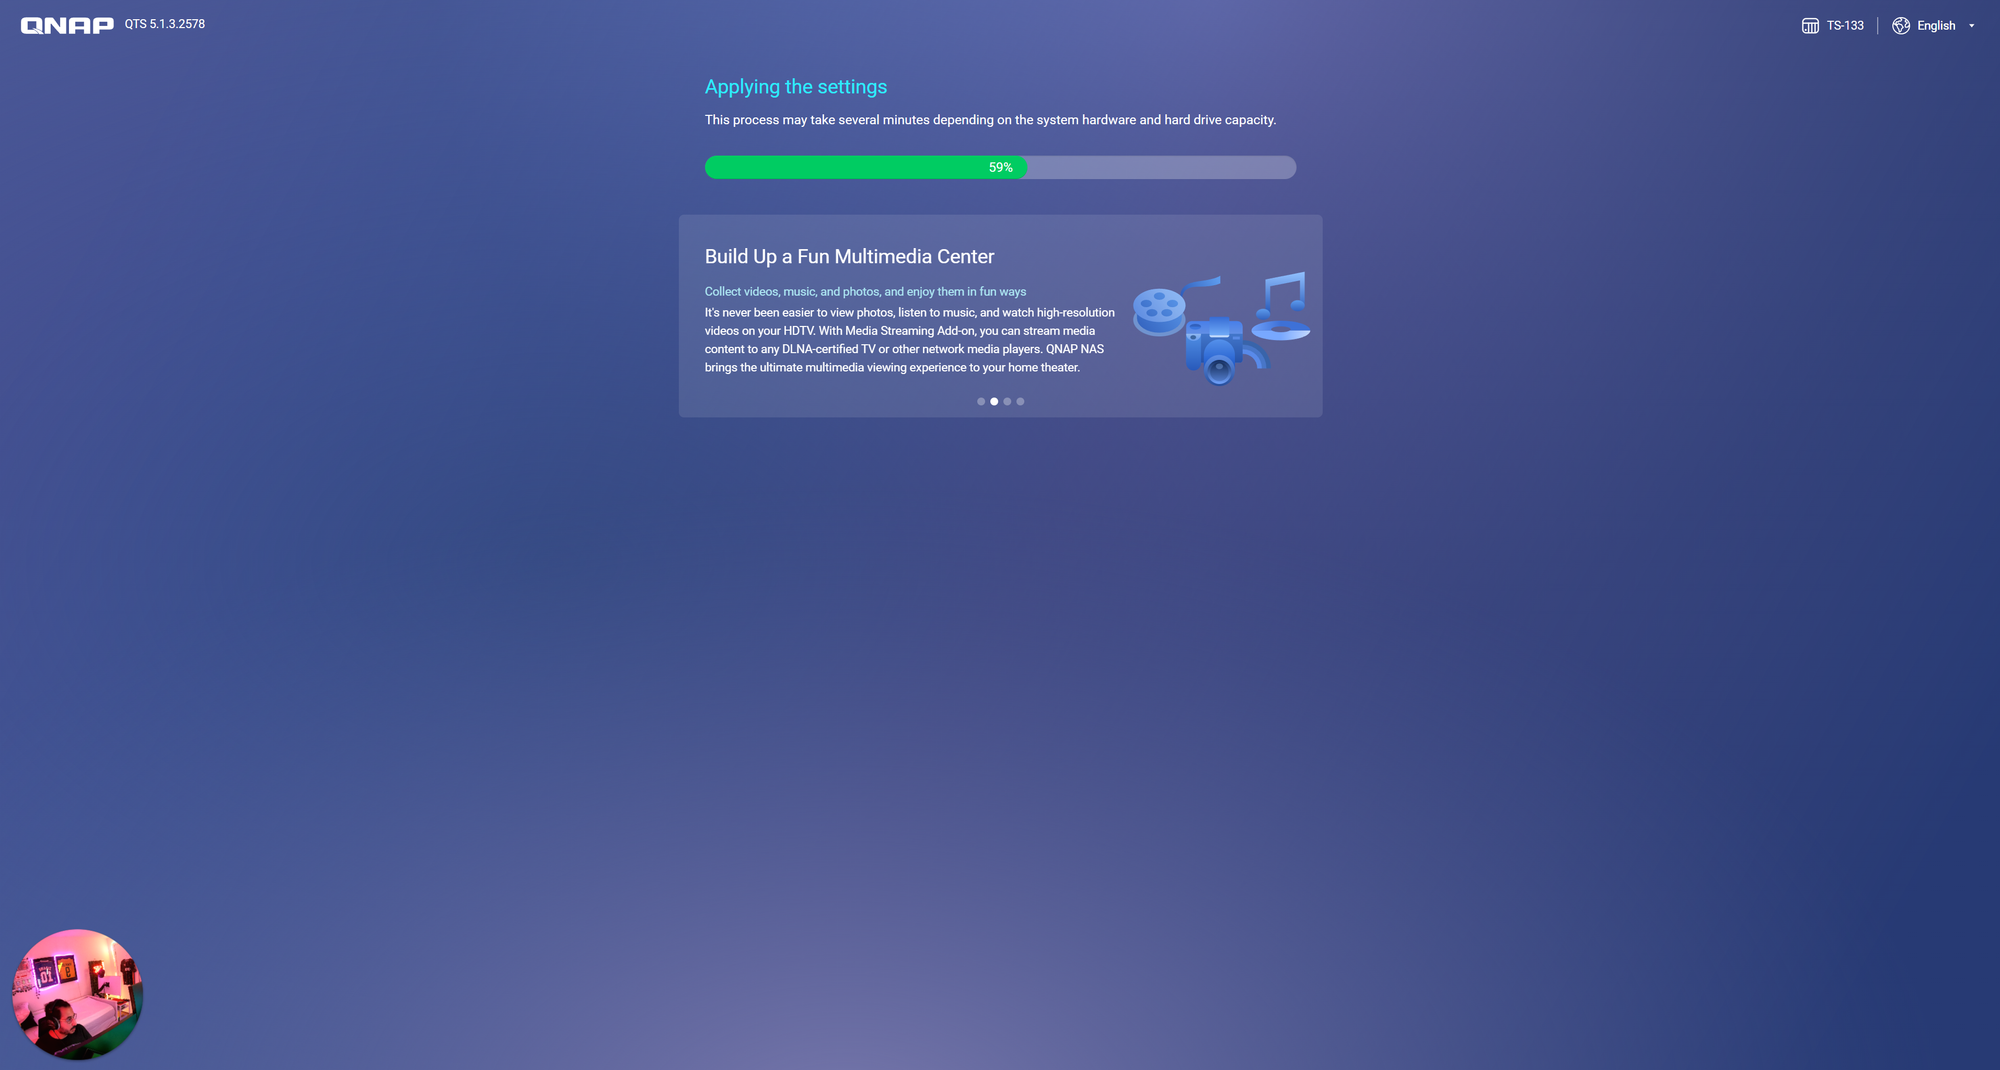
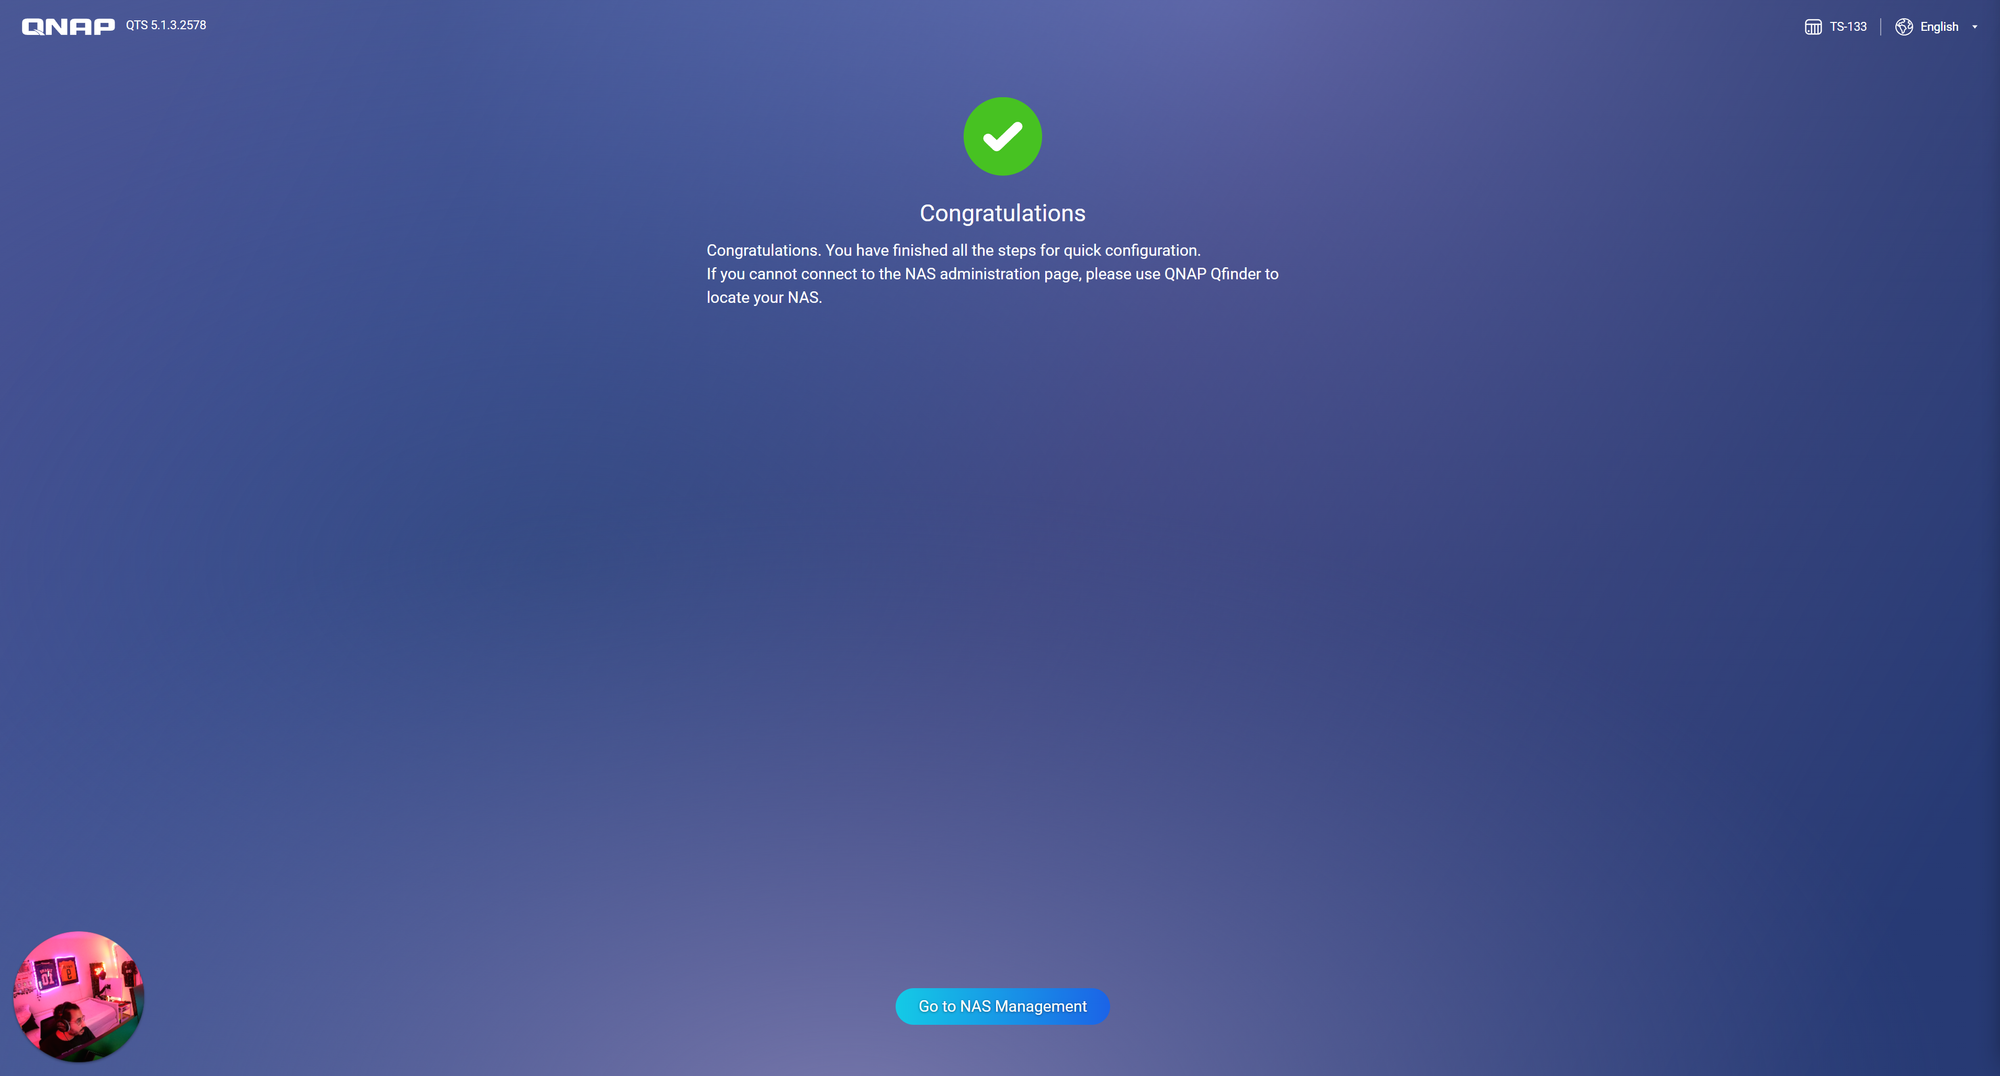
Finally, QNAP will proceed with the quick installation of your NAS, and you should receive a message indicating that it was successfully completed.
myQNAPcloud: QNAP Account & Device
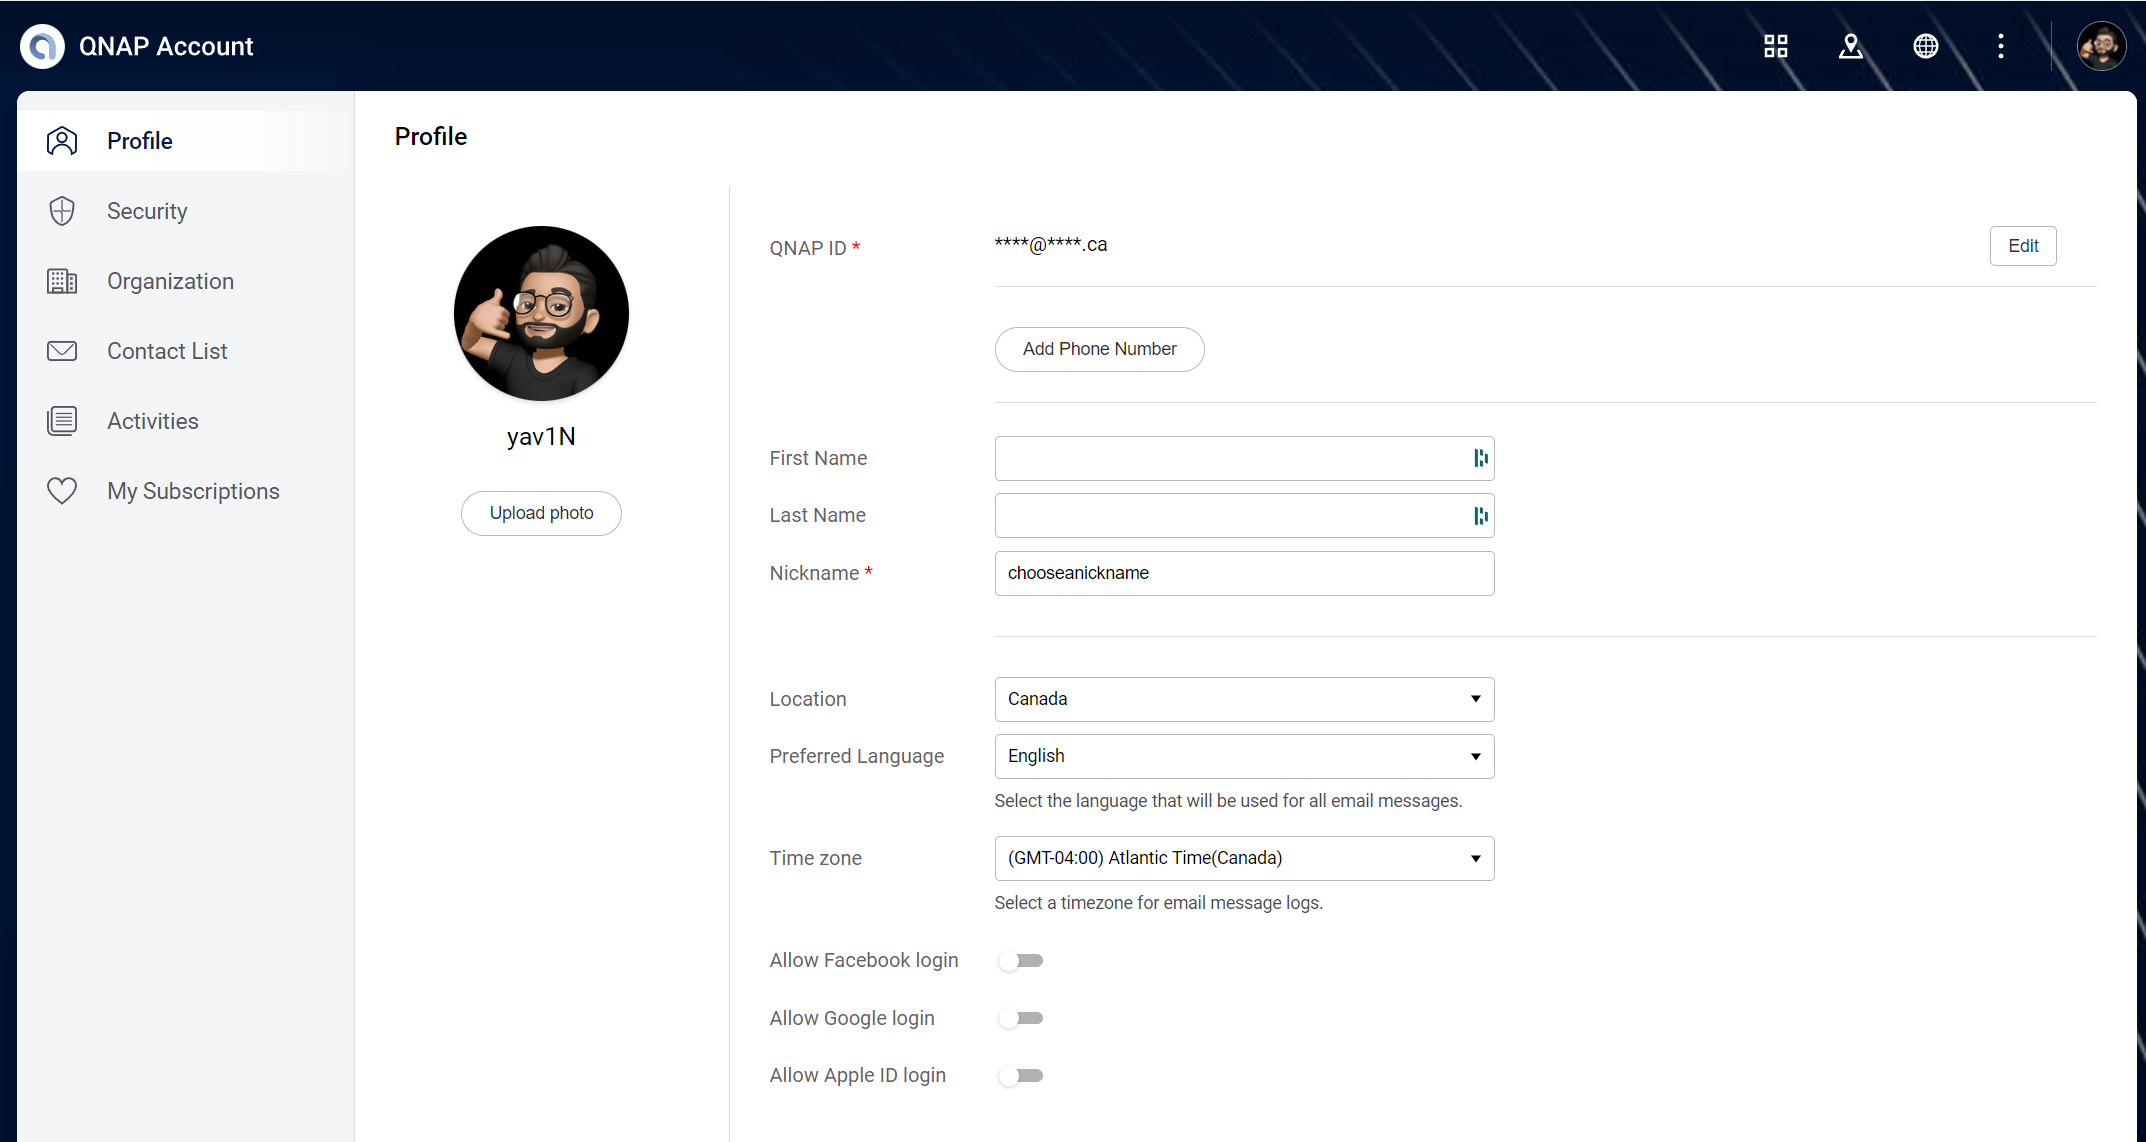
Before going forward, you will have to create a QNAP account, choose a nickname and select your email address. We suggest you to use 2-Step Verification in order to increase security.
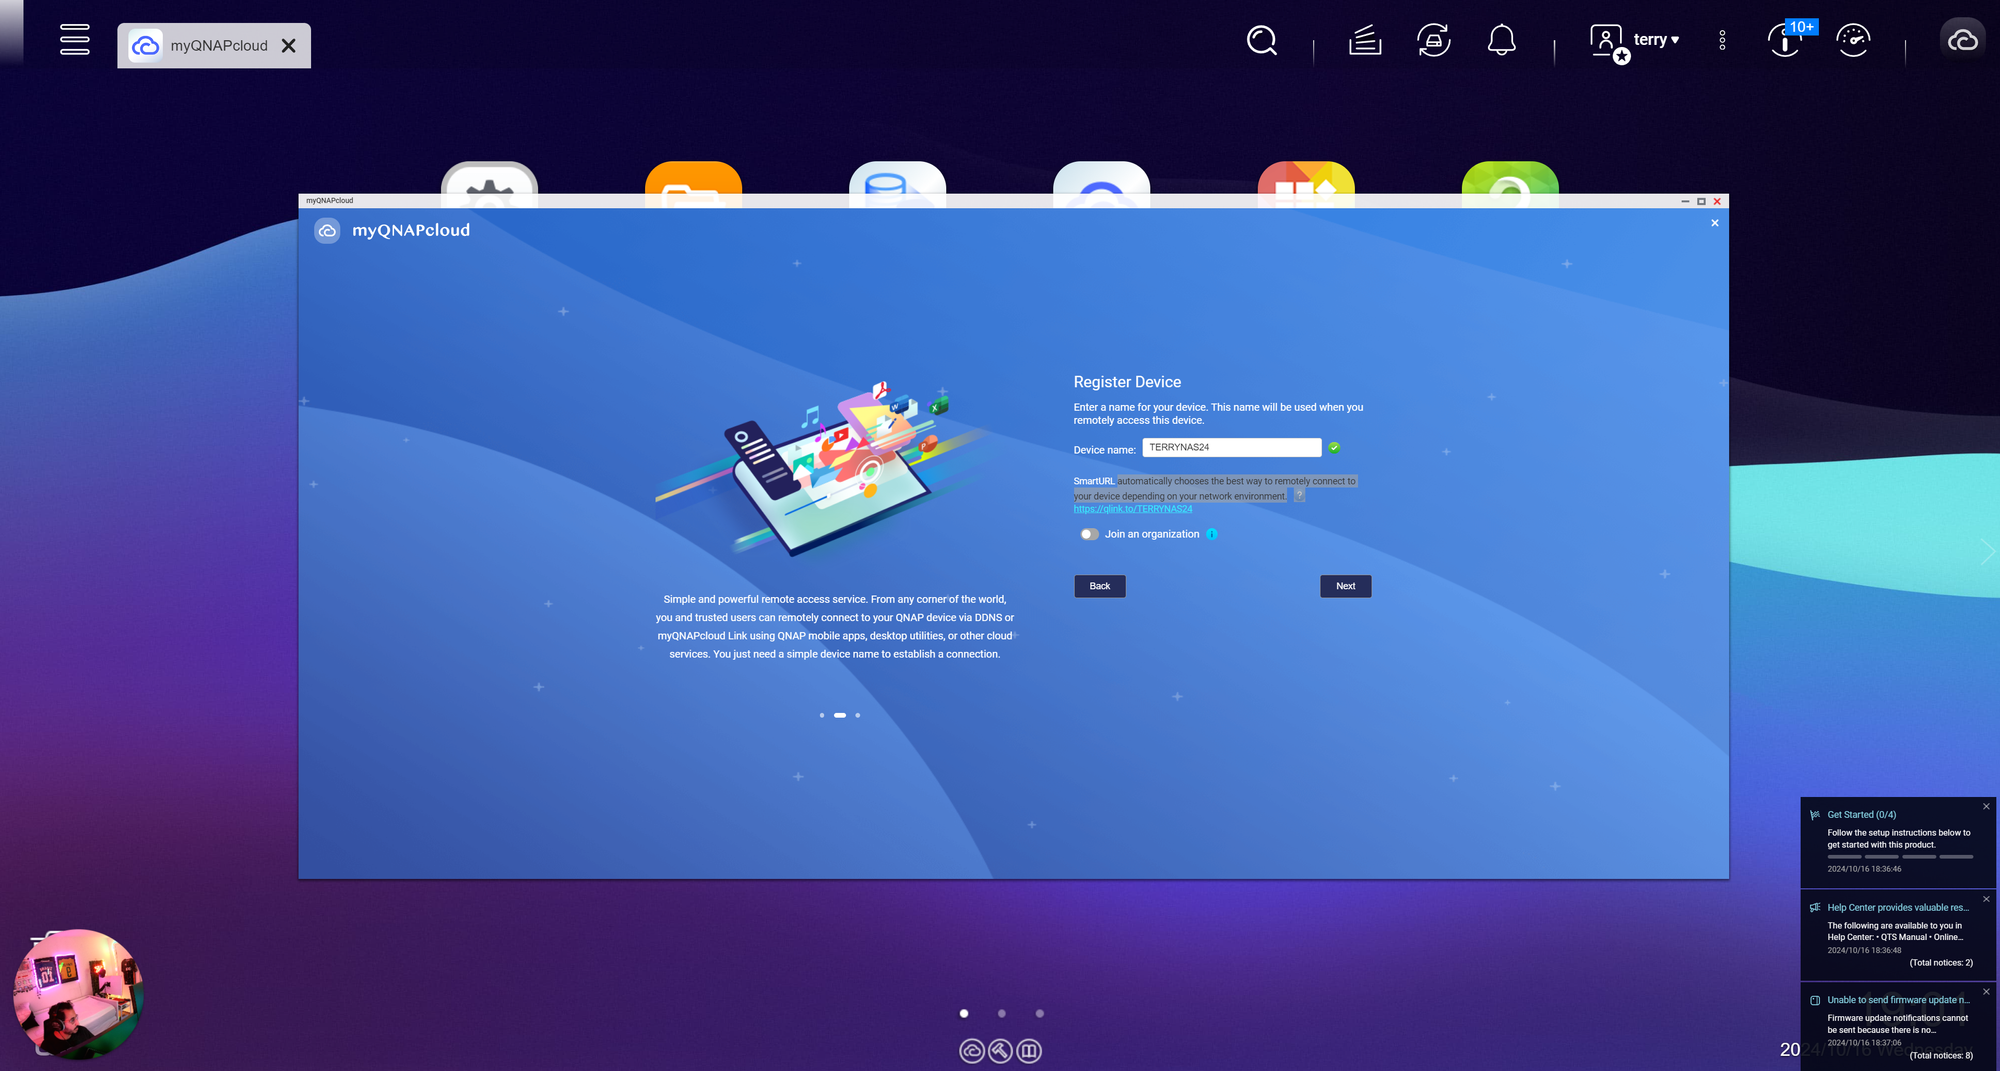
Next, you will need to register your device by assigning it a name so that QNAP can provide a SmartURL. It automatically chooses the best way to remotely connect to your device depending on your network environment.
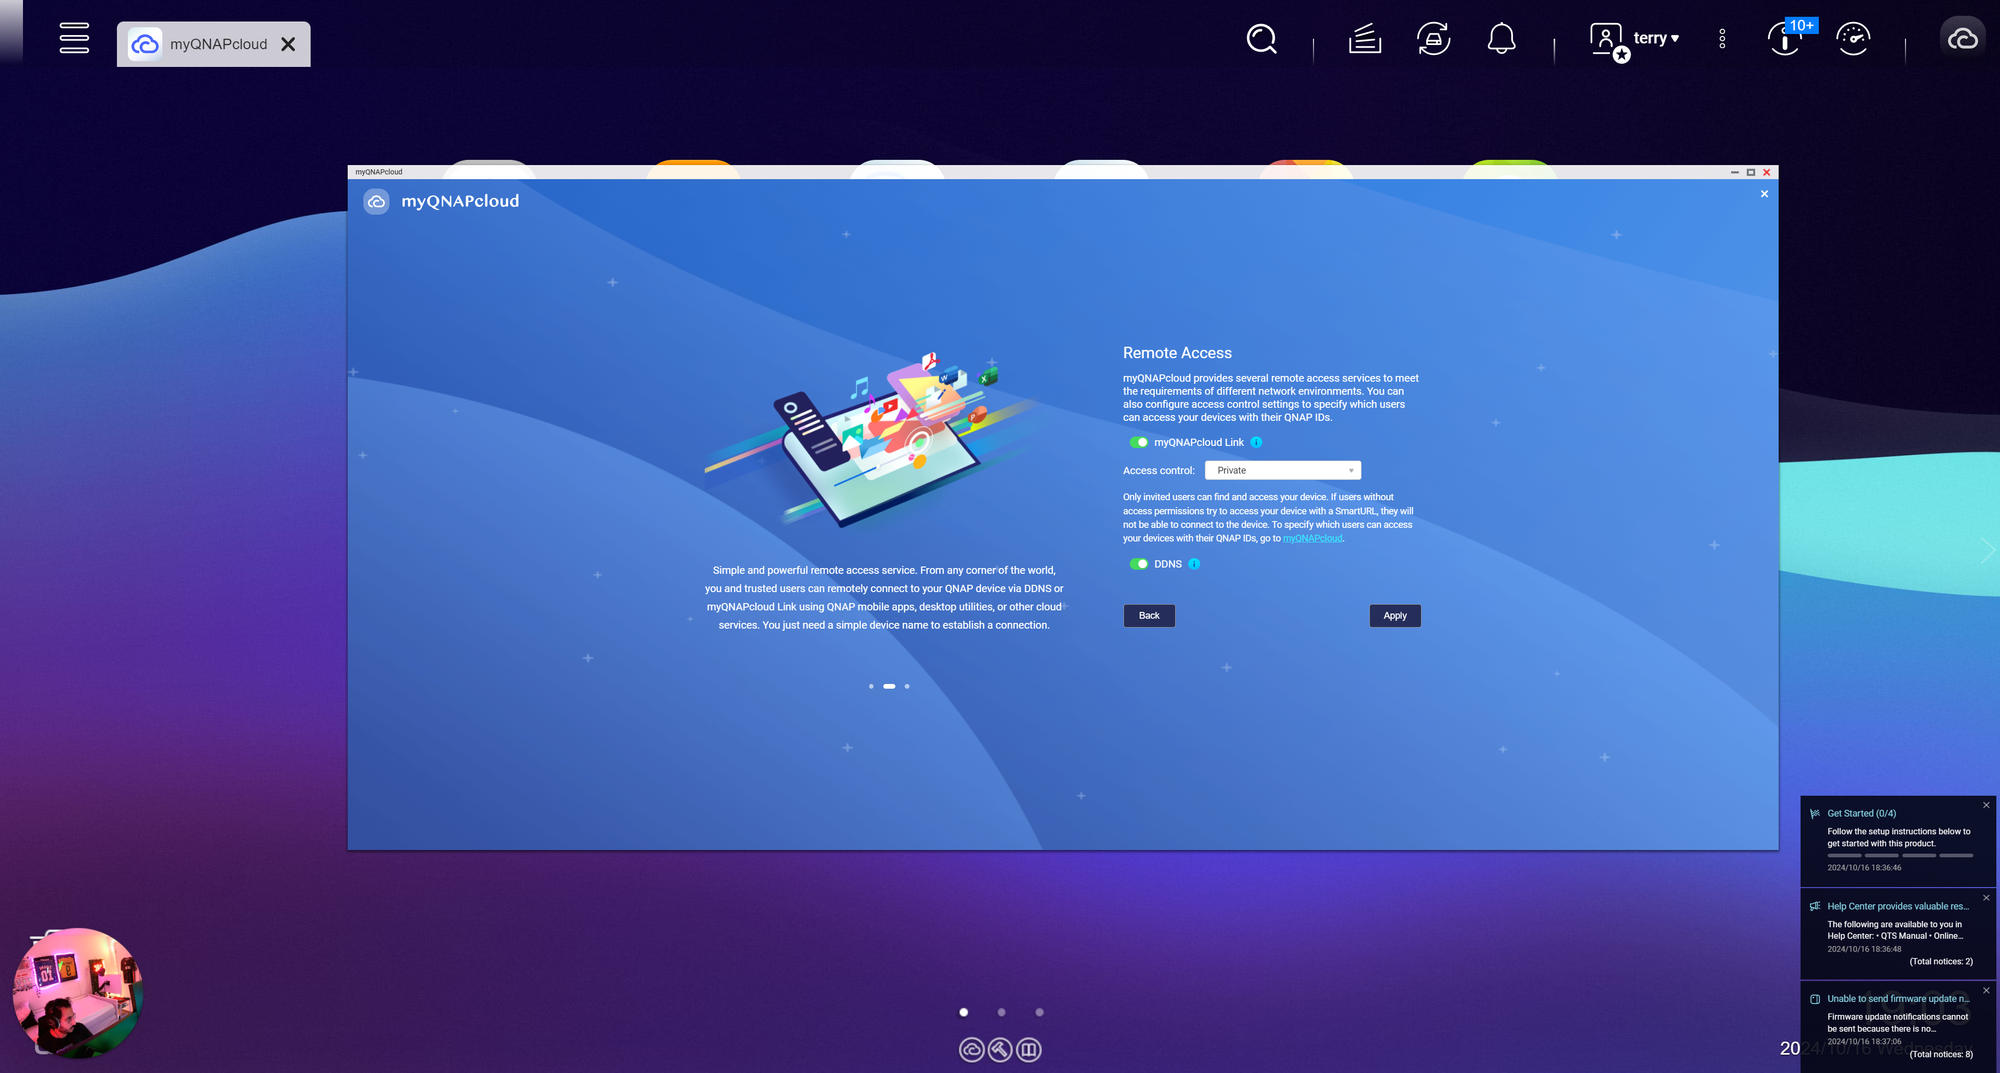
myQNAPcloud provides several remote access services to meet the requirements of different network environments. You can also configure access control settings to specify which users can access your devices with their QNAP IDs.
Back up Data to Another NAS Using Snapshots : Storage Pool
A storage pool on a QNAP NAS is a virtual storage layer that groups multiple physical hard drives or SSDs together into a single storage entity. It allows you to manage and allocate storage space more efficiently across different volumes and iSCSI LUNs. Storage pools are designed to provide flexibility and scalability, offering dynamic management of storage resources.

When to Use a Storage Pool
- Flexibility and Scalability: If you need flexible storage management where you can create multiple volumes with different use cases (e.g., file sharing, multimedia, backup), a storage pool is ideal.
- Snapshot Support: If you require snapshots for backup and recovery purposes, a storage pool with thin provisioning and snapshot capability is essential.
- Efficient Use of Space: Thin provisioning in storage pools can help you allocate storage dynamically without overcommitting physical space upfront.
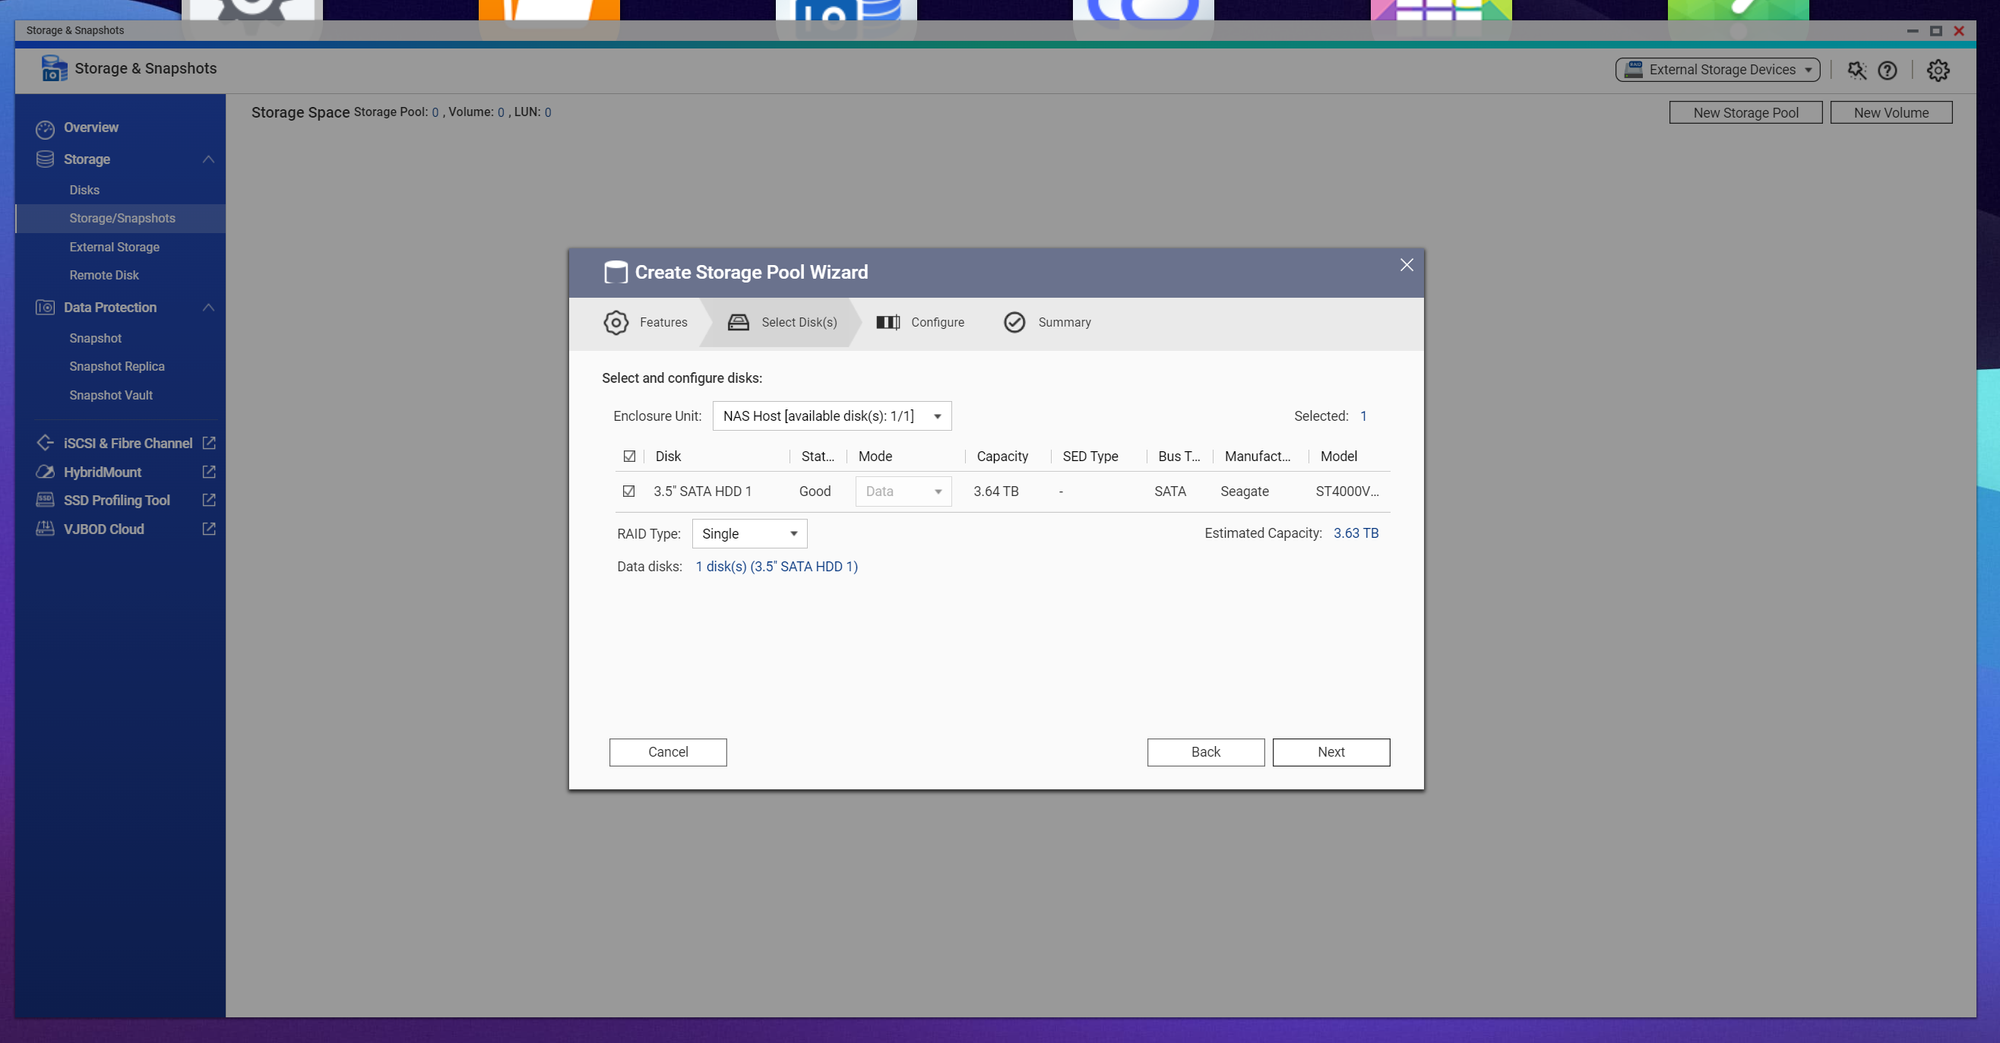
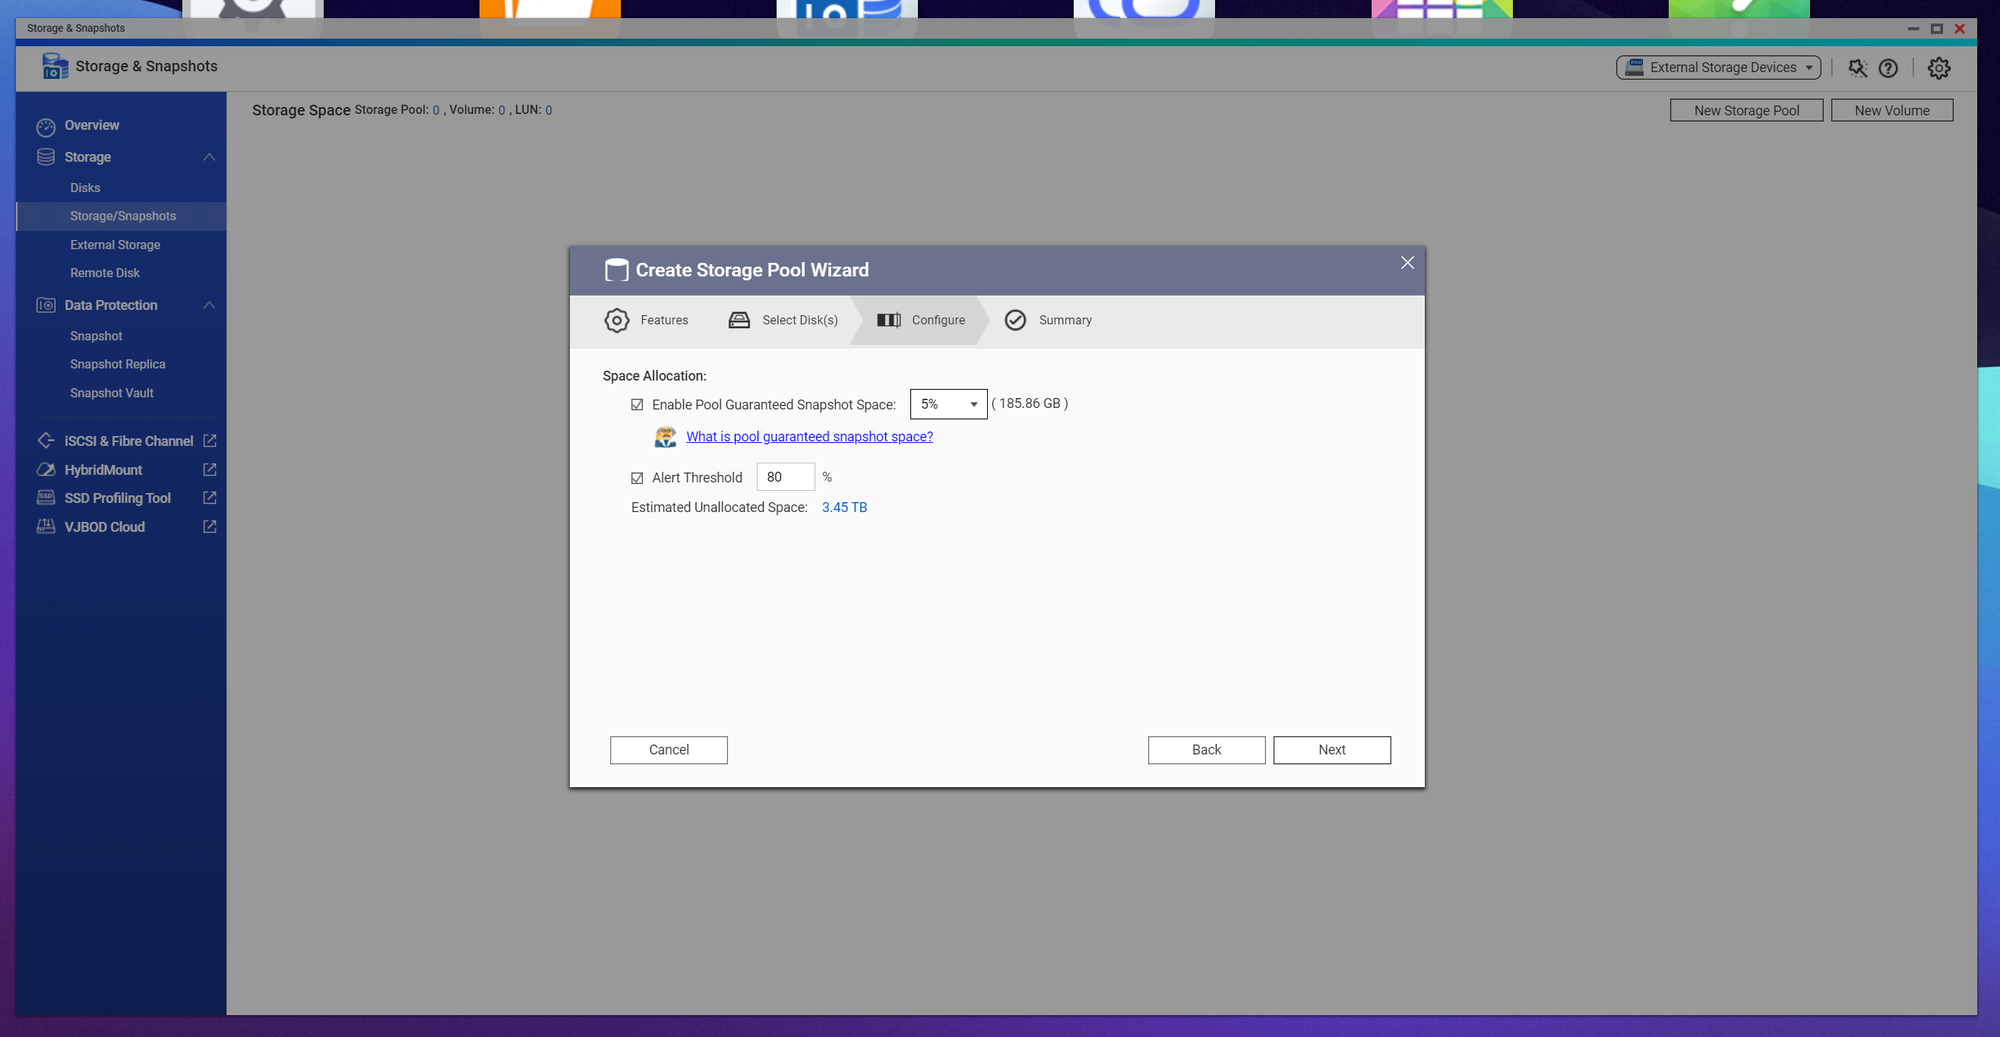
How to Create a Storage Pool on QNAP
- Log in to QTS and open Storage & Snapshots from the main dashboard.
- Select Storage/Snapshot and click Create > New Storage Pool.
- Choose the disks to include in the pool and select the RAID type.
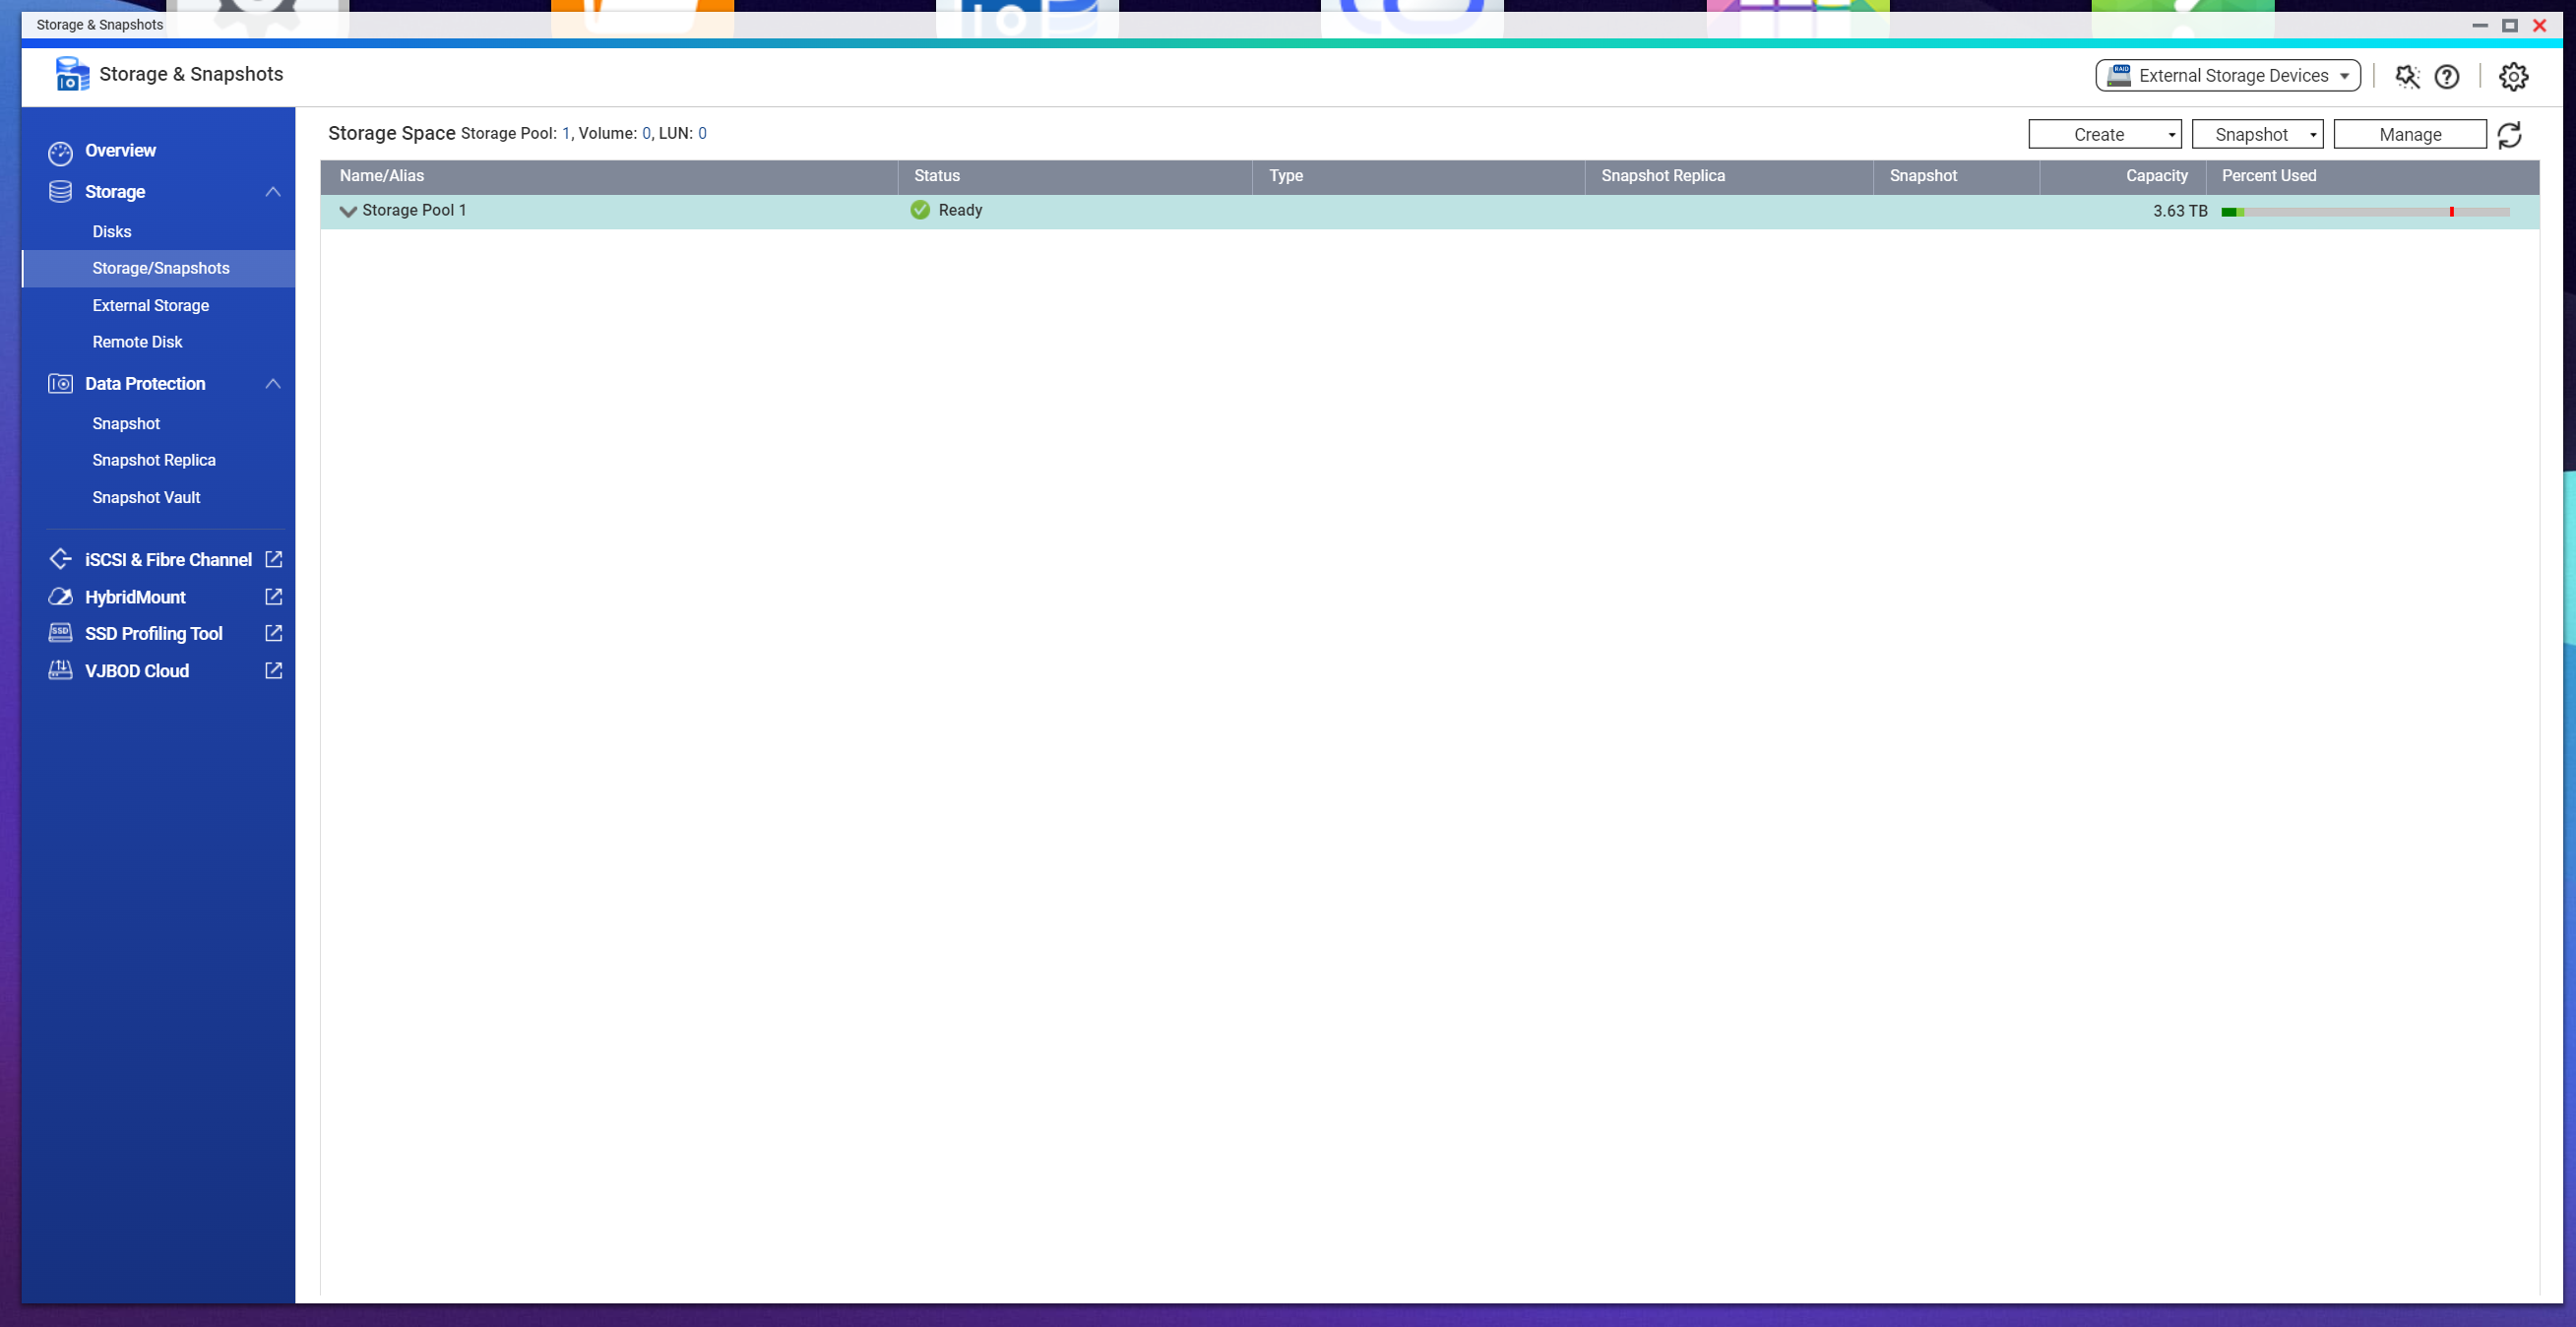
- Confirm and allow the system to initialize the storage pool.
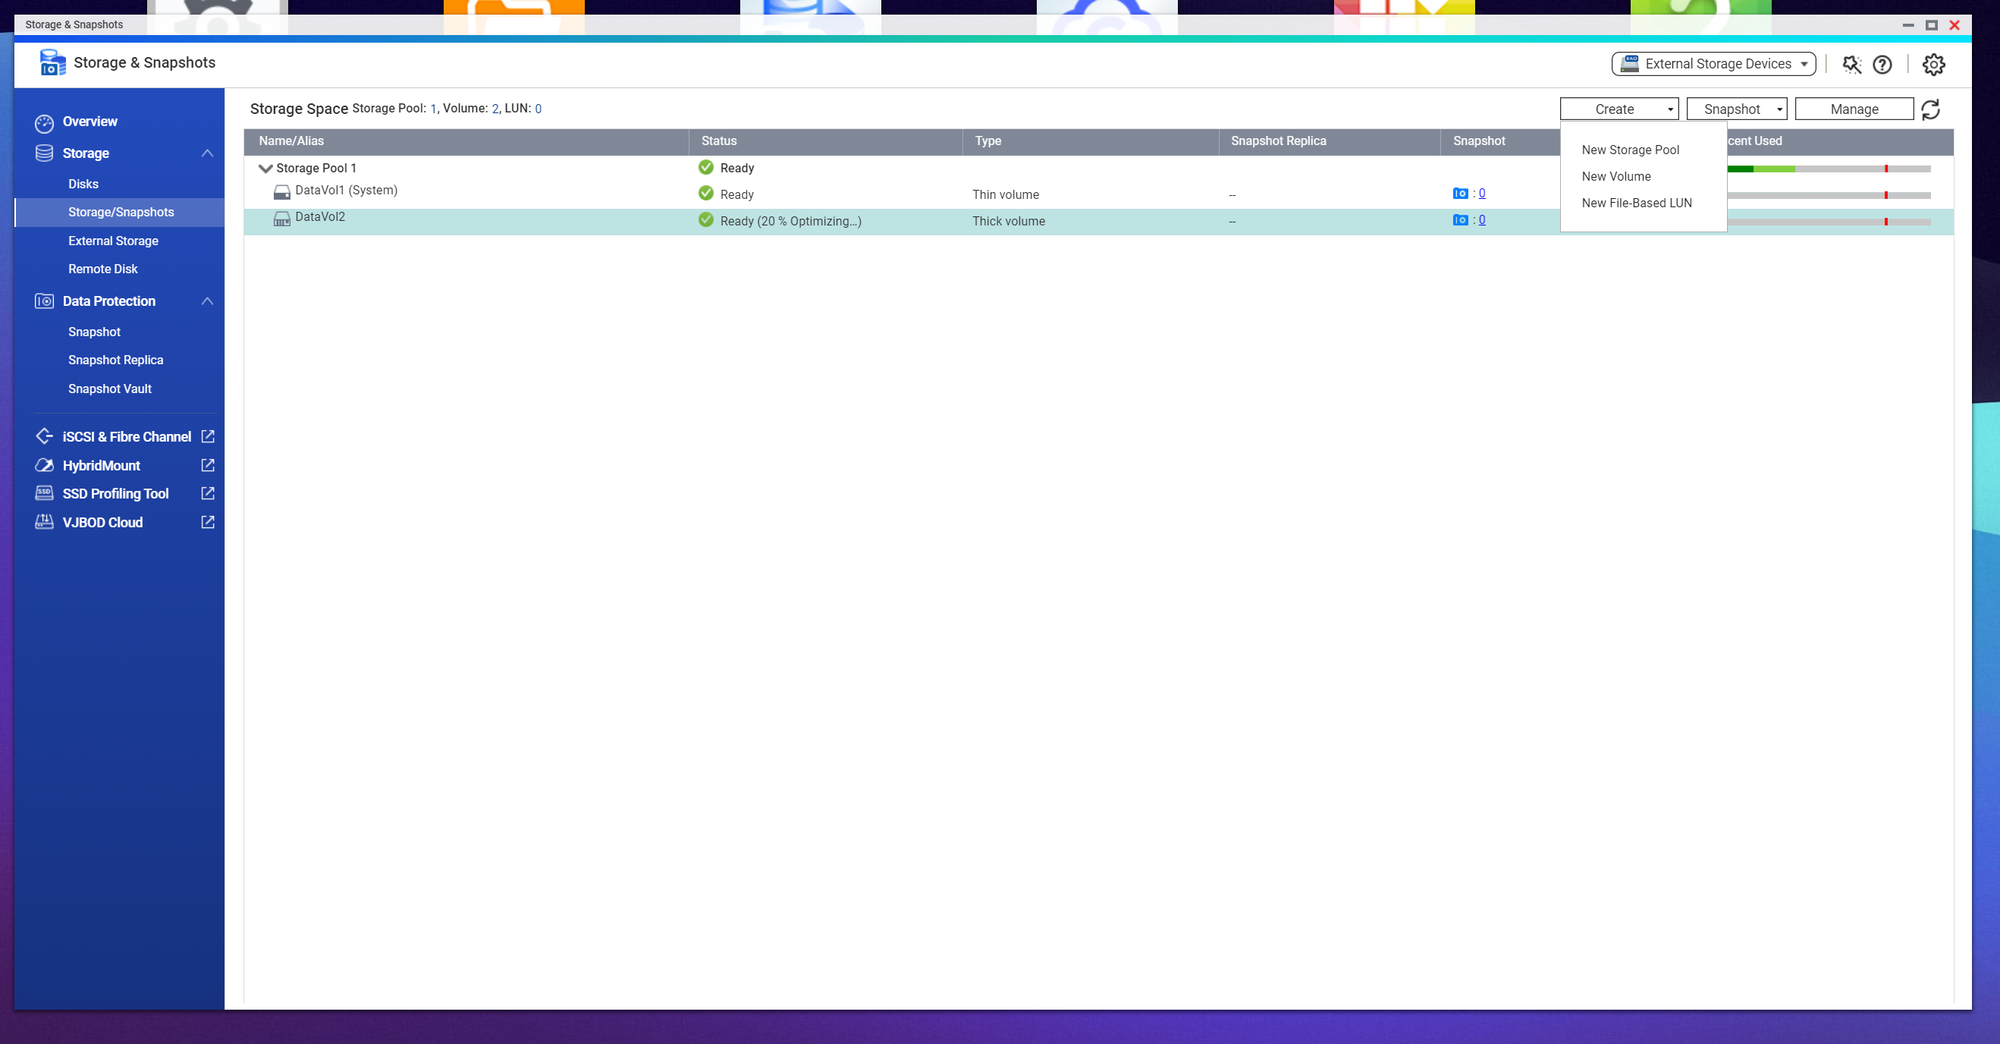
- After creation, you can start creating volumes or LUNs within the pool.
A storage pool on QNAP gives you flexibility, scalability, and robust data protection, making it a powerful tool for managing your NAS storage.
Then, you can attach New Volume as below
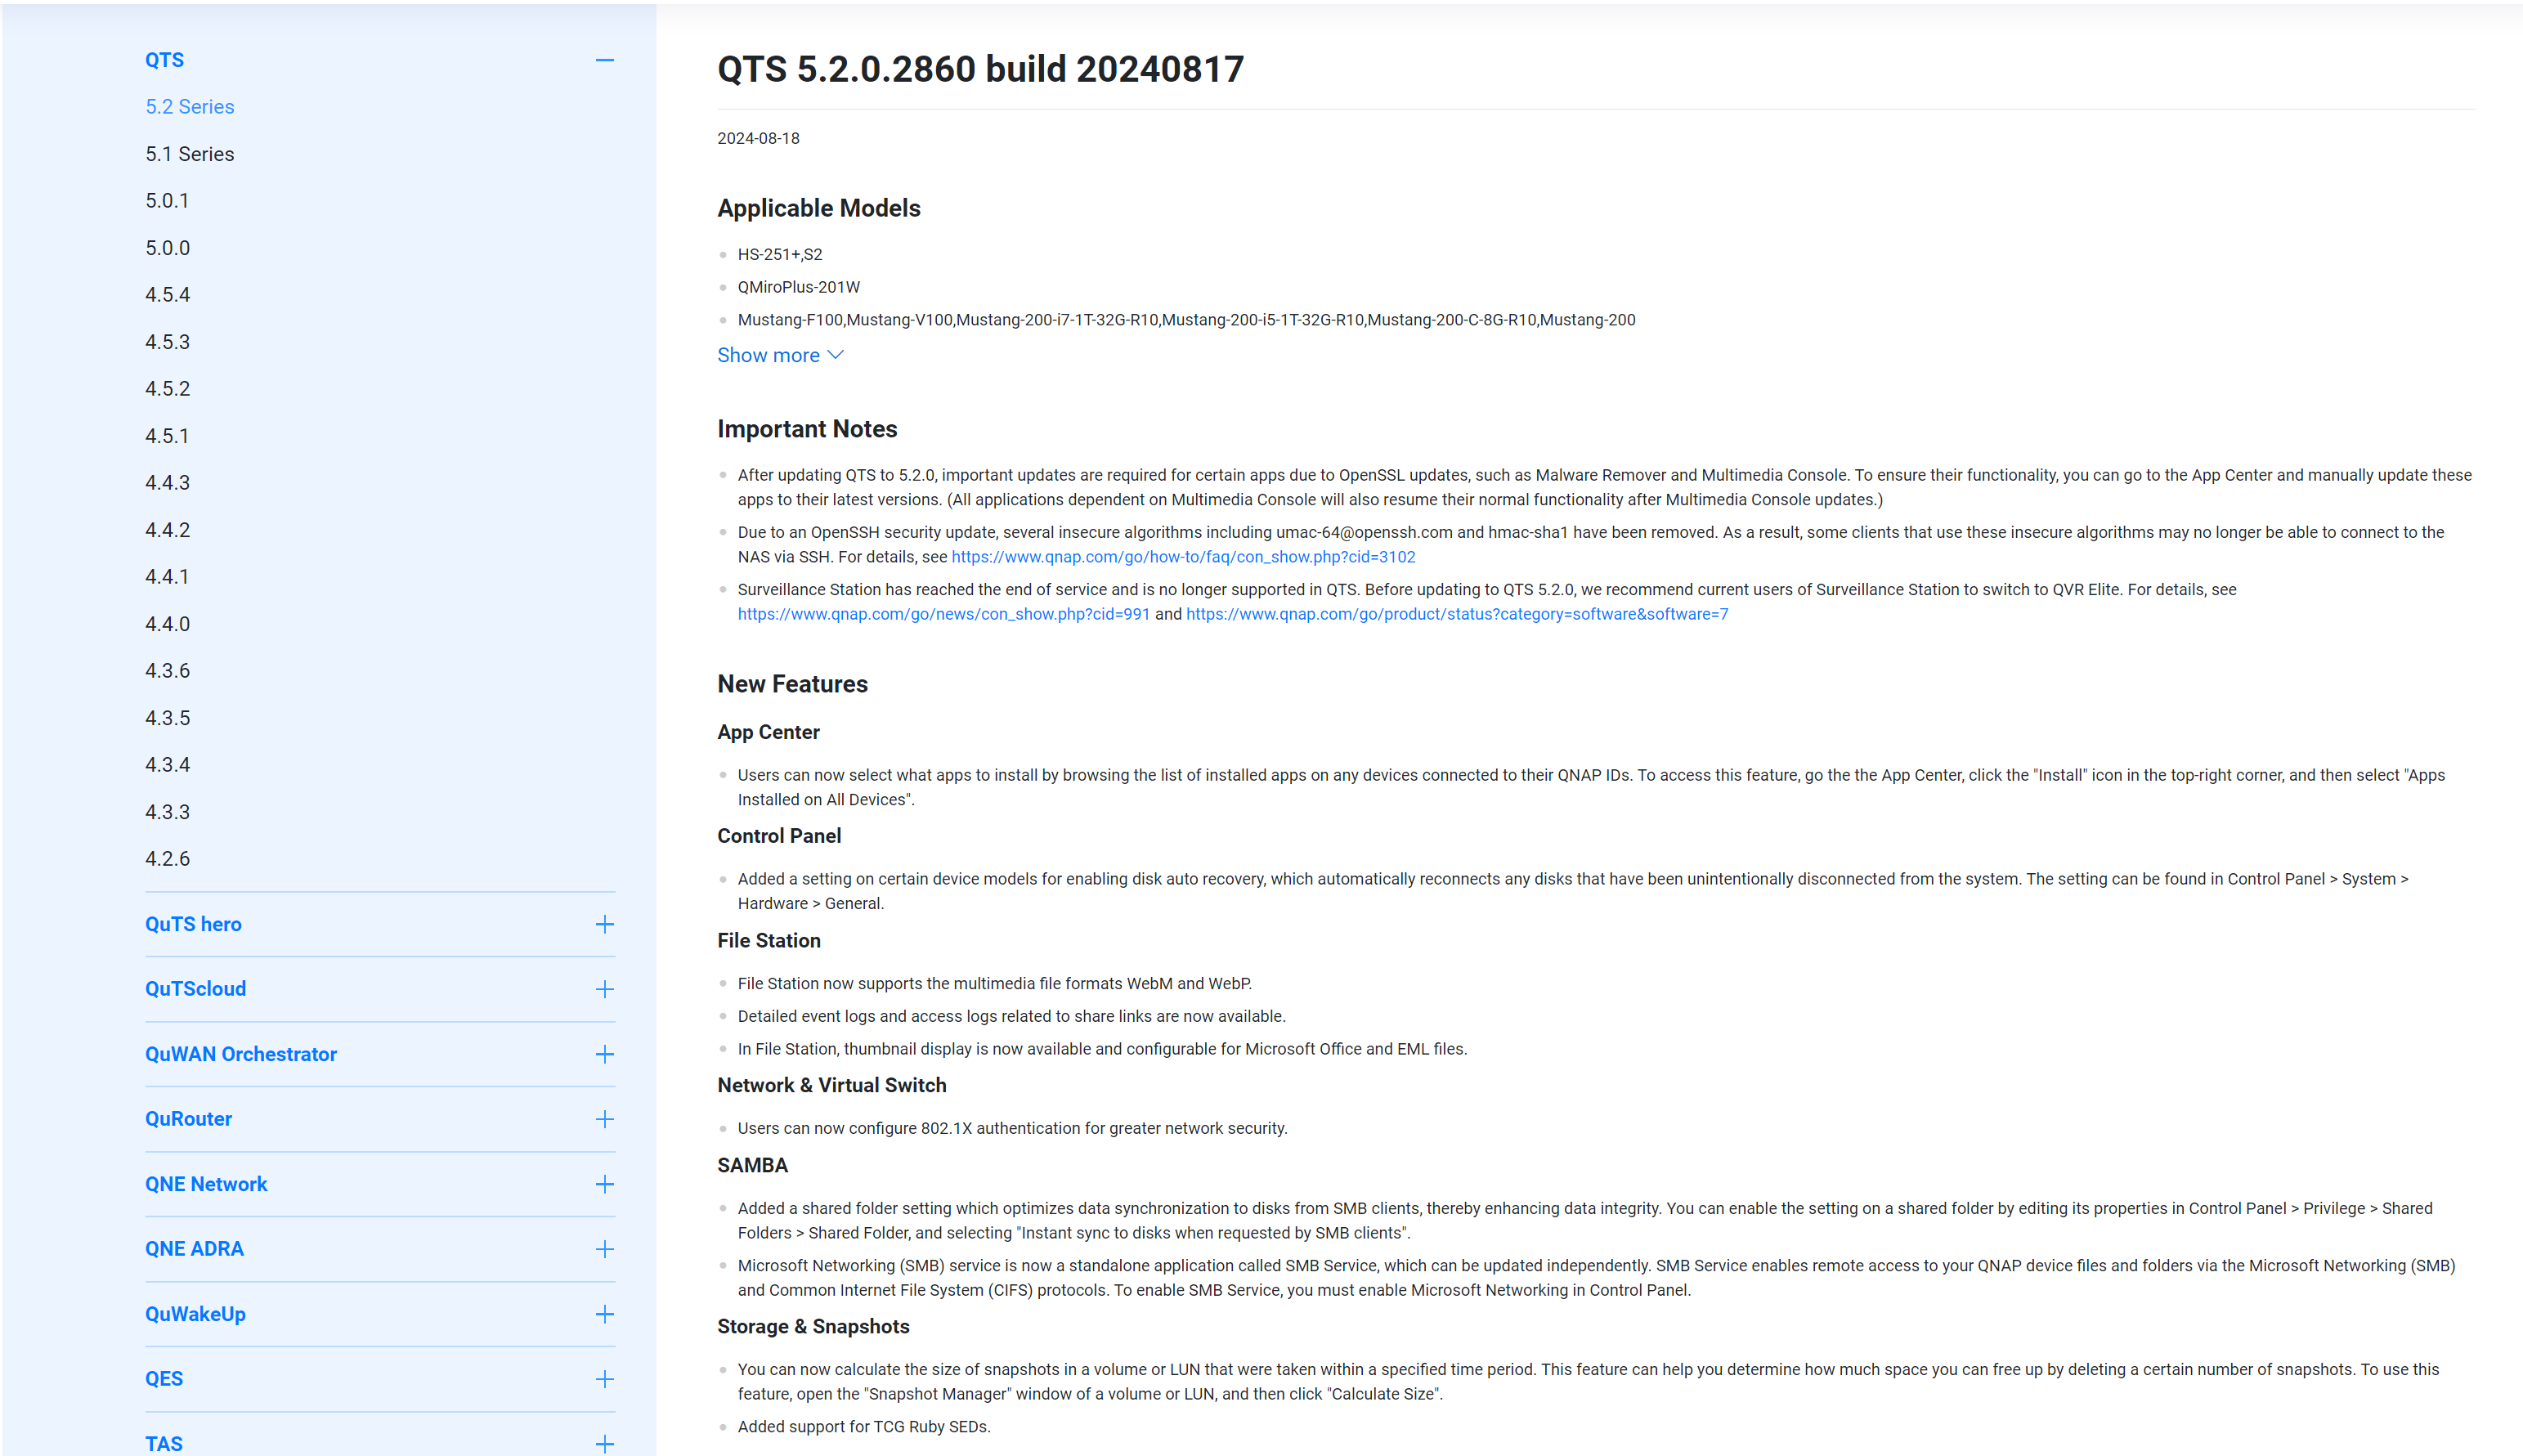
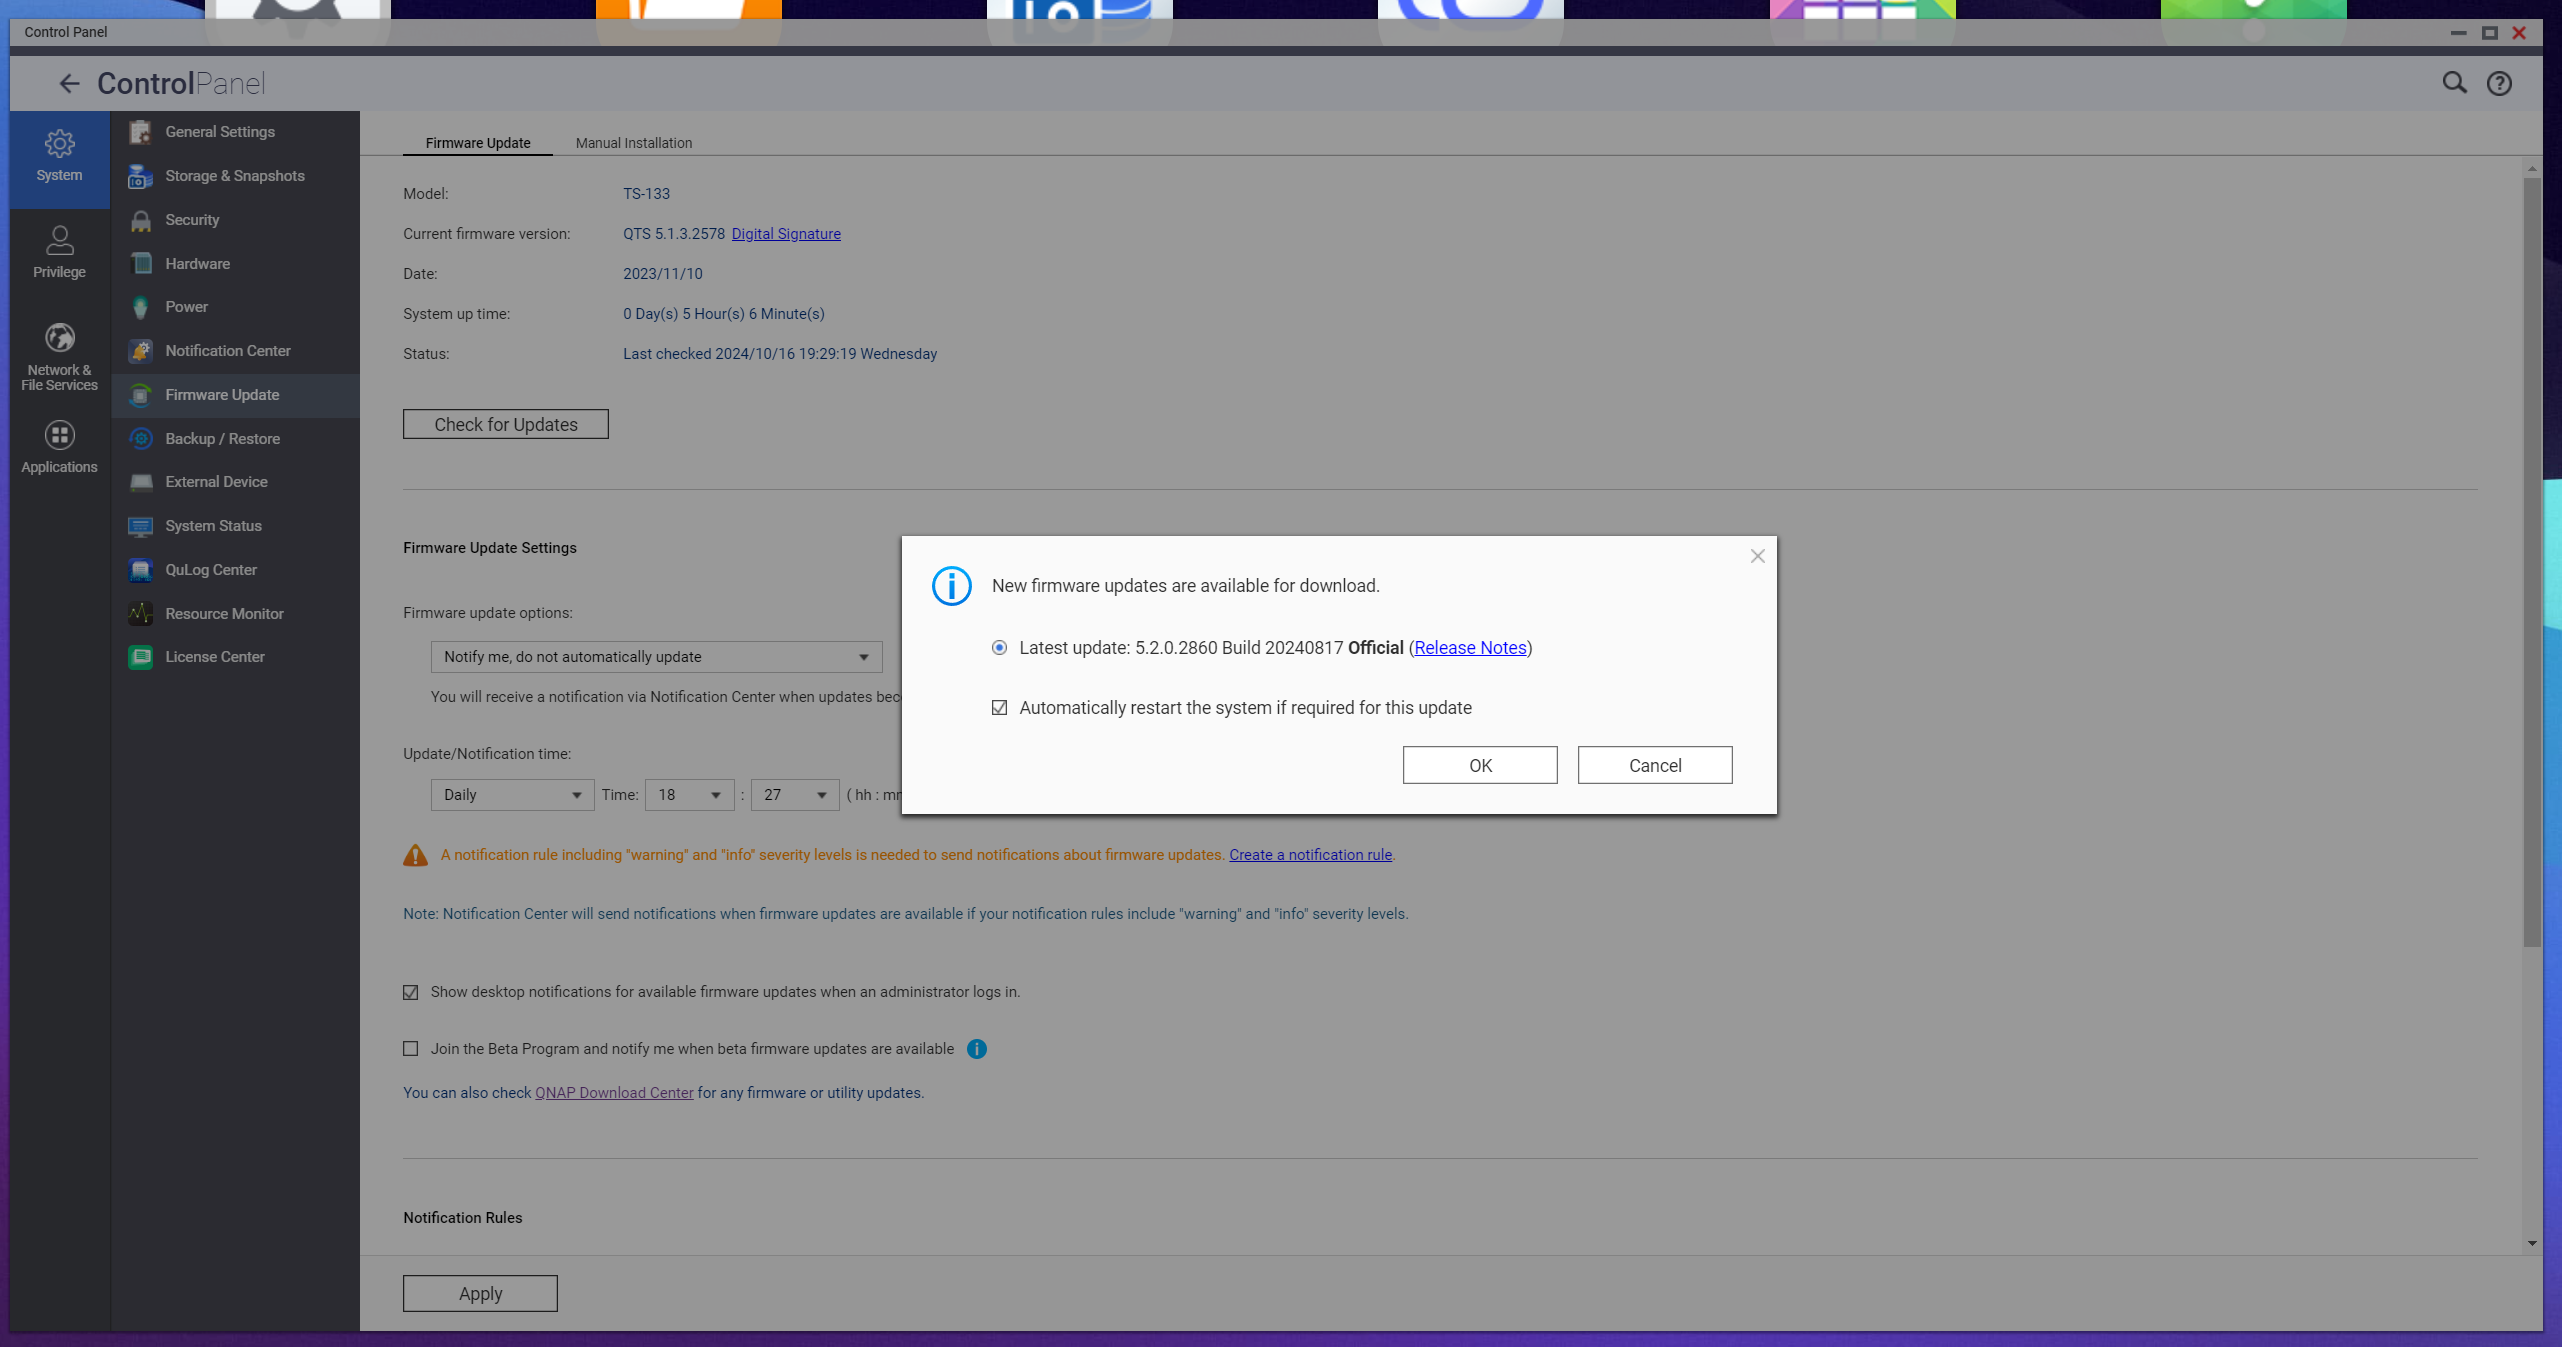
Before anything else, please update...
Updating the firmware of your QNAP NAS is crucial for several key reasons, which are vital to ensuring the performance, security, and reliability of your device.
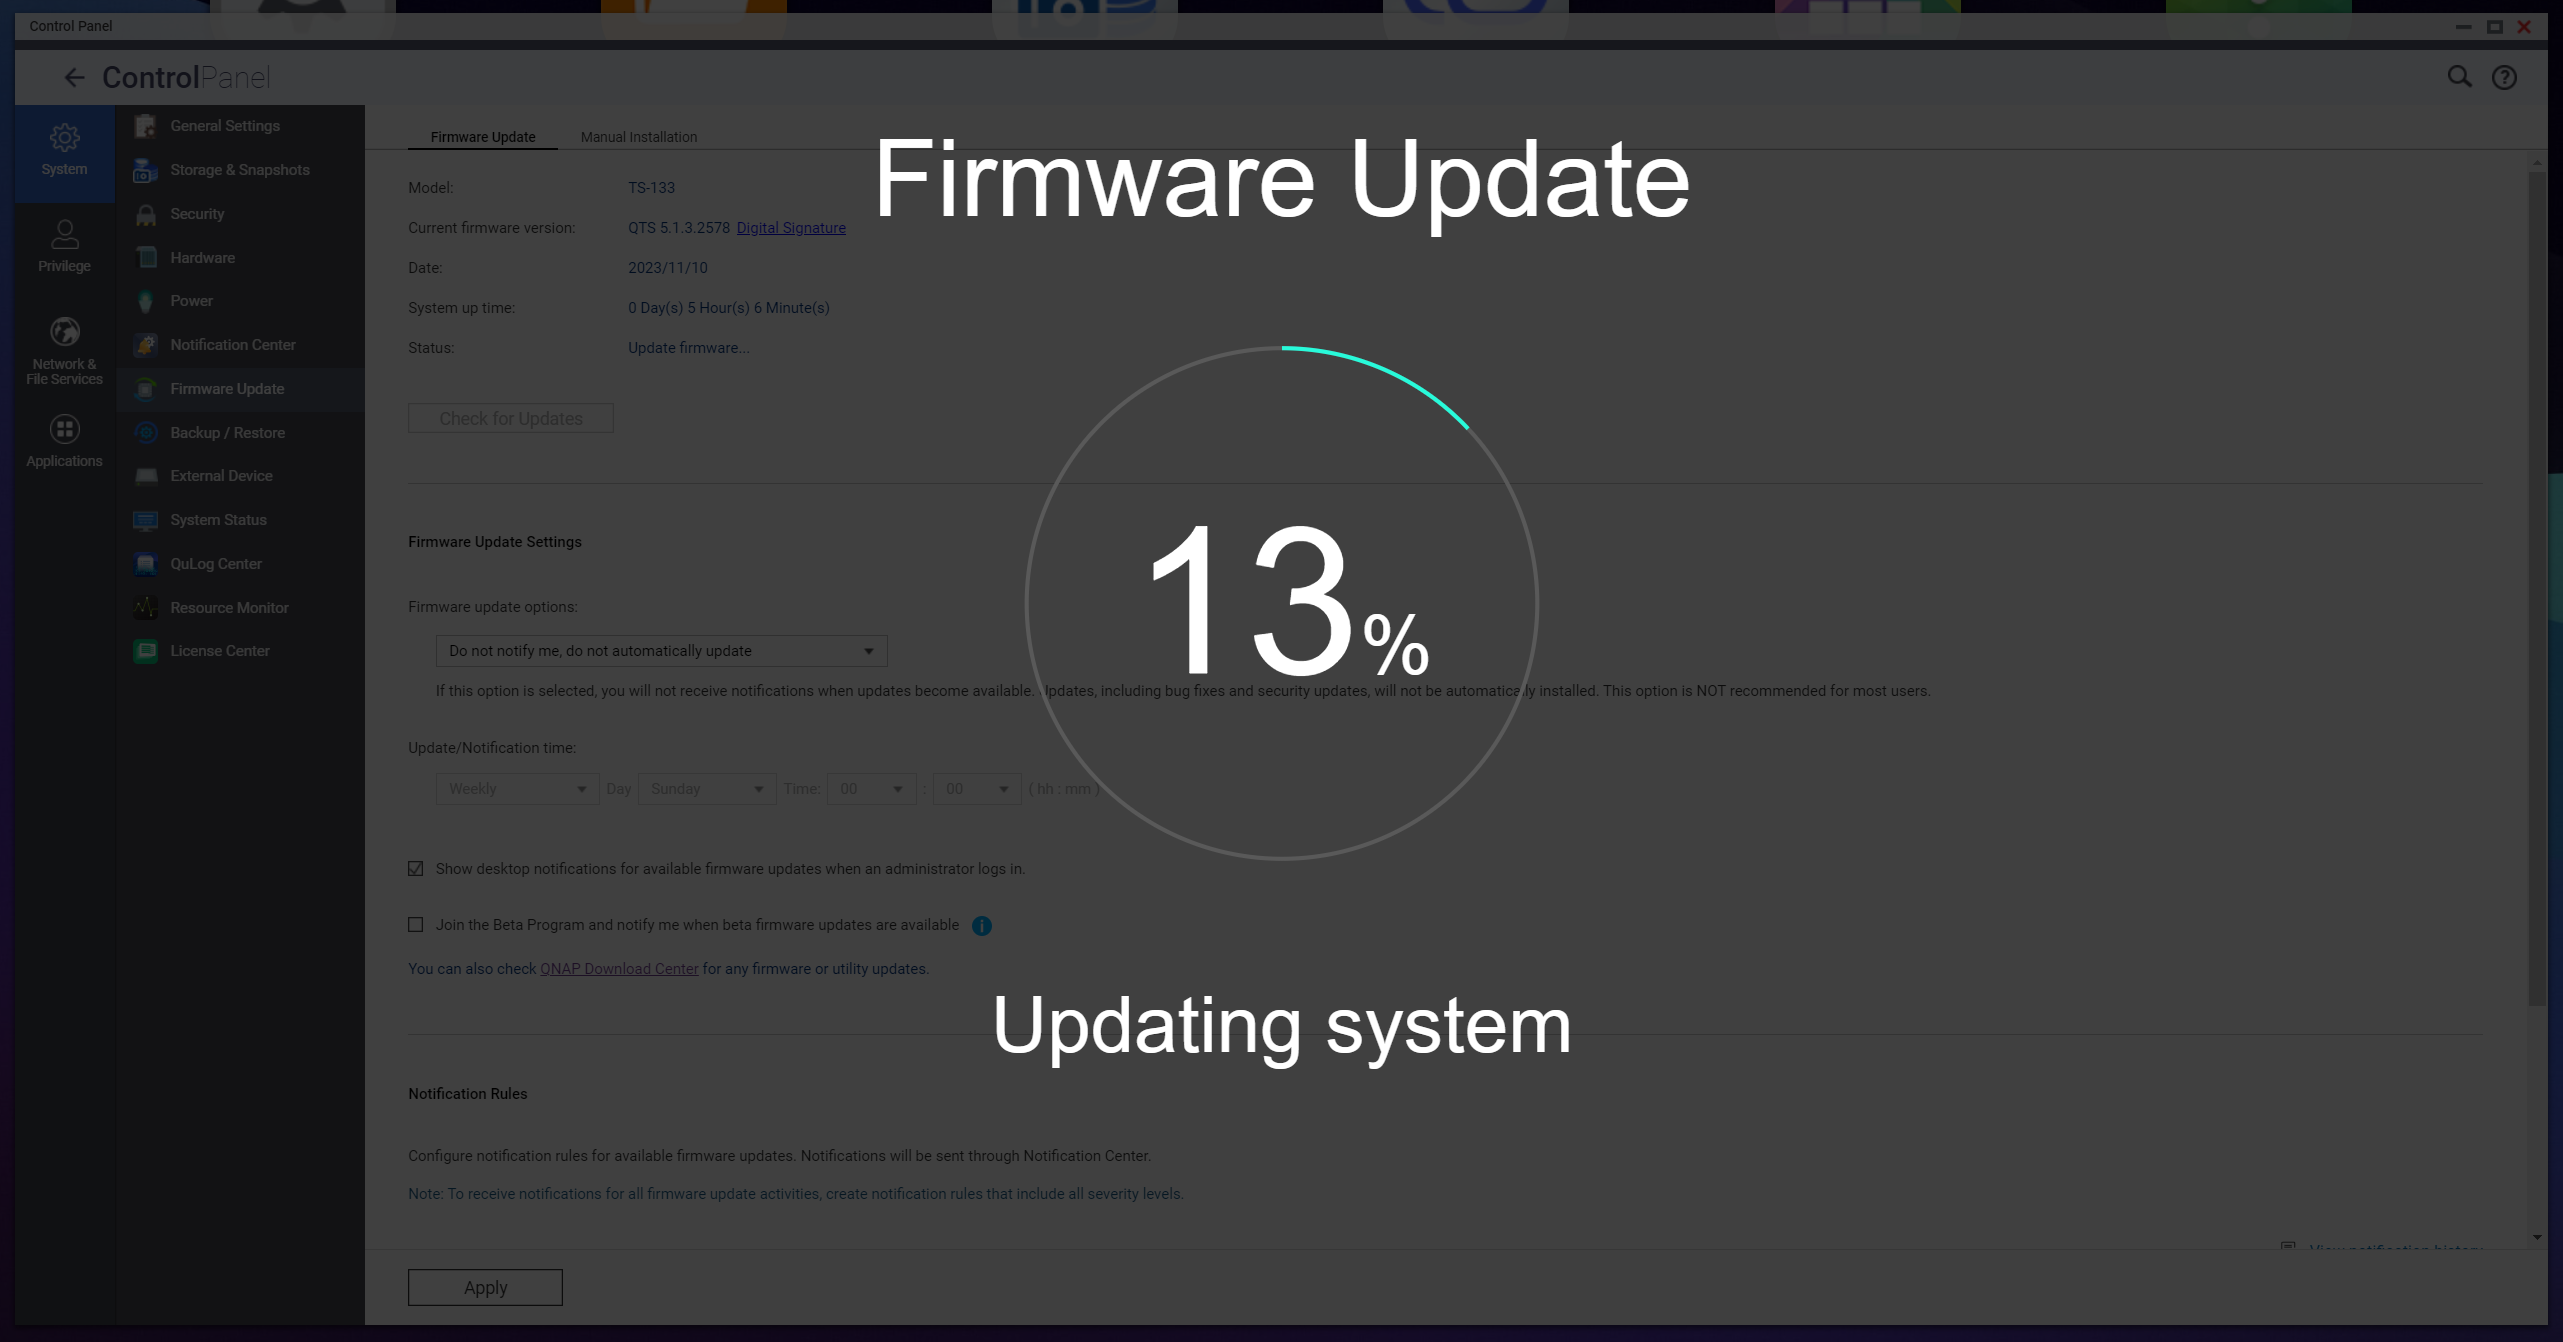
The firmware will start updating the system, it can take a few minutes but it is usually quick.
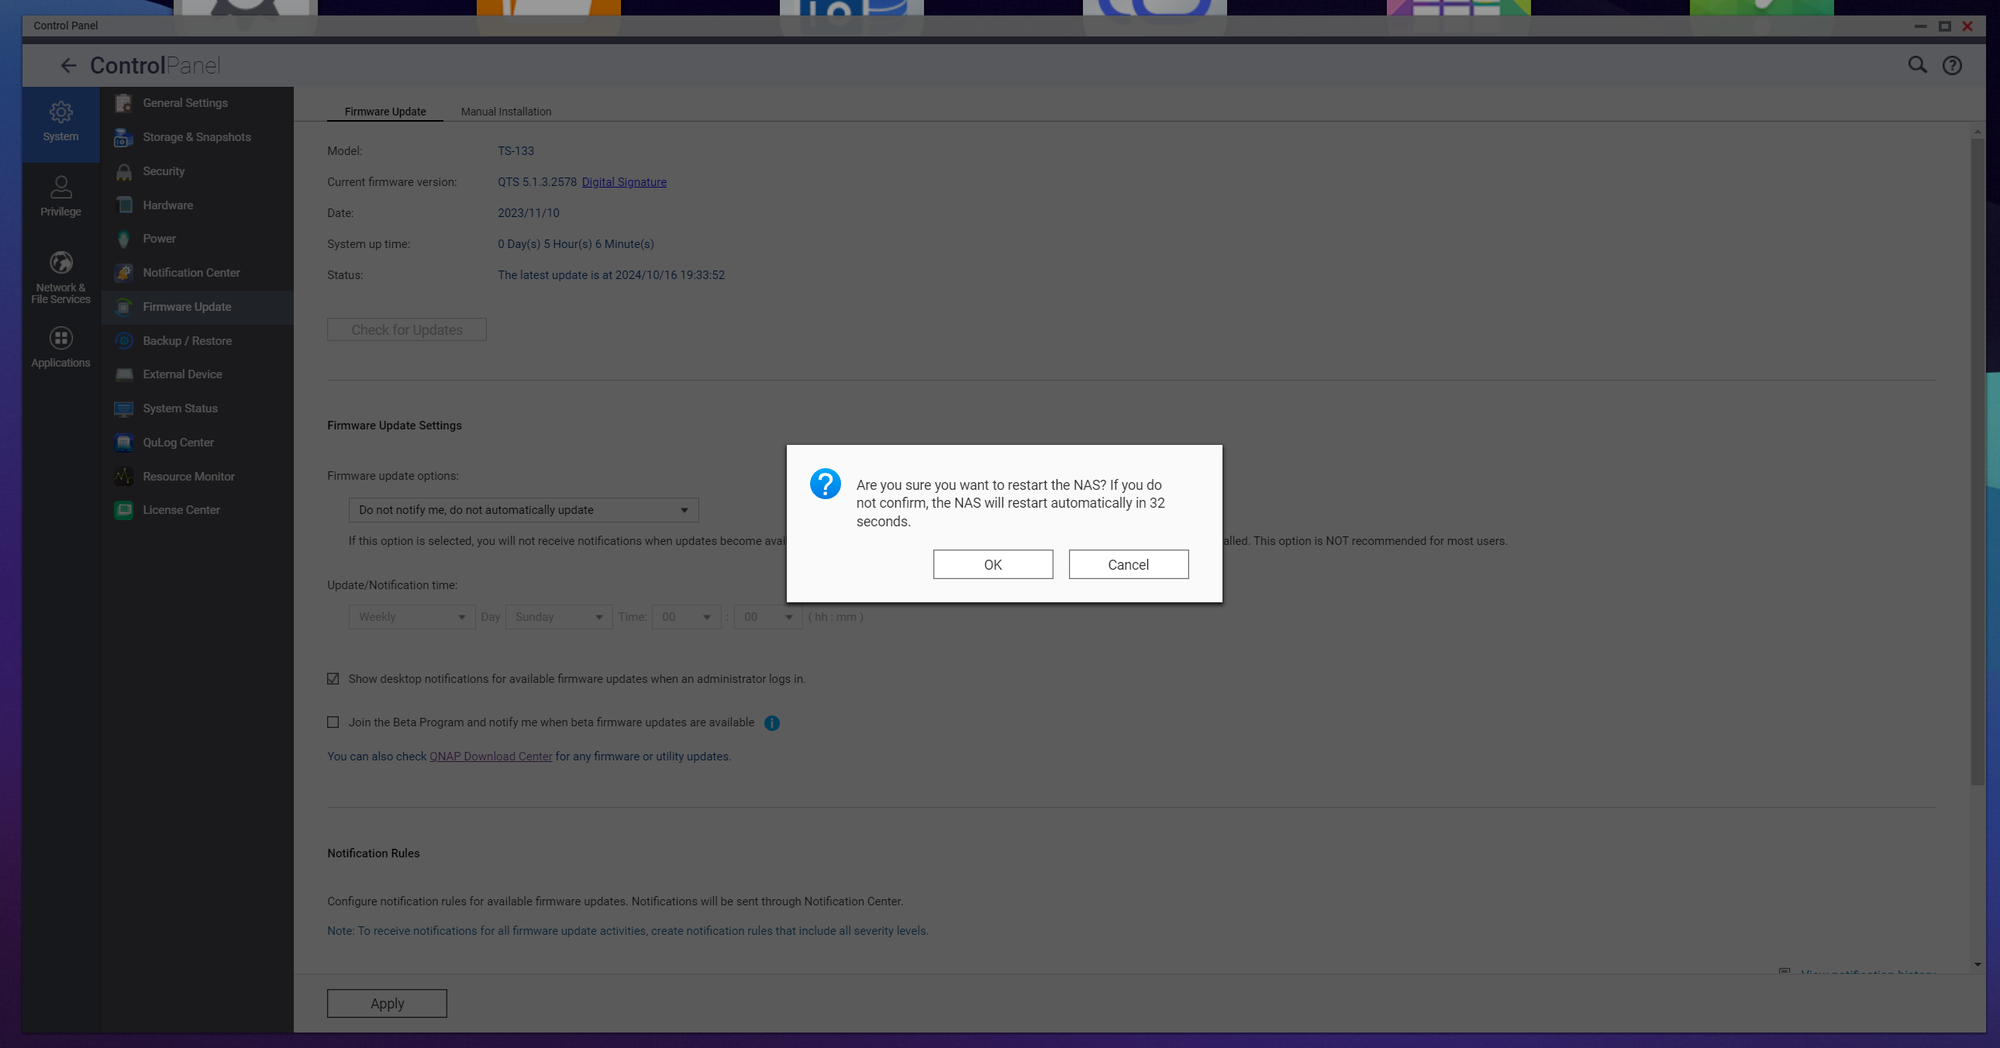
Finally, the NAS must be reboot so please do. System reboot will automatically stop all the process for a clean restart of your NAS, don't worry.

Member discussion