
When you create beautiful interfaces, it is important to be able to transcribe the entire vision into the design. Creating powerful animation is usually difficult if you don't have some skills with After Effects or any similar software.
We recently came across a full integrated Figma plugin called Aninix and we tried to animate one of our mobile design to show you how it works. You will also see some variants in order to push the experience even further !è
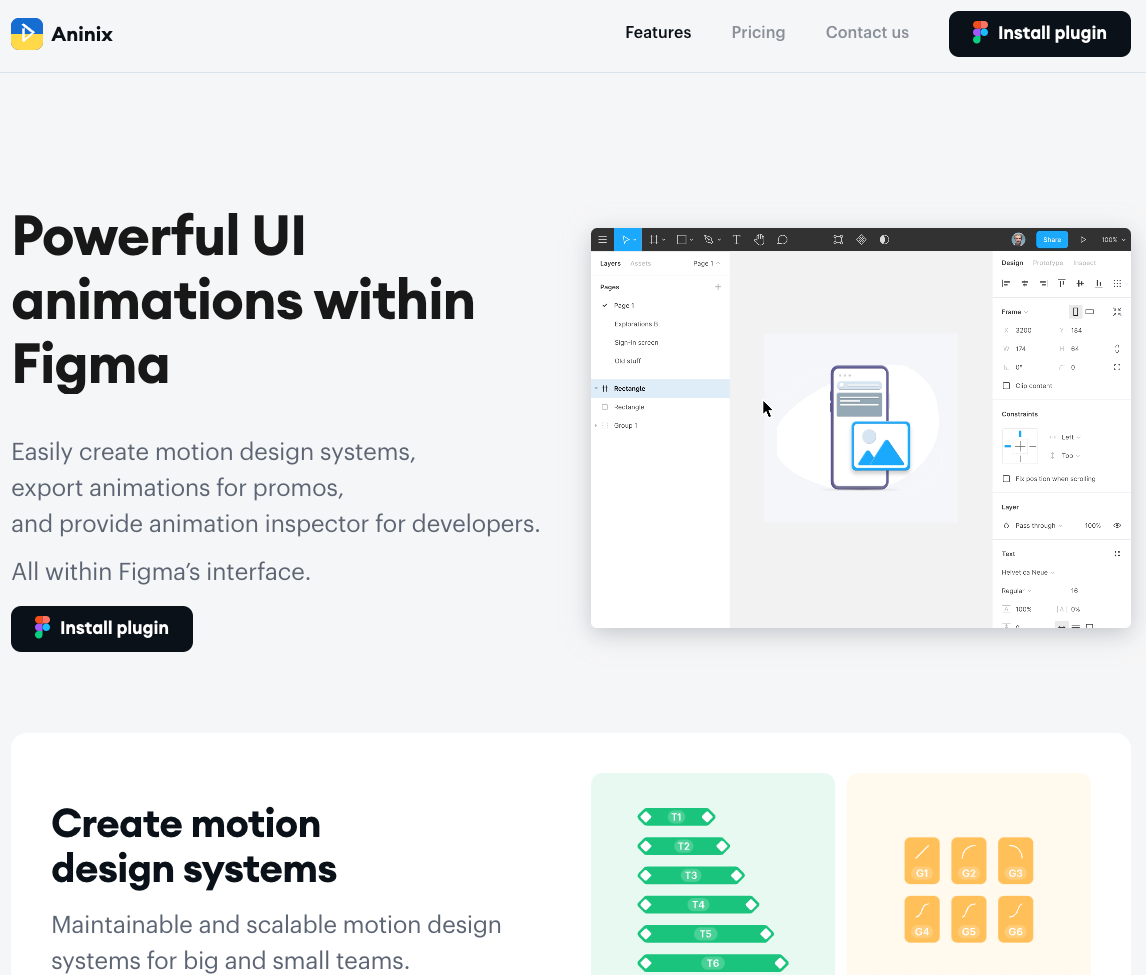
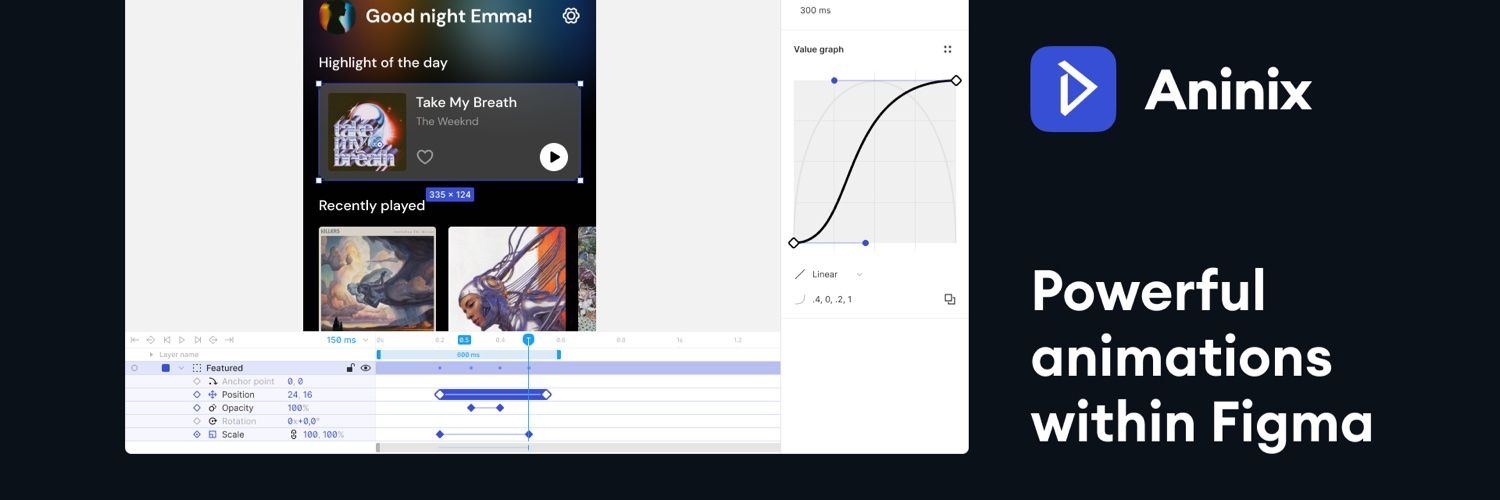
What is Aninix ?
Aninix is a Figma plugin that allows you to create powerful UI animations. The interface provides a tool in order to easily create motion design systems, export animations for promos or show animation inspector for developers without exiting Figma.
The purpose of Aninix is to provide the handiest way to create UI animations. We believe you have to do it in the place where you design actual UI, not in an external software. Created by designers for designers.
The free versions gives you the opportunity to export in any type of format as such as mp4, webm, ogg, lottie, gif and many more. We will focus on the gif export with 30 fps in this example.
Since we wanted to show you how to animate a screen in a few seconds, we decided to use one of our projects. It will give a better point of you while using the plugin for a real purpose !
The first step is to install the plugin following this link. It will redirect to the Figma community where you cam start the process.
It is also important that you link your Figma account. It improves the security of your data. It will also allow you to export animations and store projects in the editor cloud ecosystem.
All projects are stored locally in your Figma. This way, only team members who have Edit access to the file can view animation projects. If you need more information, you can look at the steps following this link.
Everything should be set up now, it's time to start animating your creatives ! First, you will select the frame you want to animate and right click on it.
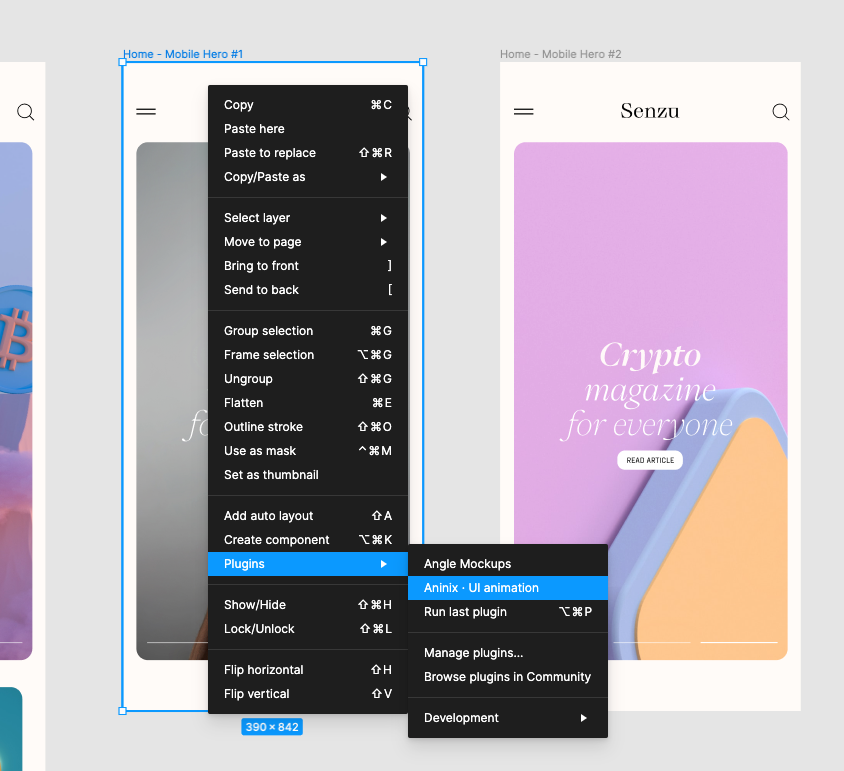
Since we already used the plugin, it allows us to "Run last plugin" as an option but for the first time, you will click on "Aninix - UI animation" 😊
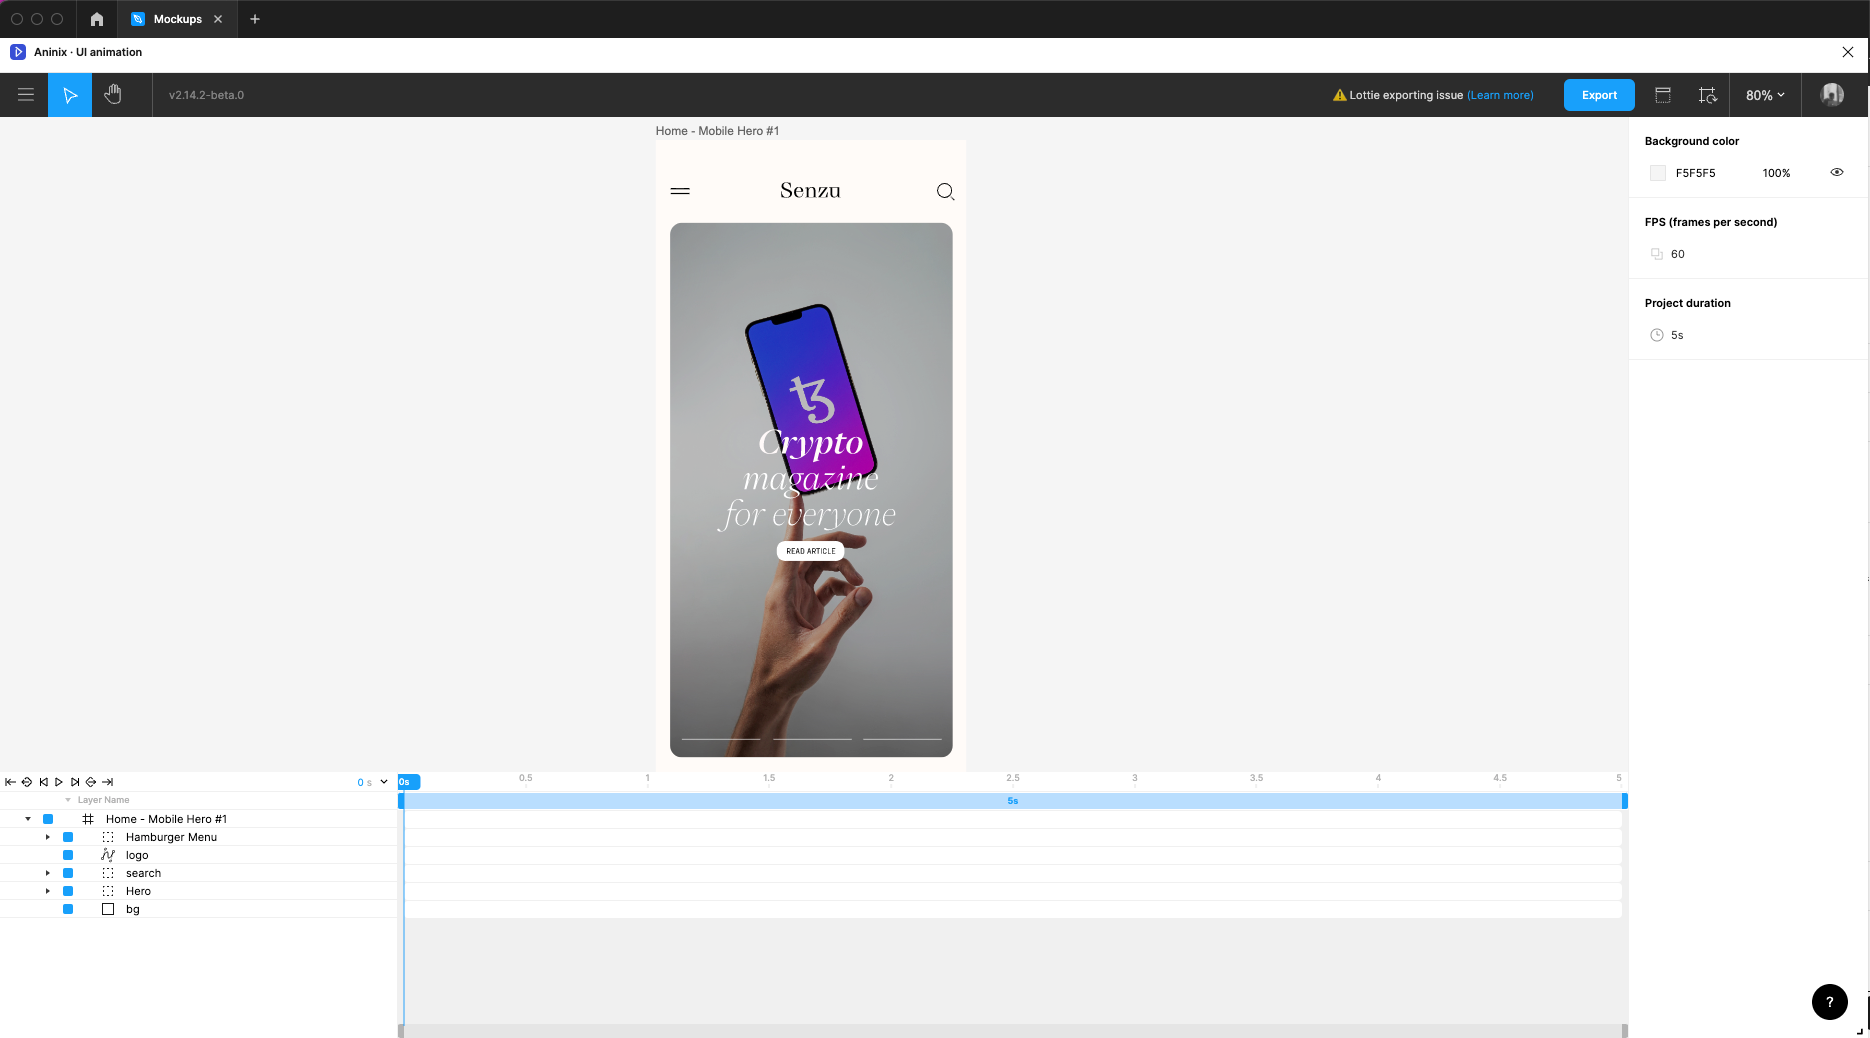
It should loads the plugin and redirect to the editing page. It looks like any other VFX and motion graphics software but ultra minimalist. This is what we needed !

The design is separated in 5 different parts and the background. We will animate them per blocks since they are displayed with each other.
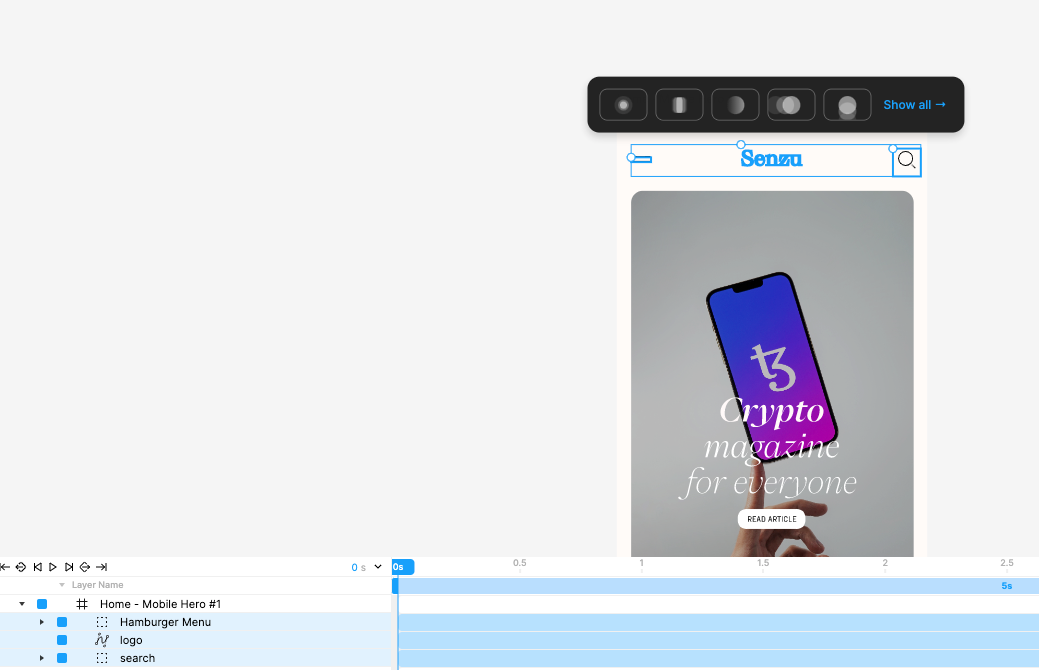
We want the hamburger menu, logo and search icons to be animated together because they are the top displayed symbols of this screen. We do select each of them with control and the plugin automatically provides effects.
Since we want to have a better view of all the possibilities available to us, we will click on "Show all". It will push the options on the right sidebar of the plugin as "Presets".
We decided to go with "Fade position up" preset since it represents a beautiful and easy effect while charging the screen for the first time.
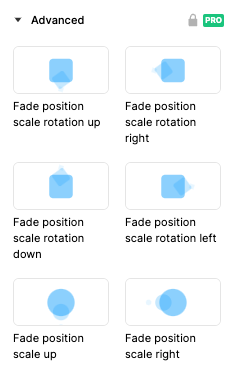
The PRO version which costs $10/month gives you Advanced presets for more fun with your animation journey. We will stick to the free version and basic presets but you will be able to push your animation journey even further if needed.
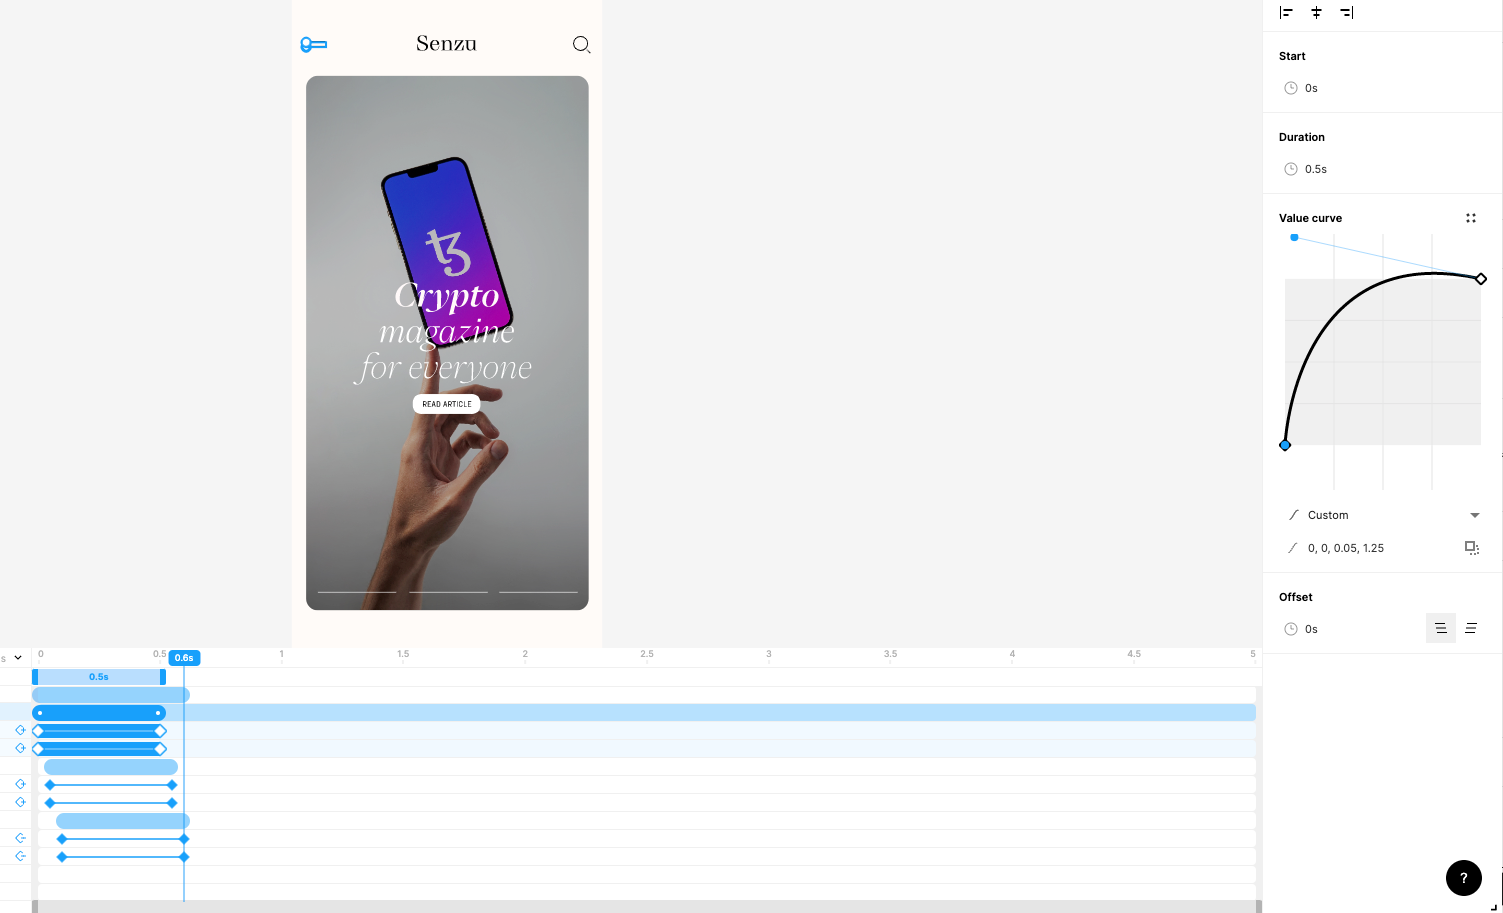
The plugin gives the opportunity to choose when you start the animation, the duration and the value curve we want to give.

You can always follow the custom presets if you need guidance or go with the flow and set custom values.
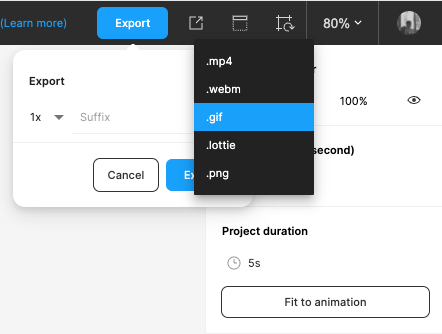
When you are satisfied with the animation, you can export it. If you choose "gif", the plugin recommends to use 30 FPS instead of 60 FPS (natively). It will give better final quality render and the creative will be optimized.
We personally used mp4 since its a small animation and the result on mobile / desktop is really great.
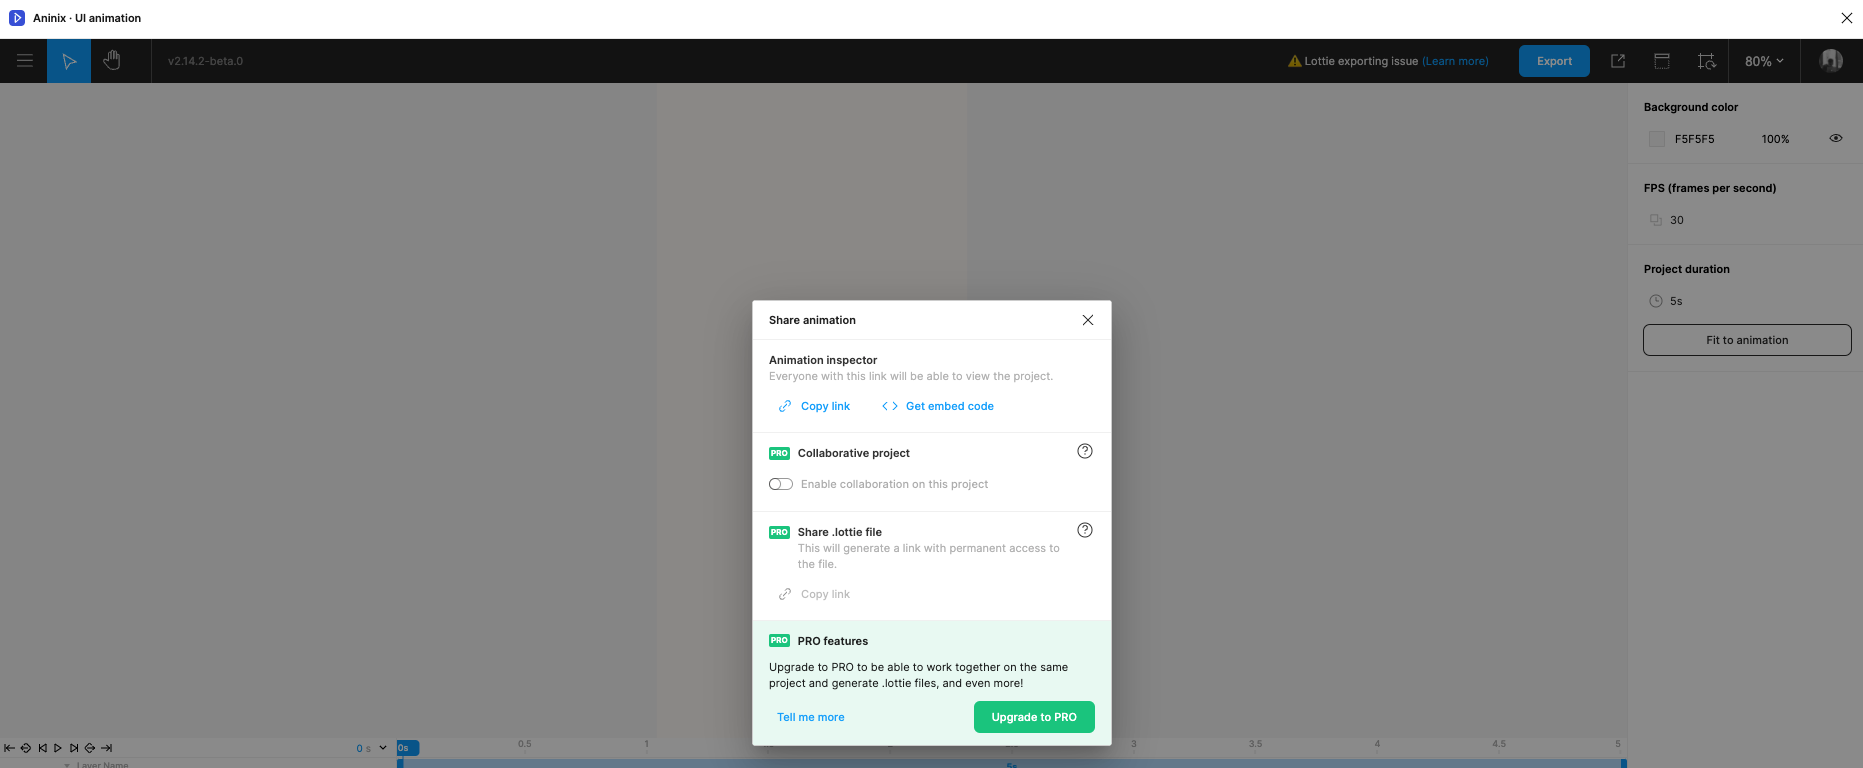
Don't forget that you can also share your animation directly from Figma with a link provided. Aninix also provides the code snippet for manual integration if needed.
We hope this little guide was helpful and that you will have fun creating many animations within a few clicks.
Happy design !

