

Installing, configuring and running Ghost on a Digital Ocean Droplet VPS, for use in production environments is pretty straight forward. However, connecting via SSH might be tricky while experiencing “Permission denied (publickey)” error.
As you may know, Digital Ocean is the official hosting partner of the Ghost open source project. They have worked together to make installing Ghost on Digital Ocean VPS droplets as easy as possible for developers, with officially supported 1-click marketplace apps.
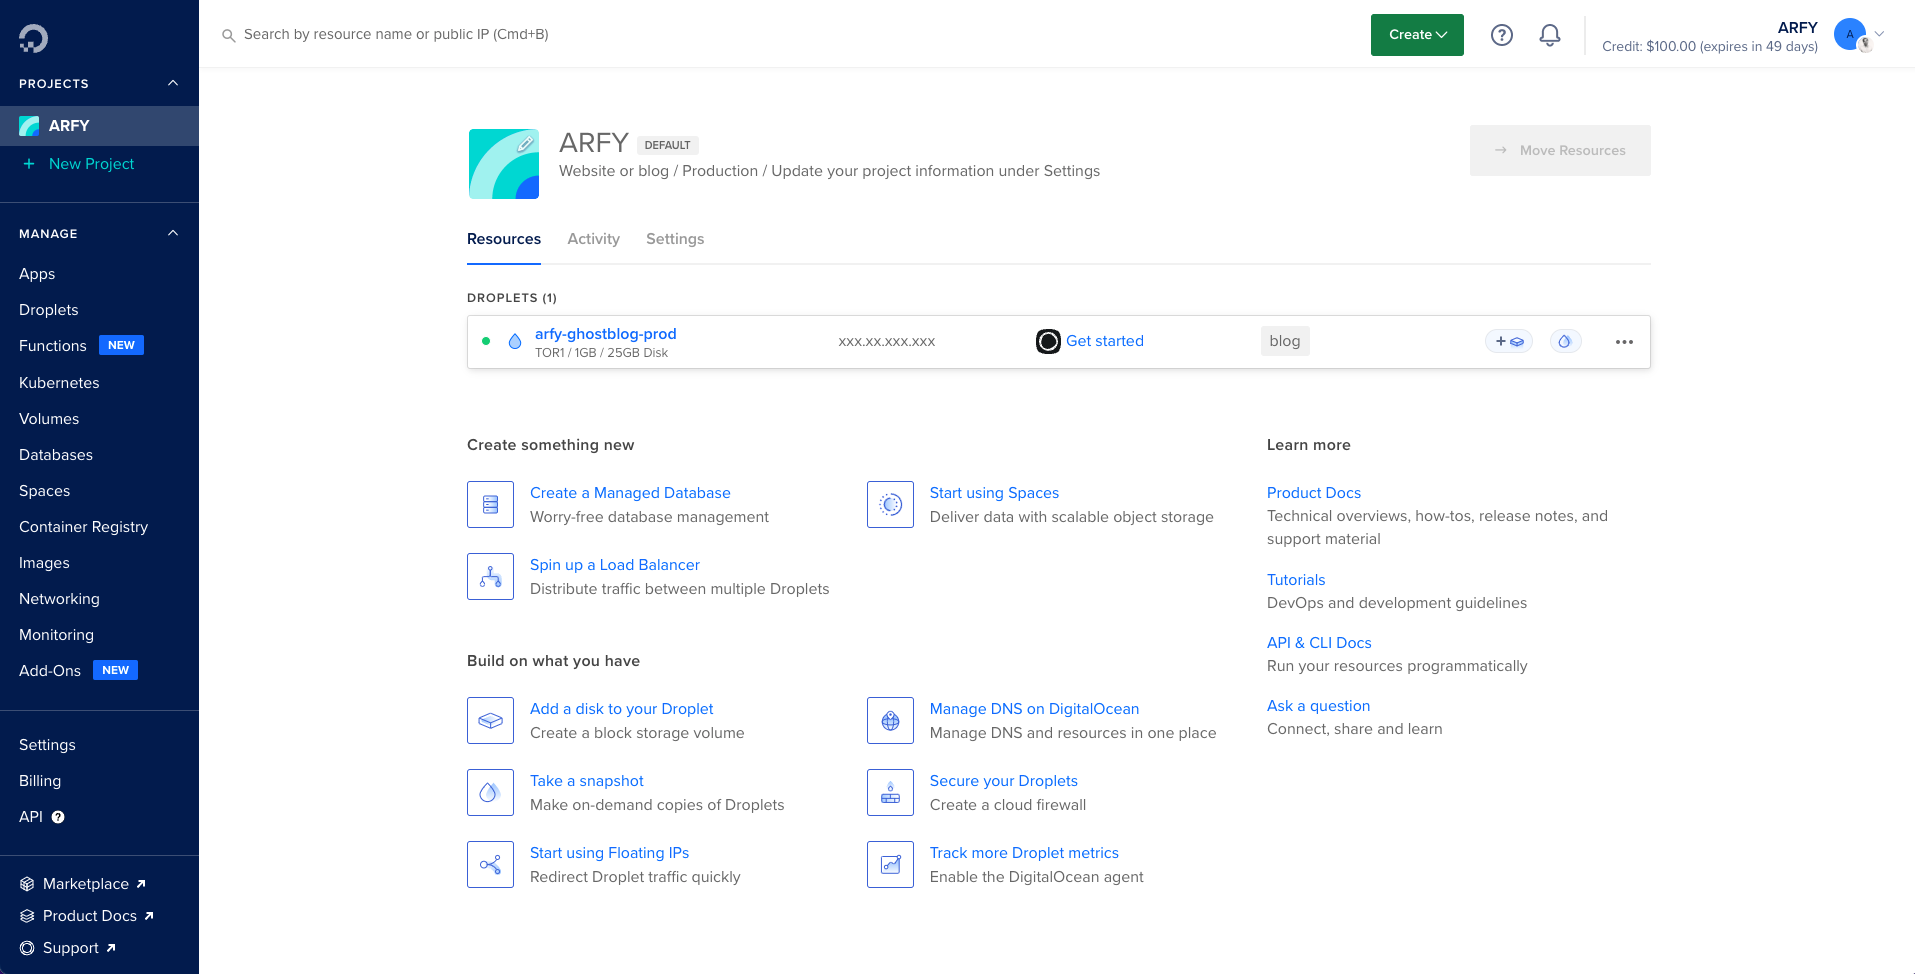
After installing arfy's blog on Digital Ocean, I ran into a common error that could block you if trying to access to your server through SSH. These are the steps I followed in order to find a solution.
Prerequisites
For the install there are three things which you need to have ready up-front:
- A DigitalOcean account (This signup link will give you $100 free credit)
- Your SSH key added to the account. (we will focus on this part)
- A domain name to point at your new site (Mandatory for SSL configuration during install)
Create SSH Key with Command Line (macOS)
First off all, in order to create a new SSH key, you will have to open the terminal and enter the command as follow :
Then, you should see something similar to the result below :
Enter file in which to save the key (/Users/arfy/.ssh/id_rsa):
The system is waiting for you to choose a file name and create the key pairs. You can choose anything you want.
It's time to choose your passphrase. SSH uses private/public key pairs to protect your communication with the server. SSH passphrases protect your private key from being used by someone who doesn't know the passphrase.
Without a passphrase, anyone who gains access to your computer has the potential to copy your private key. For example, family members, coworkers, system administrators, and hostile actors could gain access.
Enter the same passphrase again for security purposes and you will be (almost) done for this part. Thus, you will see something as follow :
Your public key has been saved in arfy.pub.
The key fingerprint is:
SHA256:aFgCLc7fL1ArDwQB87Stz9BBQR6hoLljDeTZMZ55VEY
arfy@Mac-Mini.local
The key's randomart image is:
+---[RSA 2048]----+
|+o+**+oE |
|+**BB.. |
|o*+B=.. |
| .=oo=.. |
|o.o+ooo.S |
|.. +=.o |
| o= . |
| o . |
| . |
+----[SHA256]-----+
The key pairs is now created with success. Each key will be determinate by the name you gave them.
-rw-r--r-- 1 arfy staff 417 Jun 10 15:54 arfy.pub
In our case, arfy is the private key while arfy.pub is the public key. You can edit them but potentially break them as well so be careful while using editing 😊
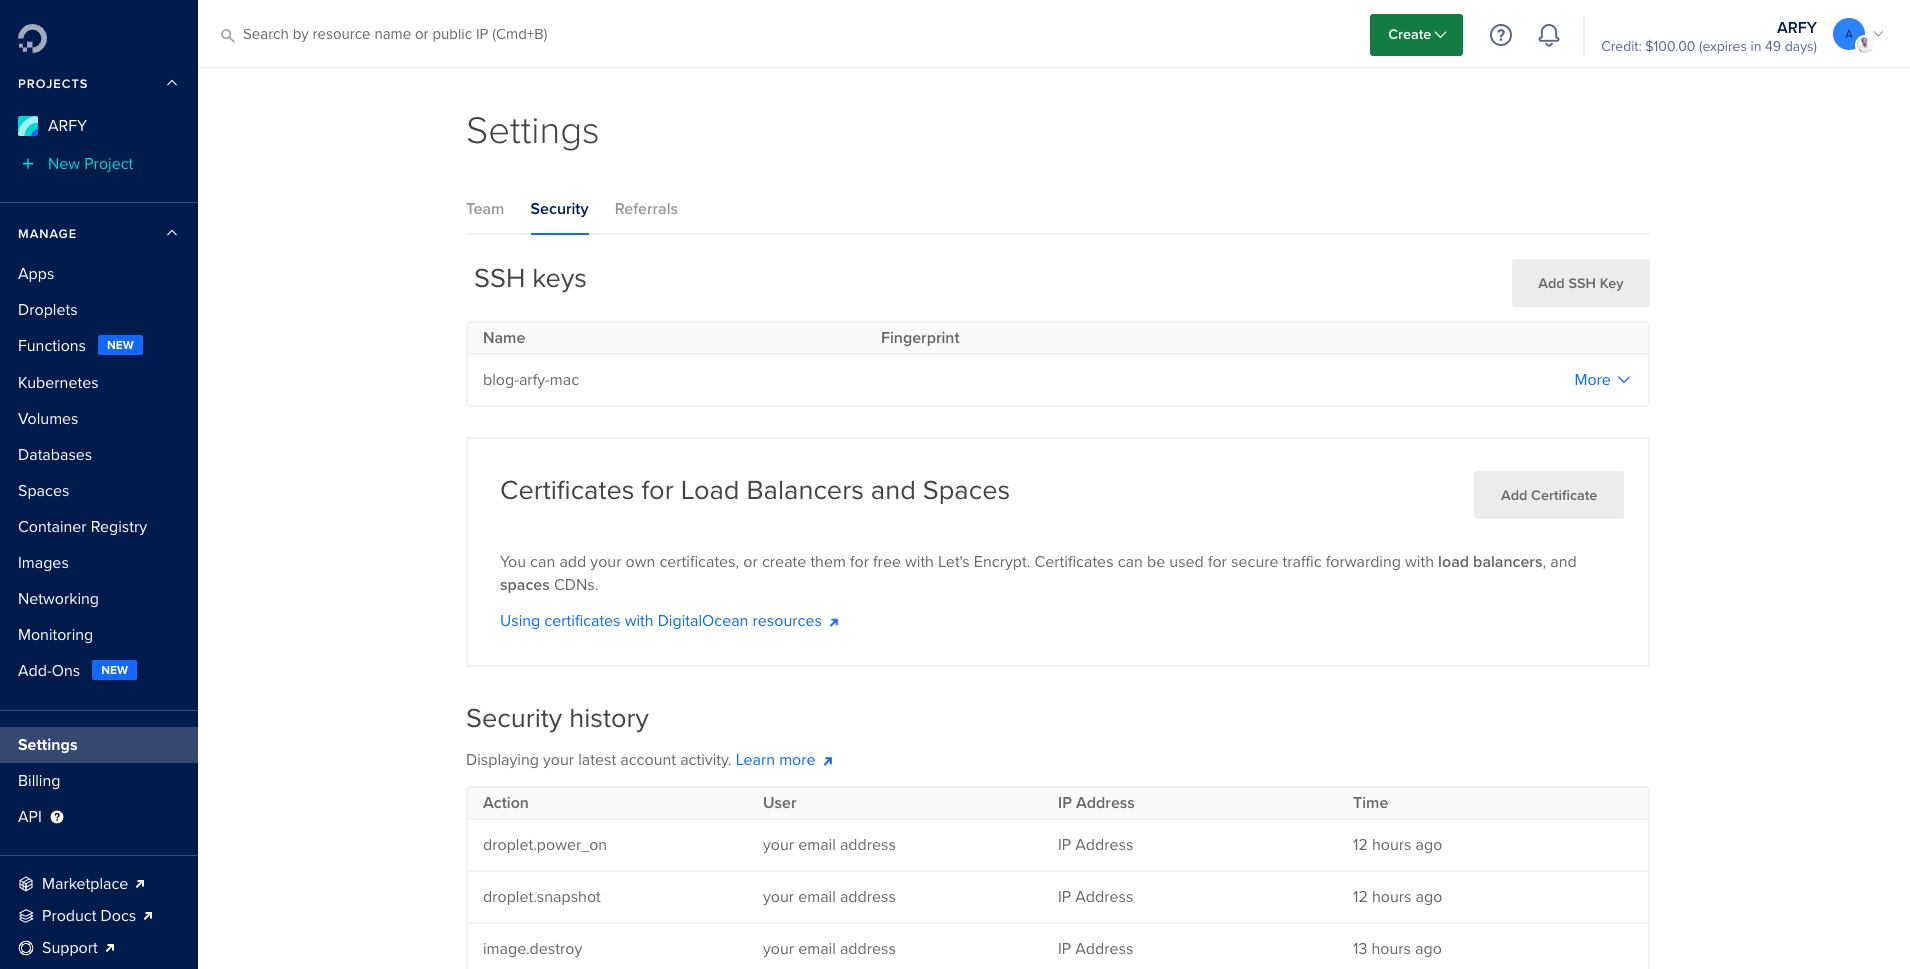
Add Public Key to DigitalOcean
In order to provide a public key, each user in your system must generate one if they don’t already have one. This process is similar across all operating systems. First, you should check to make sure you don’t already have a key. By default, a user’s SSH keys are stored in that user’s ~/.ssh directory.
Now, each user that does this has to send their public key to you or whoever is administrating the Git server (assuming you’re using an SSH server setup that requires public keys). All they have to do is copy the contents of the .pub file and email it. The public keys look something like this :
$ cat ~/.ssh/arfy.pub
ssh-rsa AAAAB3NzaC1yc2EAAAABIwAAAQEAklOUpkDHrfHY17SbrmTIpNLTGK9Tjom/BWDSU
GPl+nafzlHDTYW7hdI4yZ5ew18JH4JW9jbhUFrviQzM7xlELEVf4h9lFX5QVkbPppSwg0cda3
Pbv7kOdJ/MTyBlWXFCR+HAo3FXRitBqxiX1nKhXpHAZsMciLq8V6RjsNAQwdsdMFvSlVK/7XA
t3FaoJoAsncM1Q9x5+3V0Ww68/eIFmb1zuUFljQJKprrX88XypNDvjYNby6vw/Pb0rwert/En
mZ+AW4OZPnTPI89ZPmVMLuayrD2cE86Z/il8b+gw3r3+1nKatmIkjn2so1d01QraTlMqVSsbx
NrRFi9wrf+M7Q== arfy@mac-mini.local
Then, copy your SSH public key above and open your DigitalOcean's account. You will have to select your doplet and settings.
You can now select 'Add SSH Key' and you should see something similar to the following :
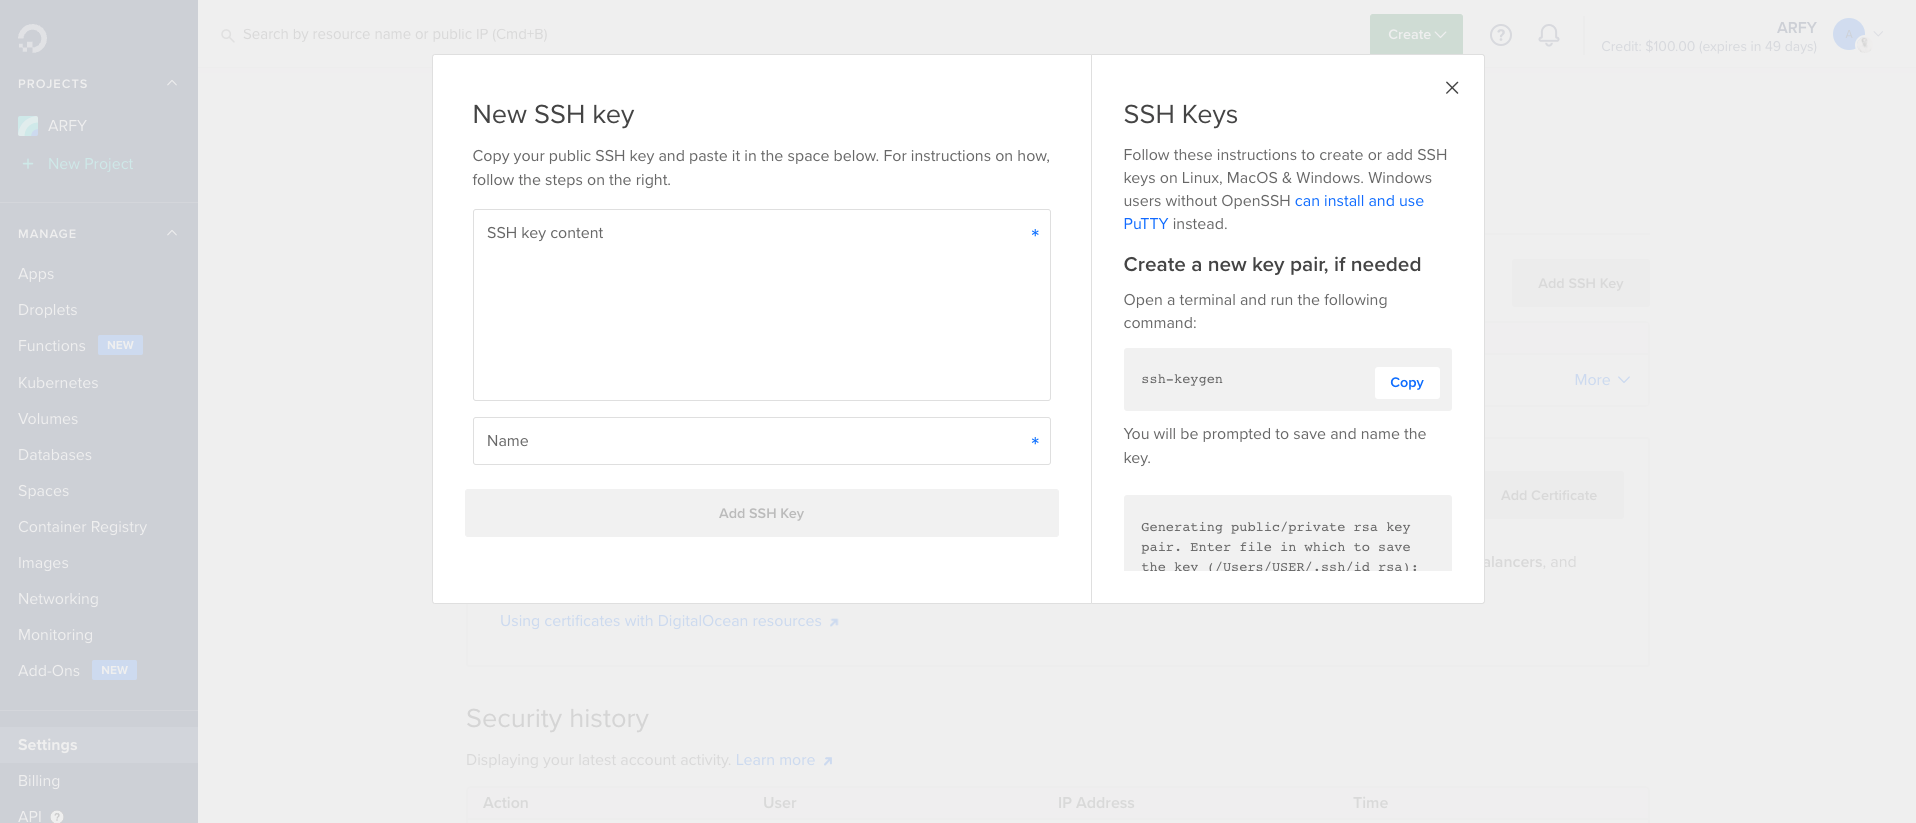
Copy your public SSH key and paste it in the space above. You are now supposed to be able to access your server with the command line
But the fun starts now and you can't access to your server because you're experiencing an error
Don't panic, we will troubleshoot this issue together by using simple command lines which will get you to the solution !
For security reasons, you can’t add or modify the SSH keys on your Droplet using the control panel after you create it, but you have several options to add and modify them via the command line. If you currently have SSH access to the Droplet, you can upload keys:
- From your local computer using
ssh-copy-id, which is included in many Linux distributions’ OpenSSH packages. - From your local computer clearing
authorized_keysthen copy/paste your own public key
Locally Using ssh-copy-id and Password-Based Access
If you have password-based access to your Droplet, you can copy your SSH key using ssh-copy-id. Substitute the IP address of your Droplet.
However, you might have the same issue because you are not able to reach the server.
Locally Clearing authorized_keys file
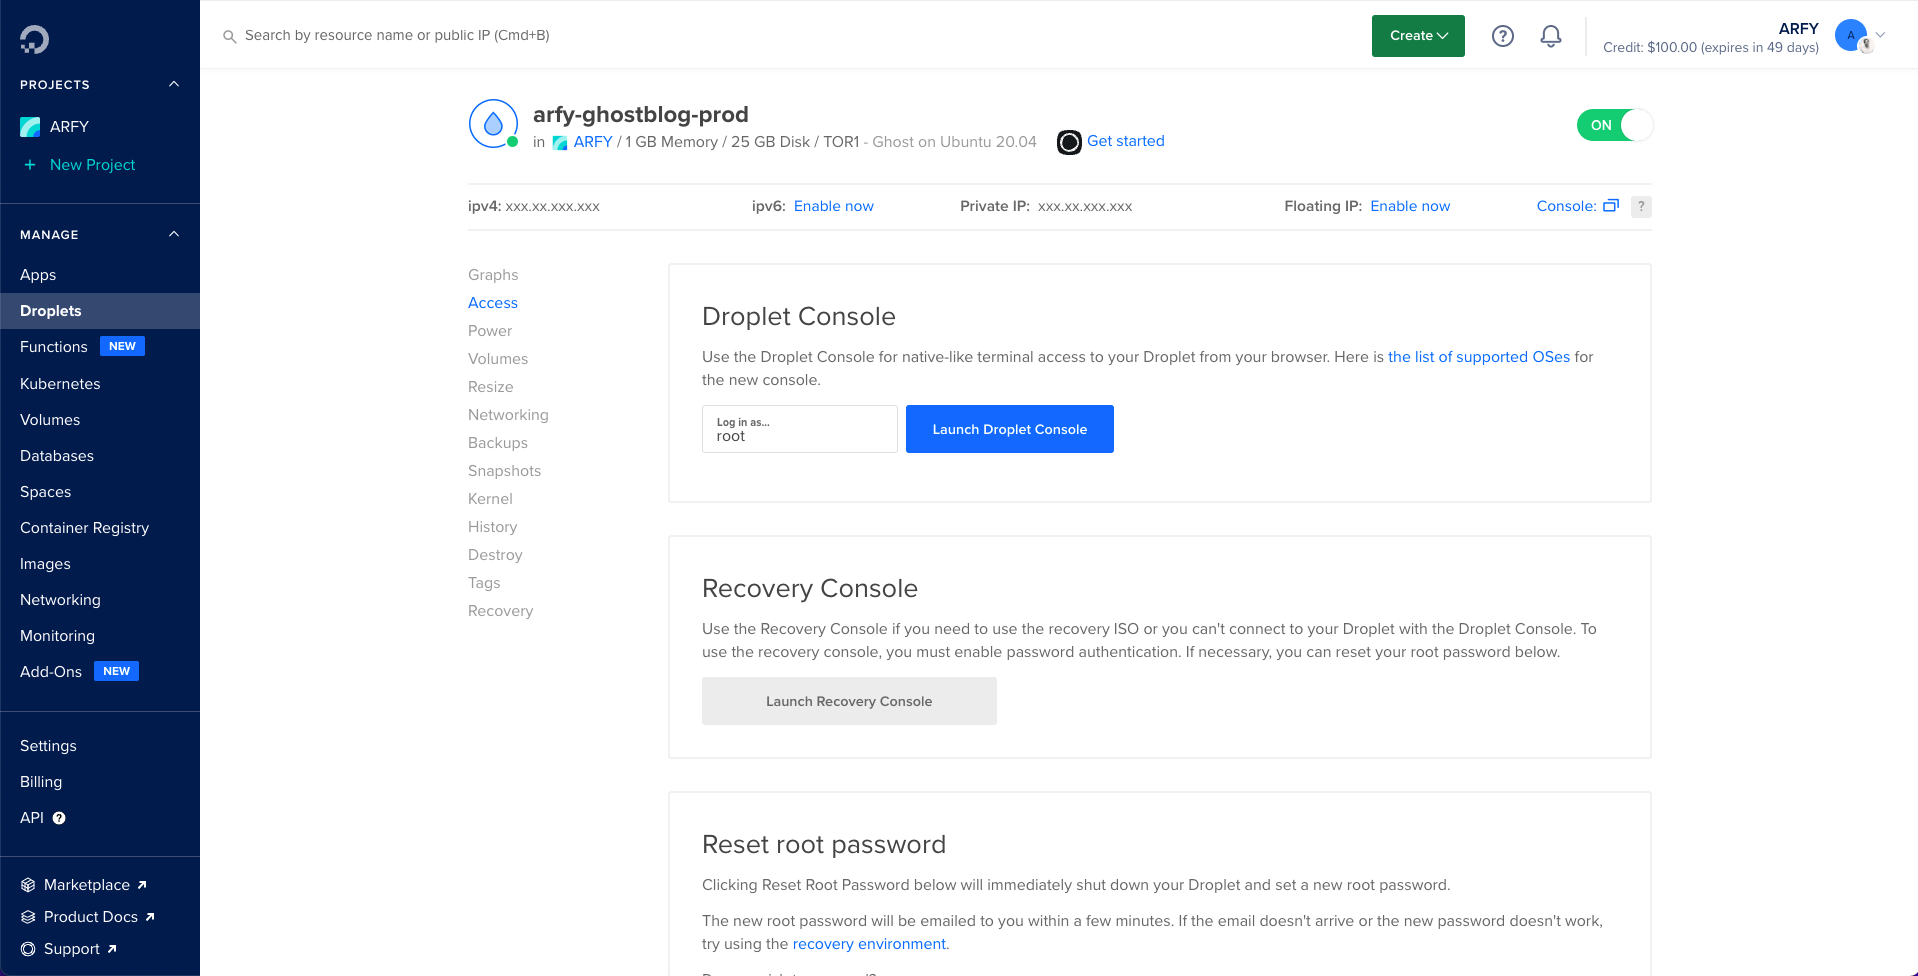
Last but not least, this solution worked and allowed me to get access to the server through SSH. The goal is to clear the authorized_keys file from the server itself. To do so, you will launch the droplet's console. Enter the username and password and it will give you access to the terminal. Then, use vi command.
The default editor that comes with the UNIX operating system is called vi (visual editor). [Alternate editors for UNIX environments include pico and emacs, a product of GNU.]
If Vim is in another mode, for example, insert mode, you can access normal mode by pressing Esc or <C-[>.
Alternatively, you can also clear all lines or text in Vi/Vim in command mode by running the following command.
Then, you can save your changes and quit the file using the command below
Here you go, SSH is working now and you can access to your server with no issue, anytime ! There are more solutions to this issue so do not hesitate to share 😉


Member discussion